I do not advise people to take this task on based on the small chance of being successful or failing. This
Requires a experienced welder and precision with it. Once you do this you will not be able to go back
UNLESS you can purchase a new OEM Center Differential.
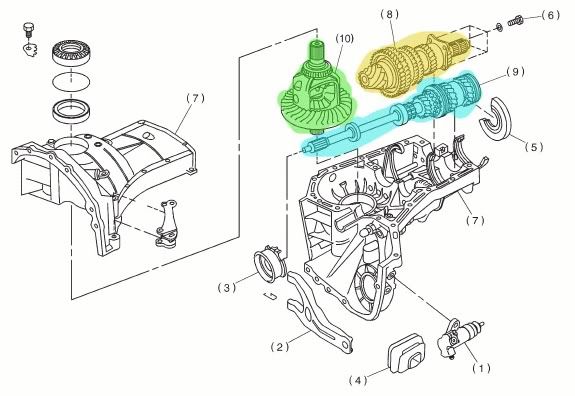
This is a How To: guide on removing your center diff, welding, and reinstalling in your Subaru.
Tools Needed:
-Socket Wrench
-17mm socket
-14mm socket
-12mm socket
-10mm socket
-Rubber Mallet
-Needle Nose Plyers
-1/4 Punch
-Mig Welder 150+ or Tig
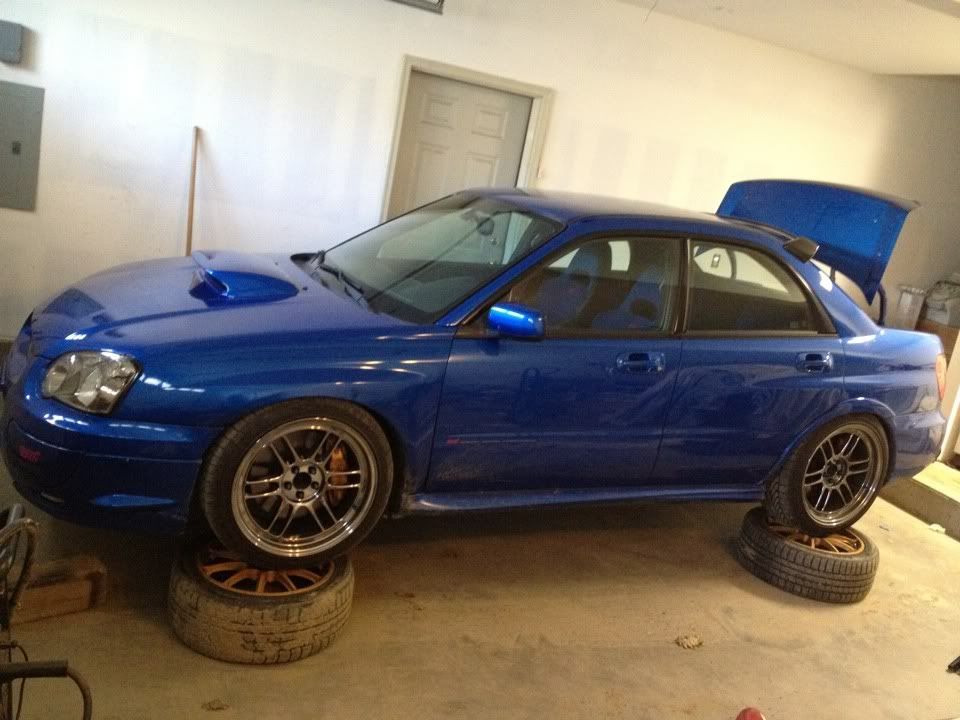
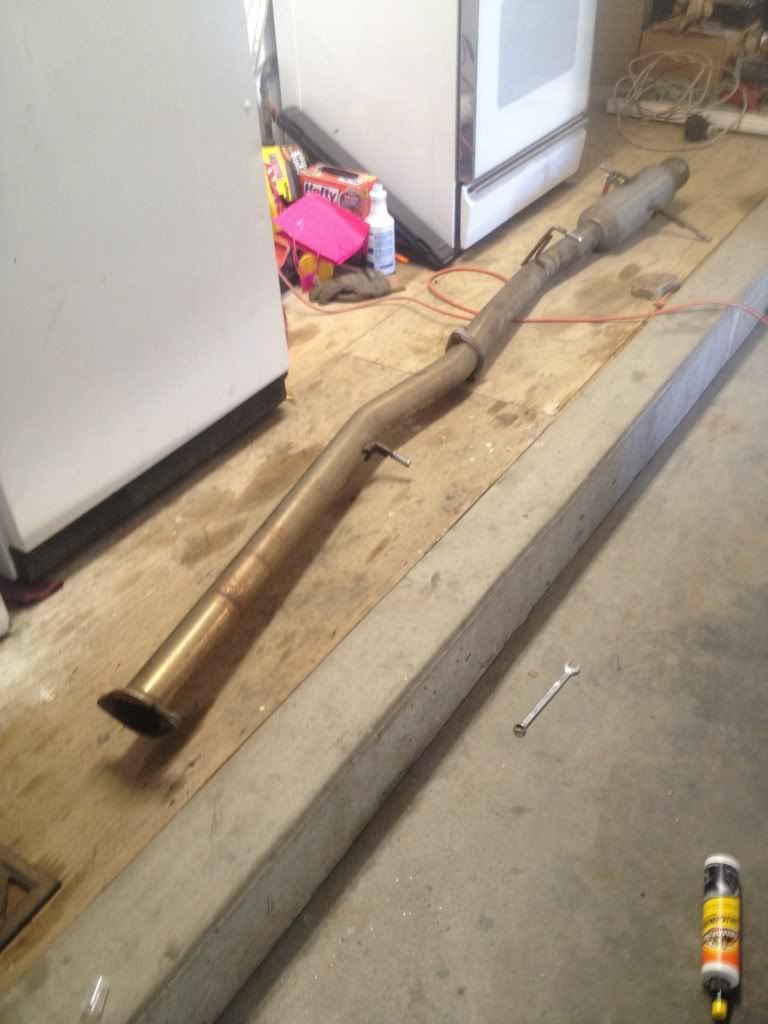
Step 1: Remove Turboback exhaust [Downpipe is scattered somewhere else]
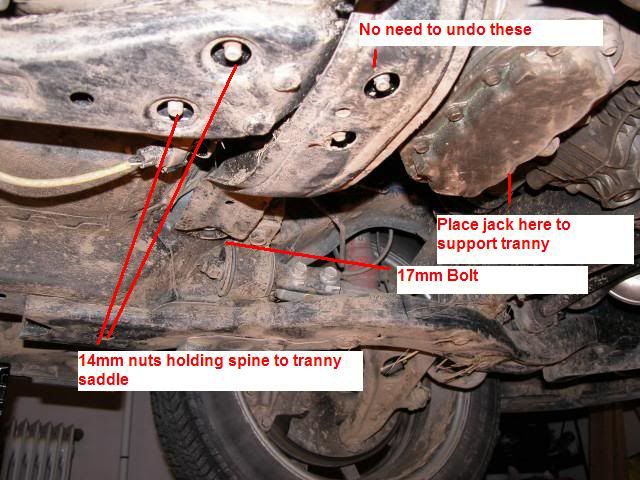
Step 2:Remove crossmember holding the transmission.
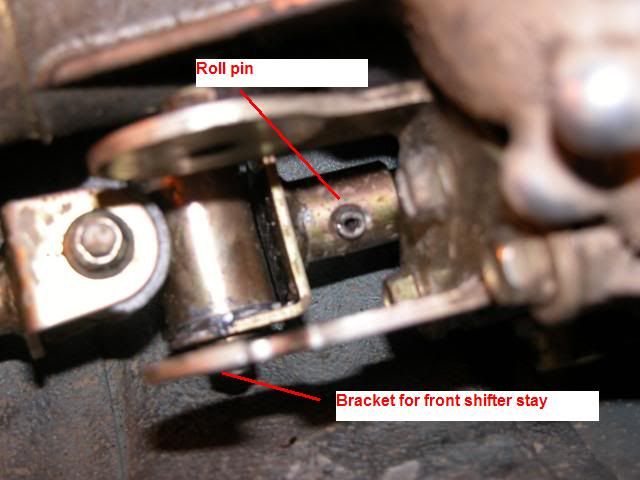
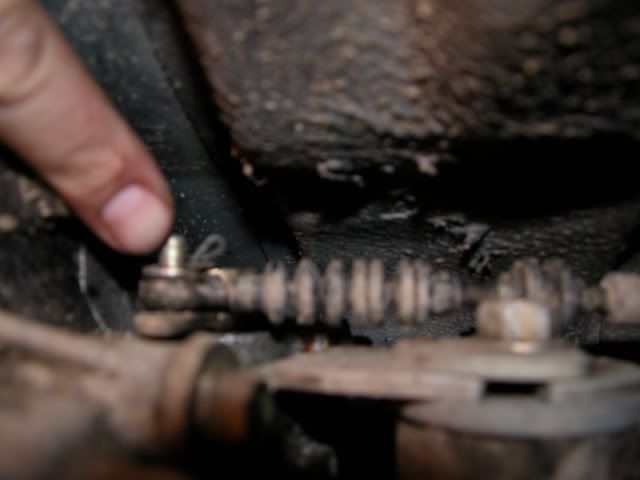
Step 3: Remove shifter linkage[you will need a 1/4 for the roll pin]
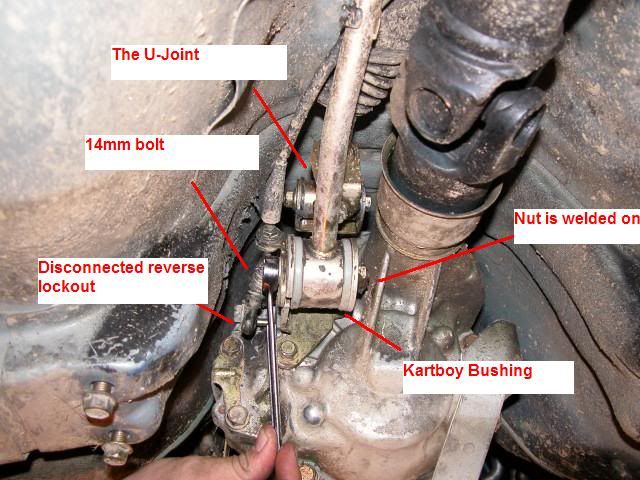
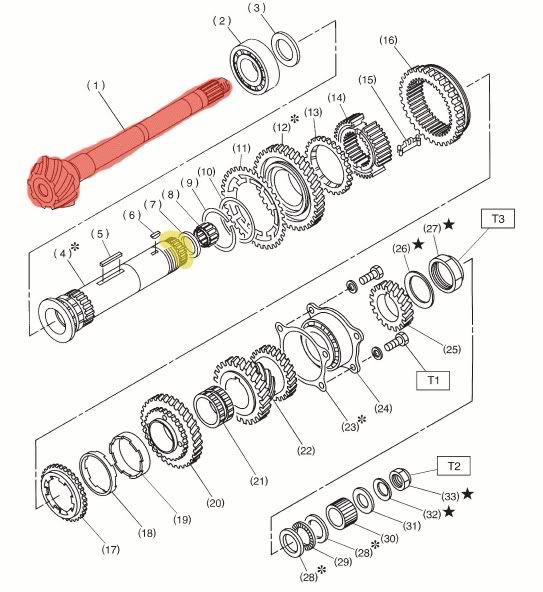
Step 4: Remove driveshaft [1st half] by removing the Yoke that is held with 2 bolts and the driveshaft is held with 4 bolts. All 14mm.
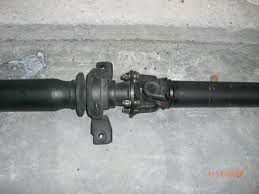
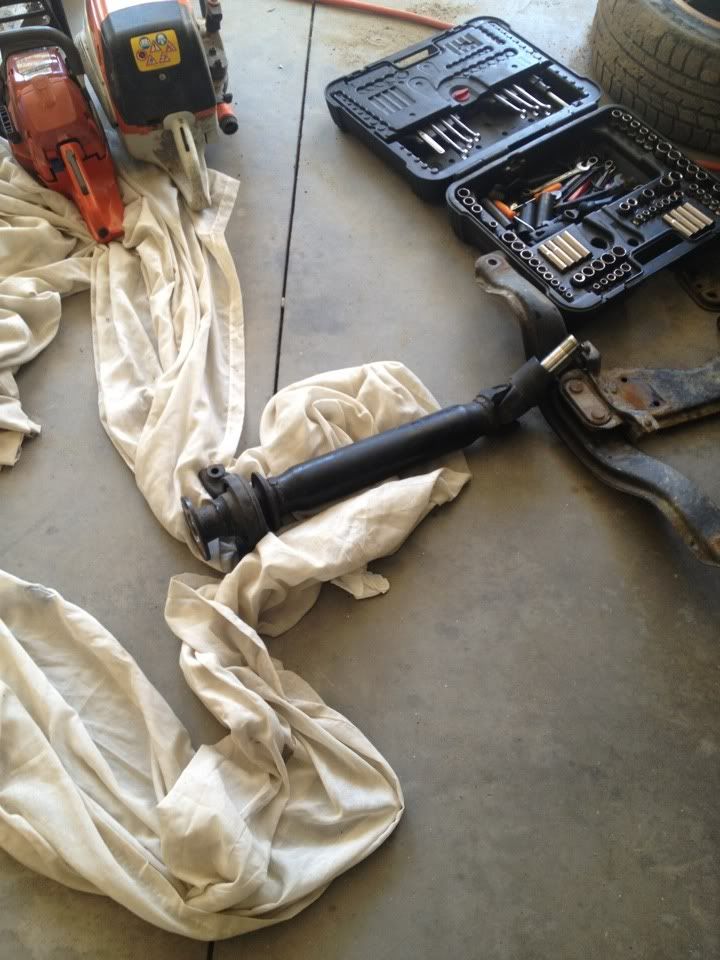
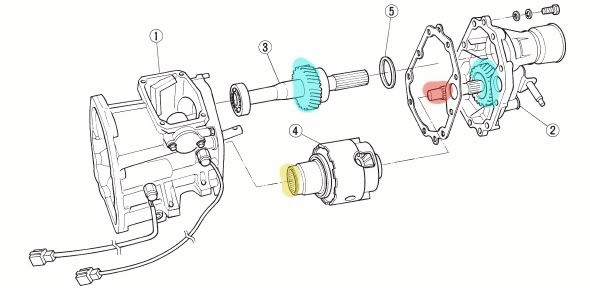
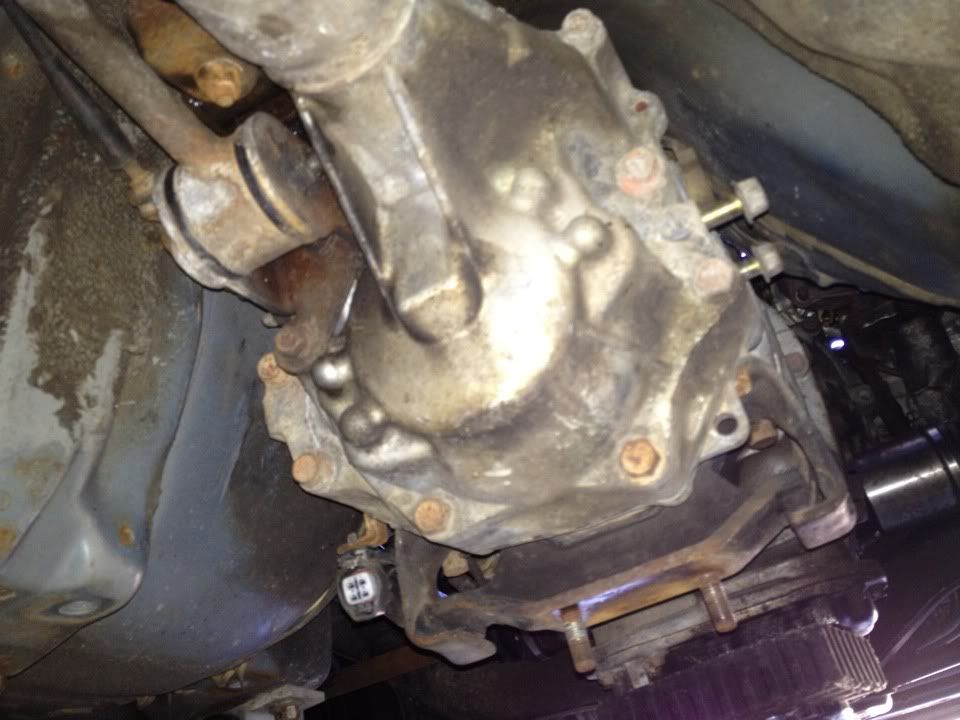
Step 5: Remove all 14mm bolts holding the transfercase tail housing, this may require a rubber mallet to pop it off. Also remove the sensor that is held
with a small tab inside the connector. Then the center diff. will smoothly pull of the Driven shaft of the transmission.
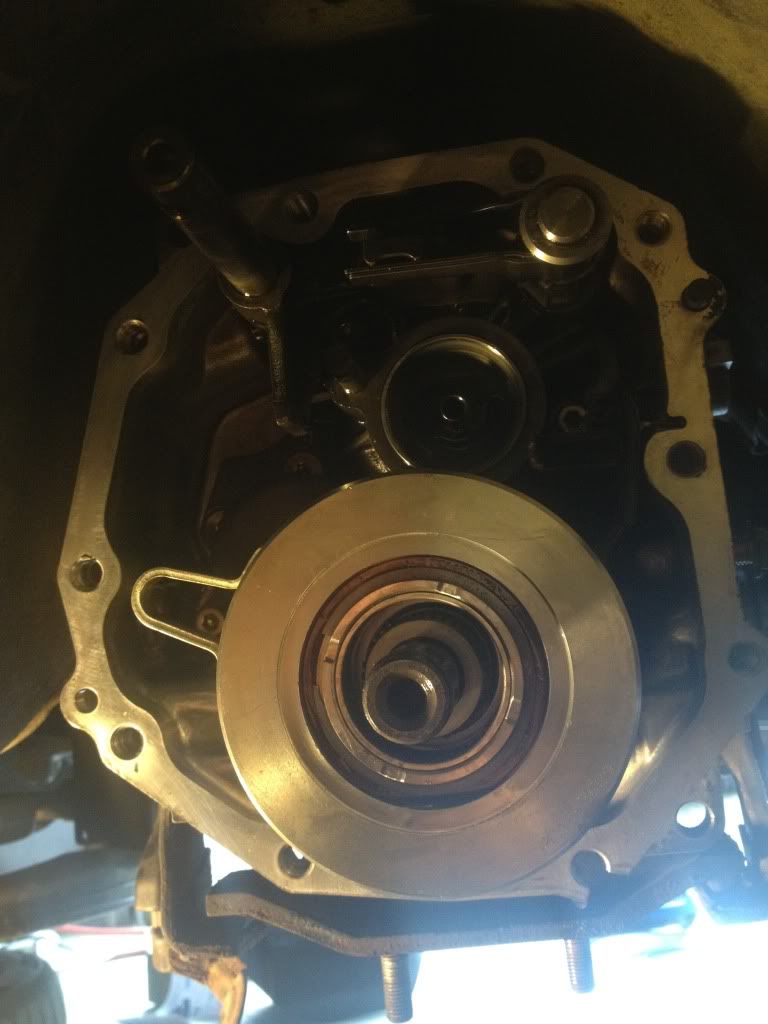
Step 6: Take apart the center diff by removing the C lip holding in the top plate. Just use a flathead for this. Remove all the clutch packs ontop and the main spline gear directly in the middle.
So when you have nothing left ontop you will just see those little spline gears[spider gears]
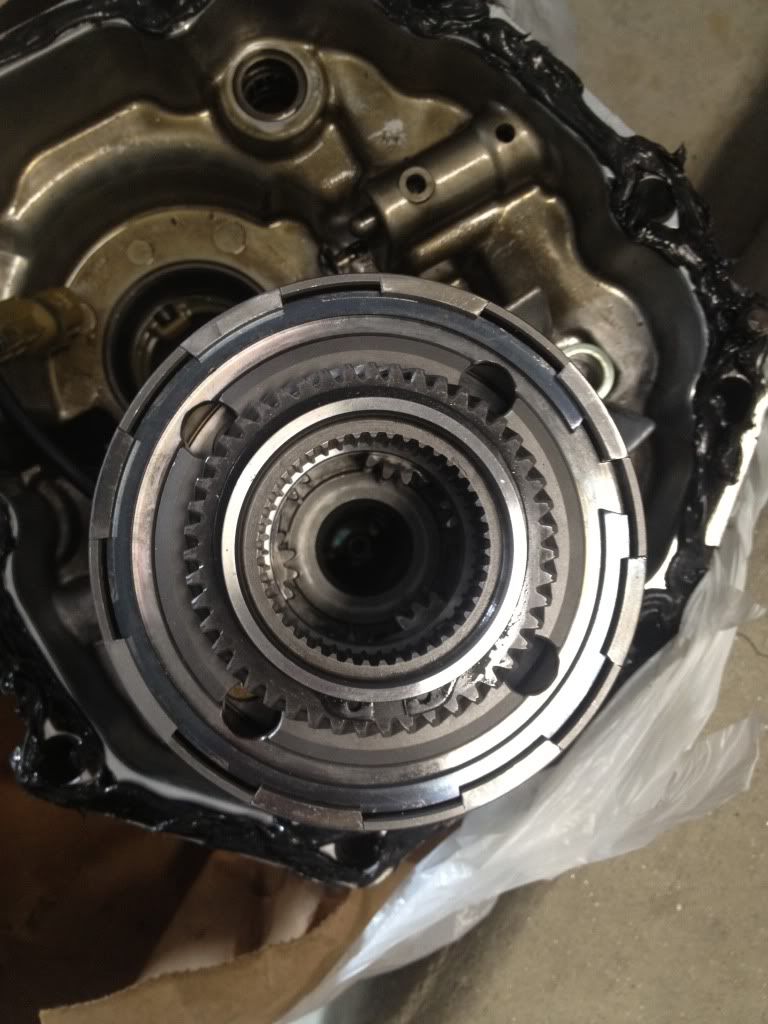
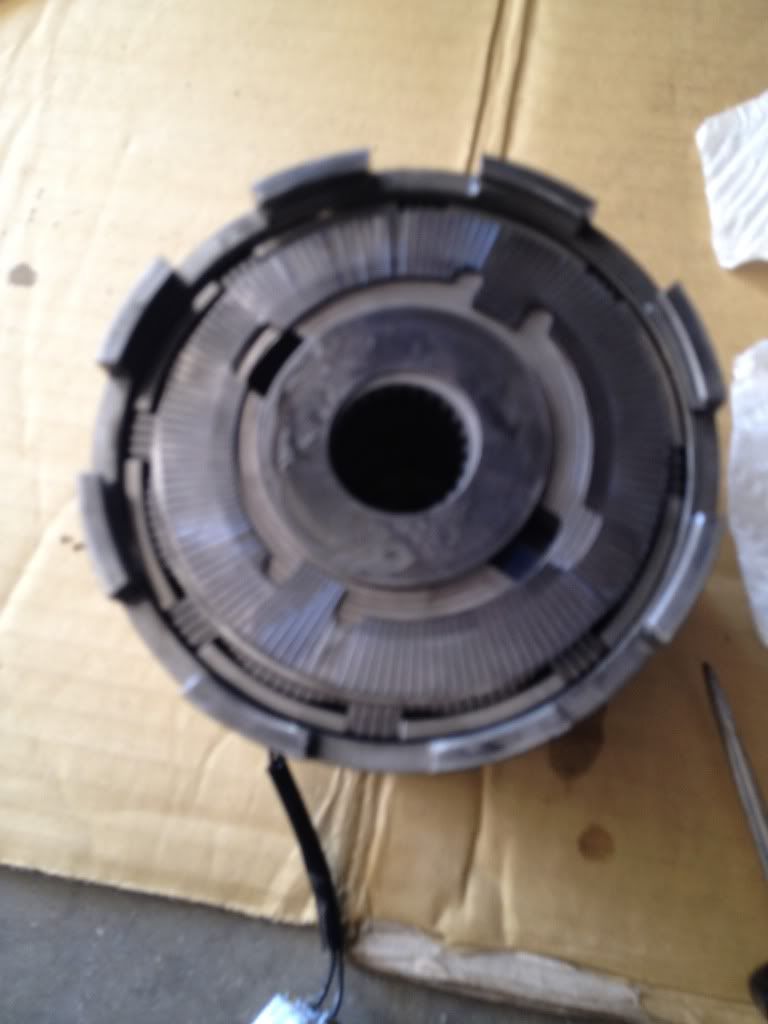
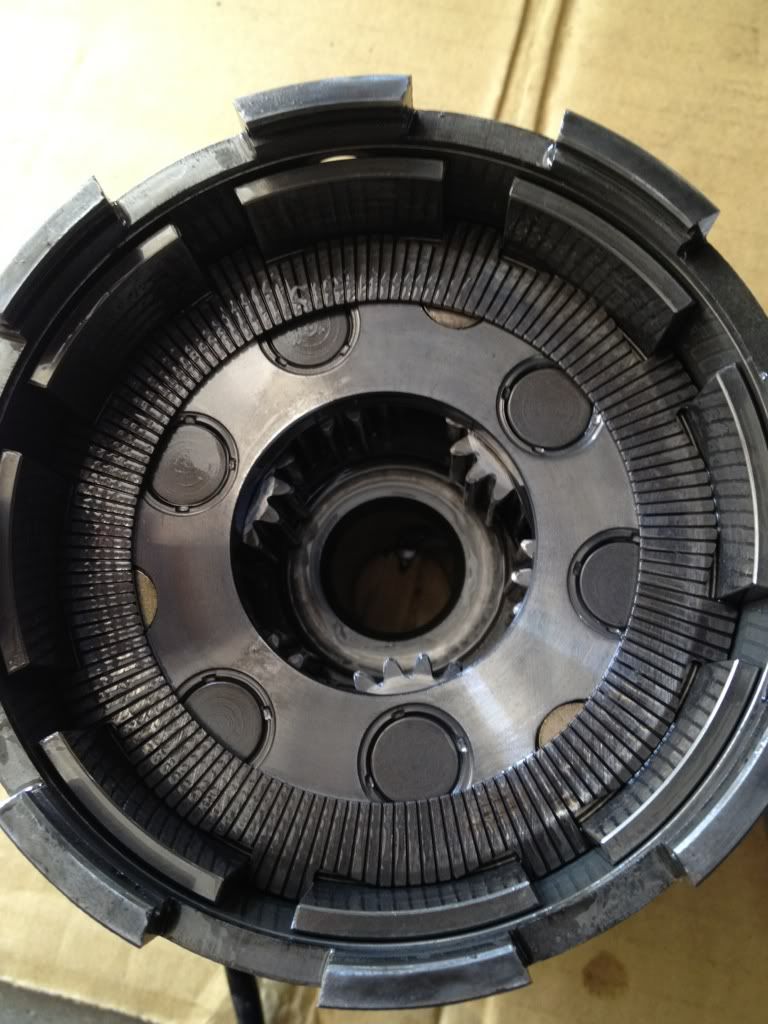 [be sure to remove all the clutch disks]
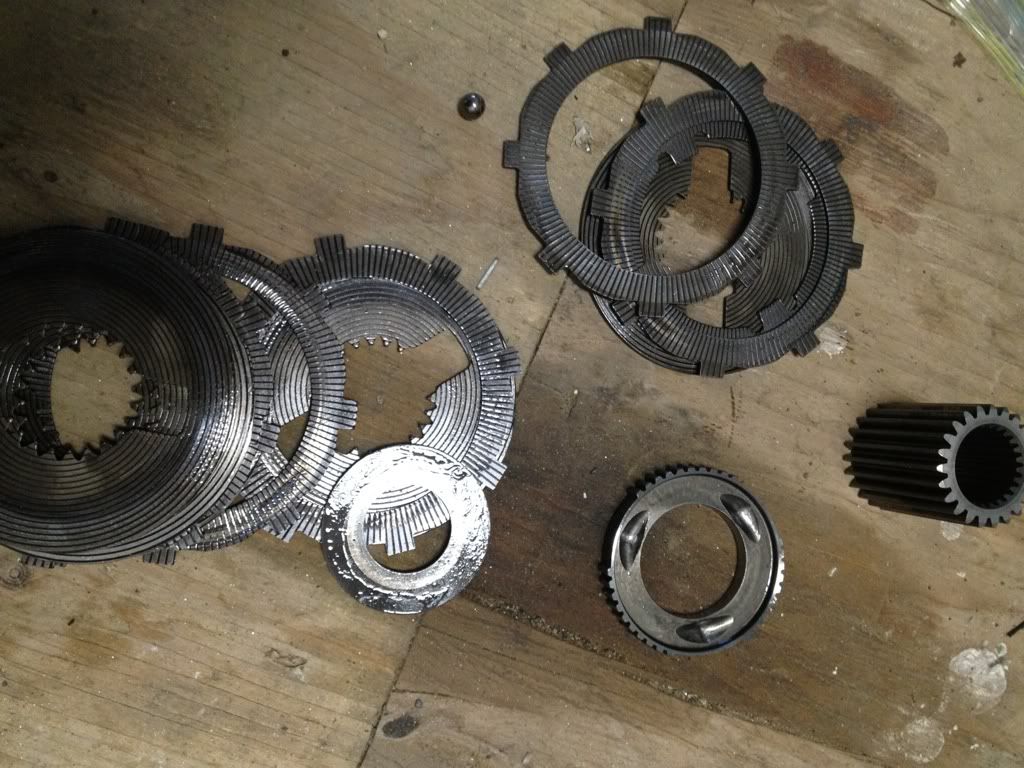
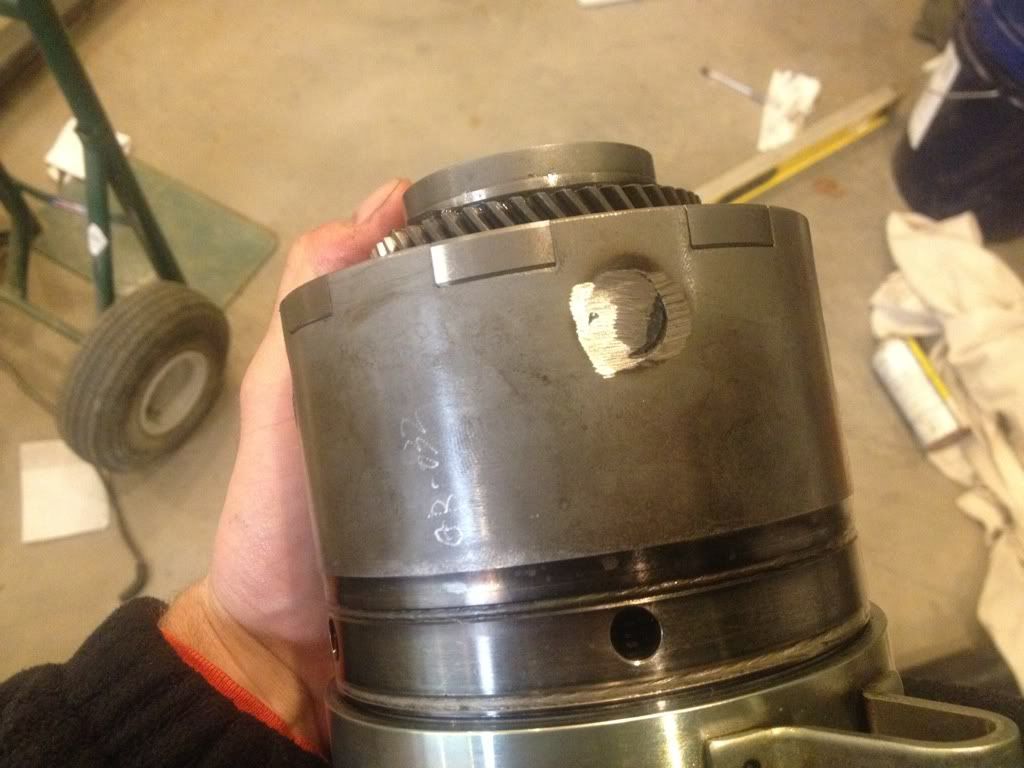
Step 7: Now that the internals ontop are gone inside of the center diff. spin the inside piece so that it cover sup the 4 holes around the center diff. and tack weld in star formation. Also be sure to put the C clip back into place to hold the unit together. ***BE SURE THE DIFFERENTIAL IS INSIDE THE TAILHOUSING LINED UP ON THE SPLINE SO ITS CENTER**** after tack welding in a star formation 5 times you can begin to put a massive tack weld to fill
in the hole. Once your are down grind down anything sticking out.
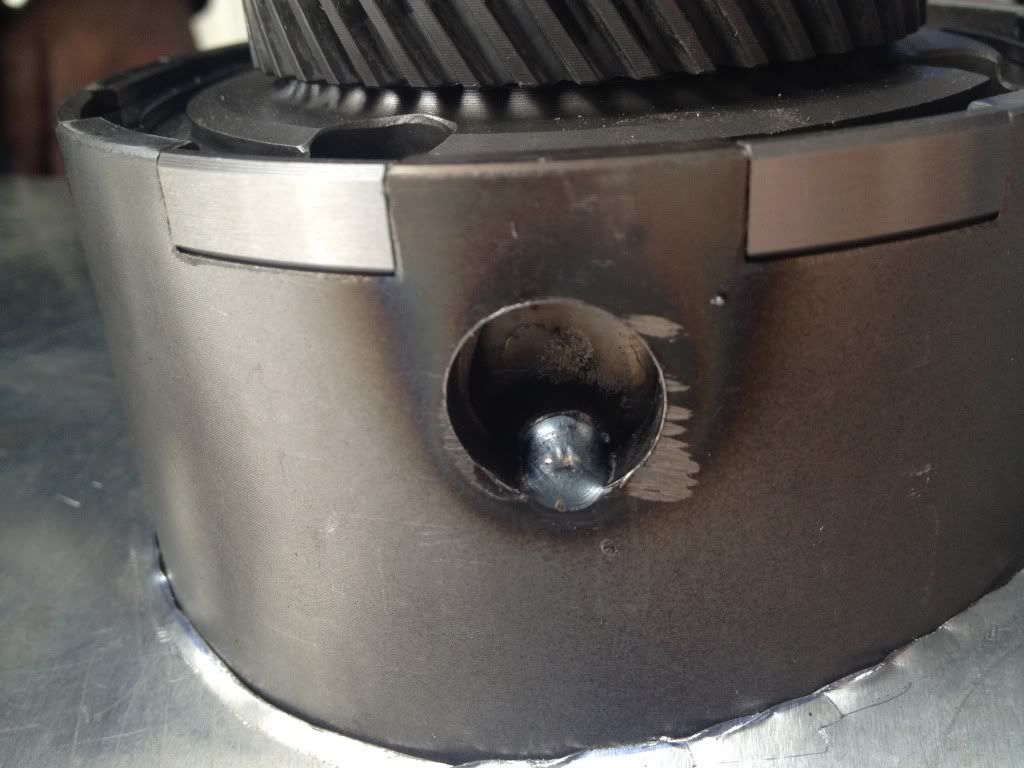
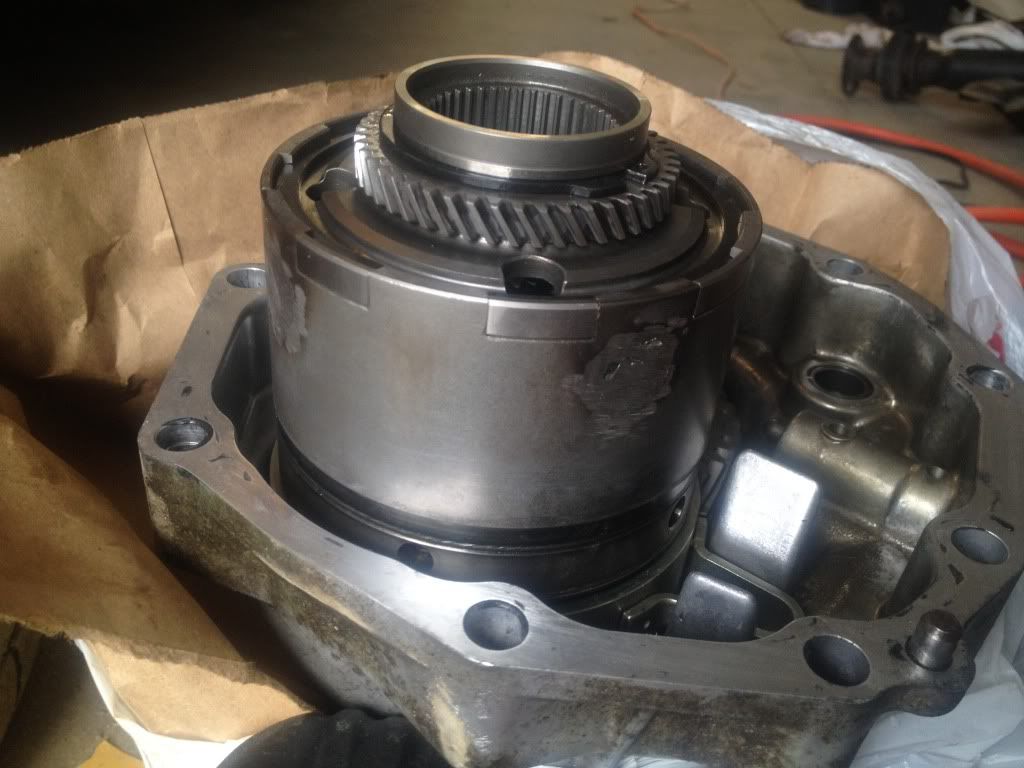
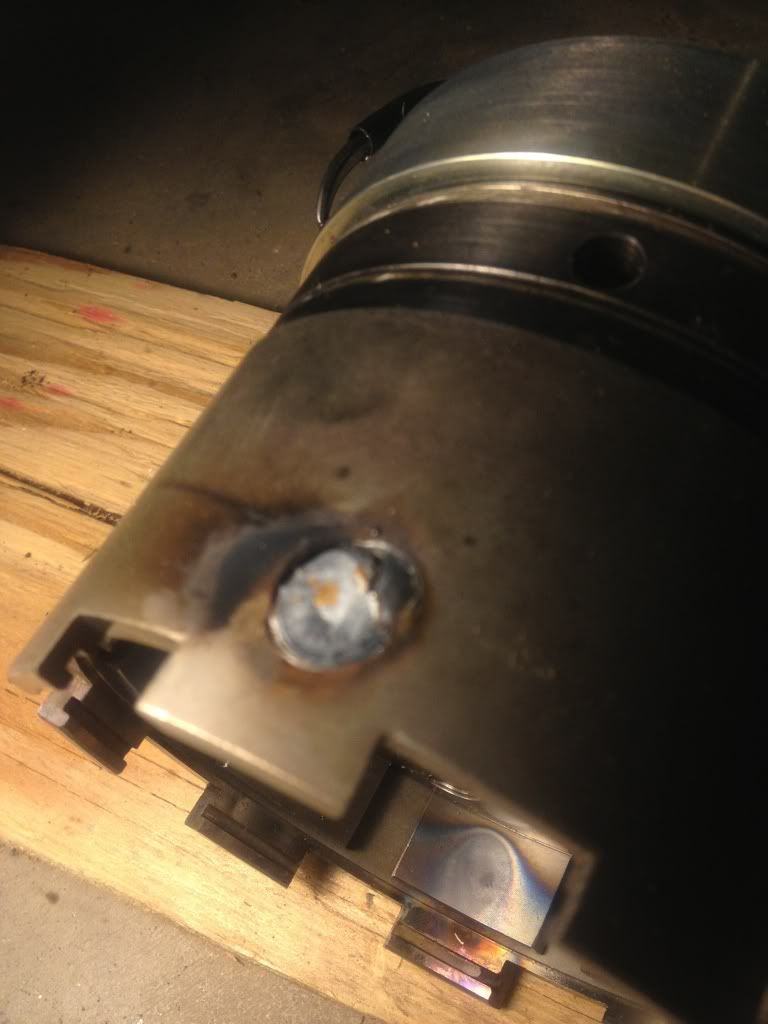
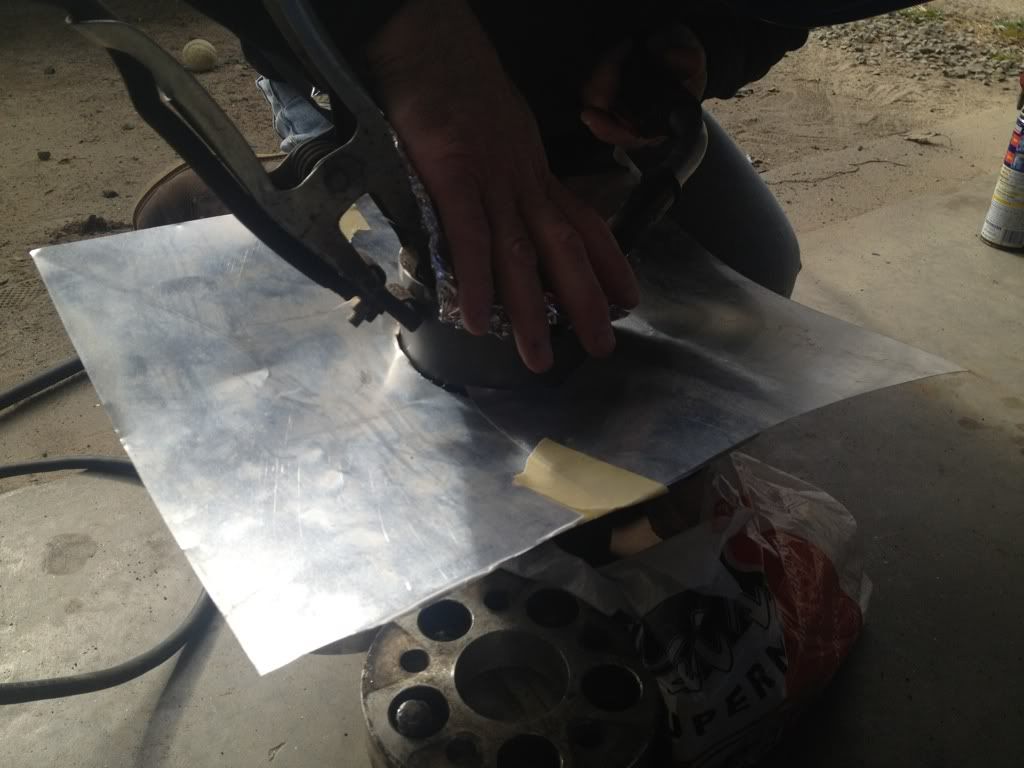
I apologize if some pictures are not in order but I am sure you all get the idea! That is basically everything you have to do. There are pictures in here I do not take credit for
that have came from TiC Concept for installing a shortshifter. Once everything is welded up you can now put everything back together the way it came apart. I did not plan on making
a HOW TO so I do not have the best of pictures. Hope you all enjoy!
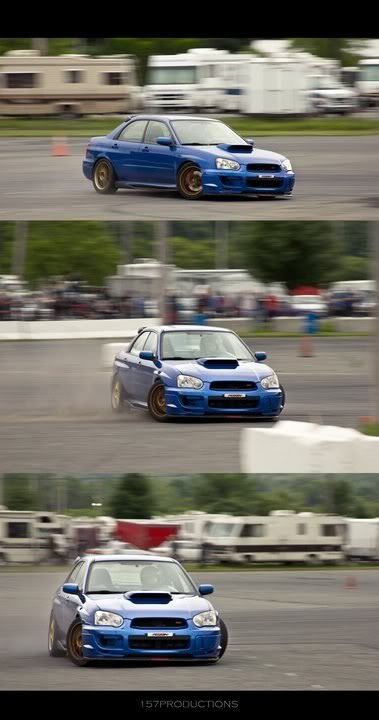
End result!
http://www.youtube.com/watch?v=K4wE4XCayHE&list=UU7k43_l3wzcM9NKq4OAqLHA&index=1&feature=plcp
Requires a experienced welder and precision with it. Once you do this you will not be able to go back
UNLESS you can purchase a new OEM Center Differential.
This is a How To: guide on removing your center diff, welding, and reinstalling in your Subaru.
Tools Needed:
-Socket Wrench
-17mm socket
-14mm socket
-12mm socket
-10mm socket
-Rubber Mallet
-Needle Nose Plyers
-1/4 Punch
-Mig Welder 150+ or Tig

Step 1: Remove Turboback exhaust [Downpipe is scattered somewhere else]

Step 2:Remove crossmember holding the transmission.

Step 3: Remove shifter linkage[you will need a 1/4 for the roll pin]


Step 4: Remove driveshaft [1st half] by removing the Yoke that is held with 2 bolts and the driveshaft is held with 4 bolts. All 14mm.


Step 5: Remove all 14mm bolts holding the transfercase tail housing, this may require a rubber mallet to pop it off. Also remove the sensor that is held
with a small tab inside the connector. Then the center diff. will smoothly pull of the Driven shaft of the transmission.


Step 6: Take apart the center diff by removing the C lip holding in the top plate. Just use a flathead for this. Remove all the clutch packs ontop and the main spline gear directly in the middle.
So when you have nothing left ontop you will just see those little spline gears[spider gears]


Step 7: Now that the internals ontop are gone inside of the center diff. spin the inside piece so that it cover sup the 4 holes around the center diff. and tack weld in star formation. Also be sure to put the C clip back into place to hold the unit together. ***BE SURE THE DIFFERENTIAL IS INSIDE THE TAILHOUSING LINED UP ON THE SPLINE SO ITS CENTER**** after tack welding in a star formation 5 times you can begin to put a massive tack weld to fill
in the hole. Once your are down grind down anything sticking out.


I apologize if some pictures are not in order but I am sure you all get the idea! That is basically everything you have to do. There are pictures in here I do not take credit for
that have came from TiC Concept for installing a shortshifter. Once everything is welded up you can now put everything back together the way it came apart. I did not plan on making
a HOW TO so I do not have the best of pictures. Hope you all enjoy!
End result!
http://www.youtube.com/watch?v=K4wE4XCayHE&list=UU7k43_l3wzcM9NKq4OAqLHA&index=1&feature=plcp

Last edited:
