DetailersDomain
On Vacation
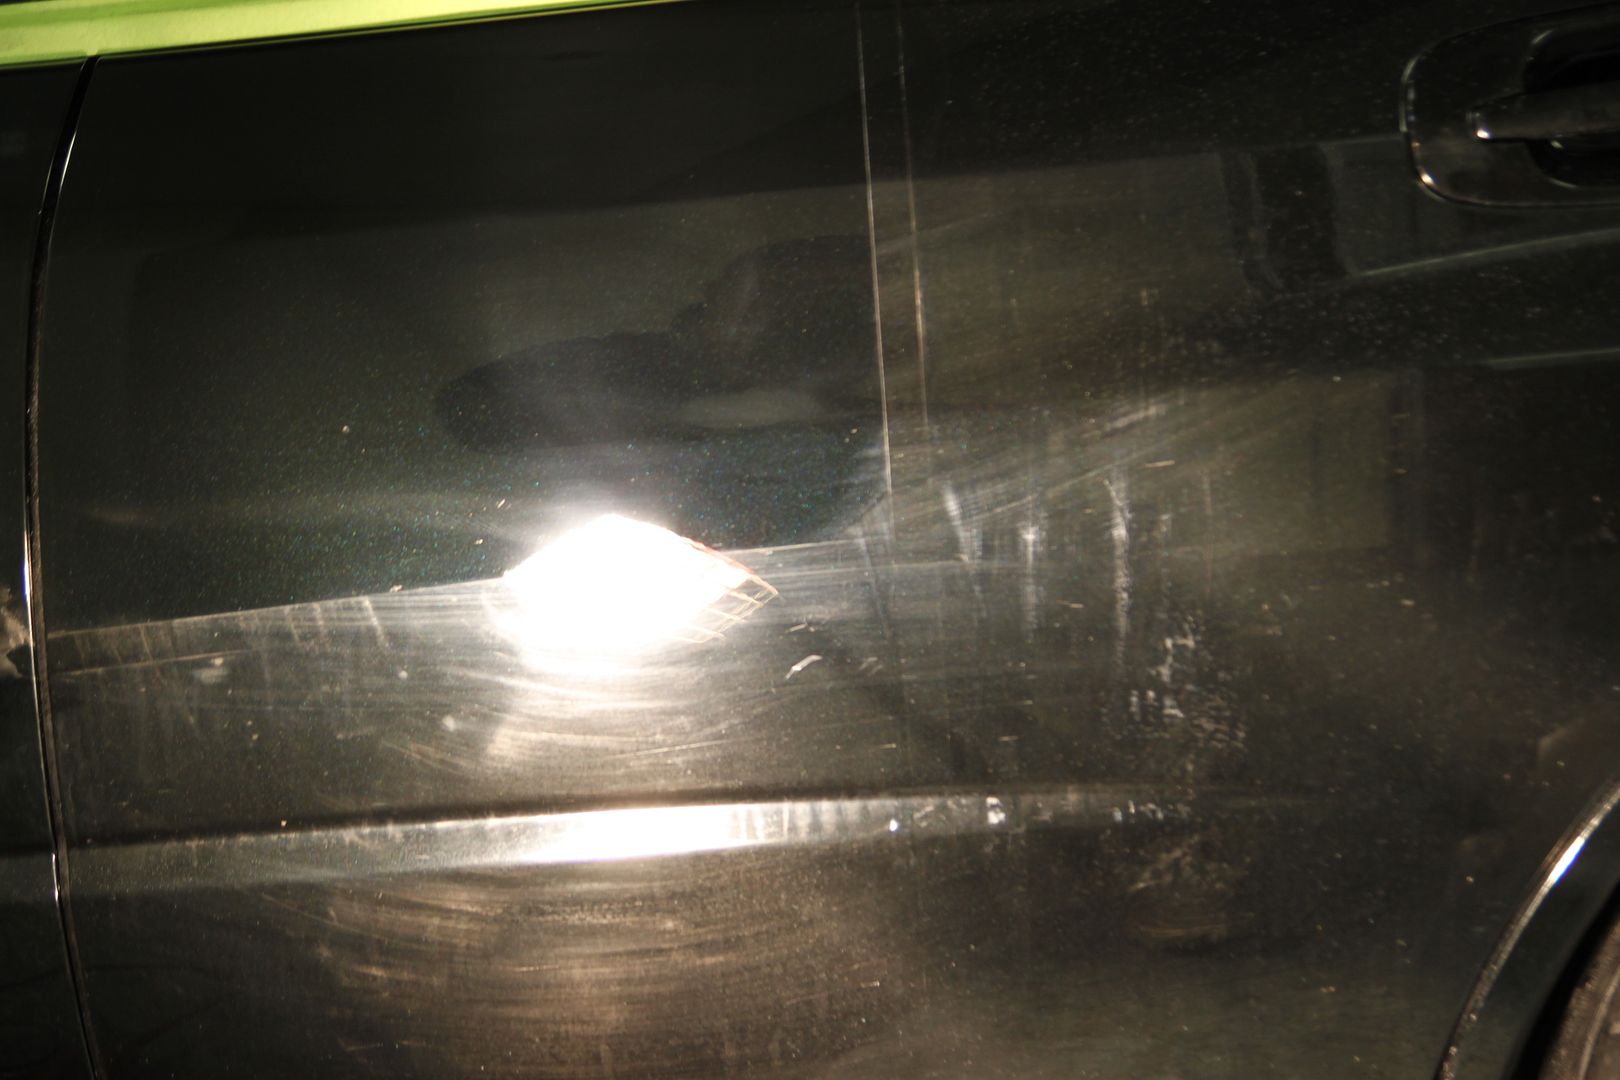
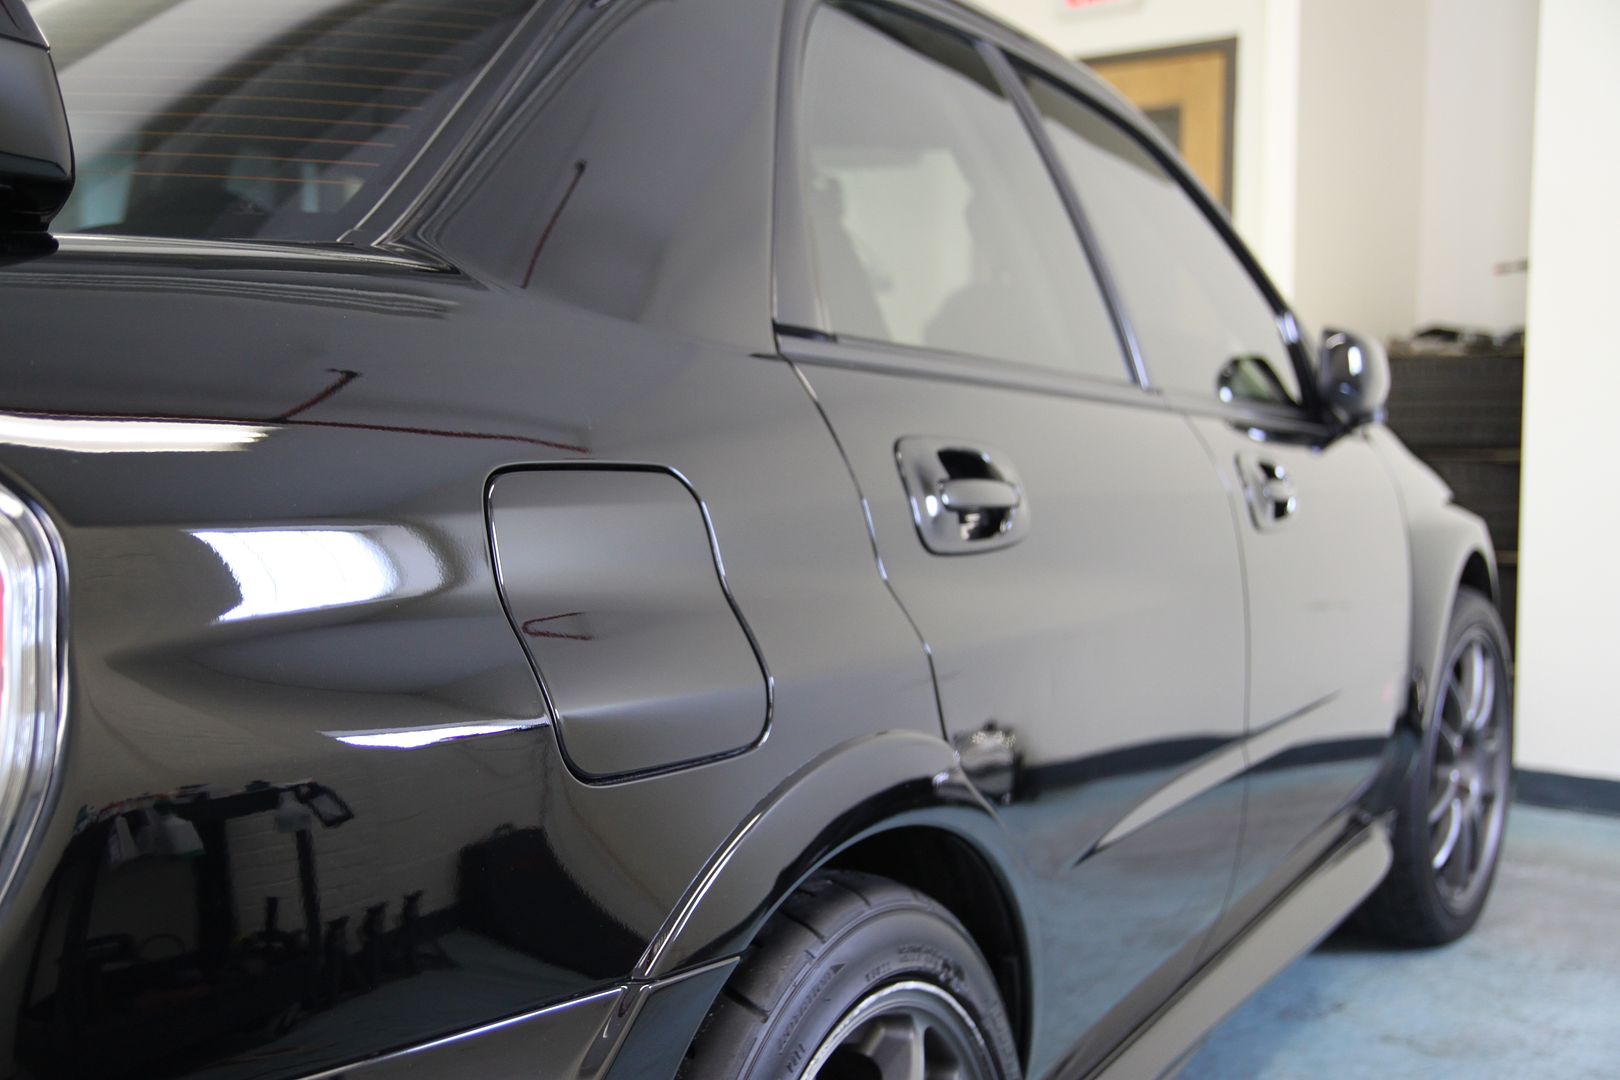
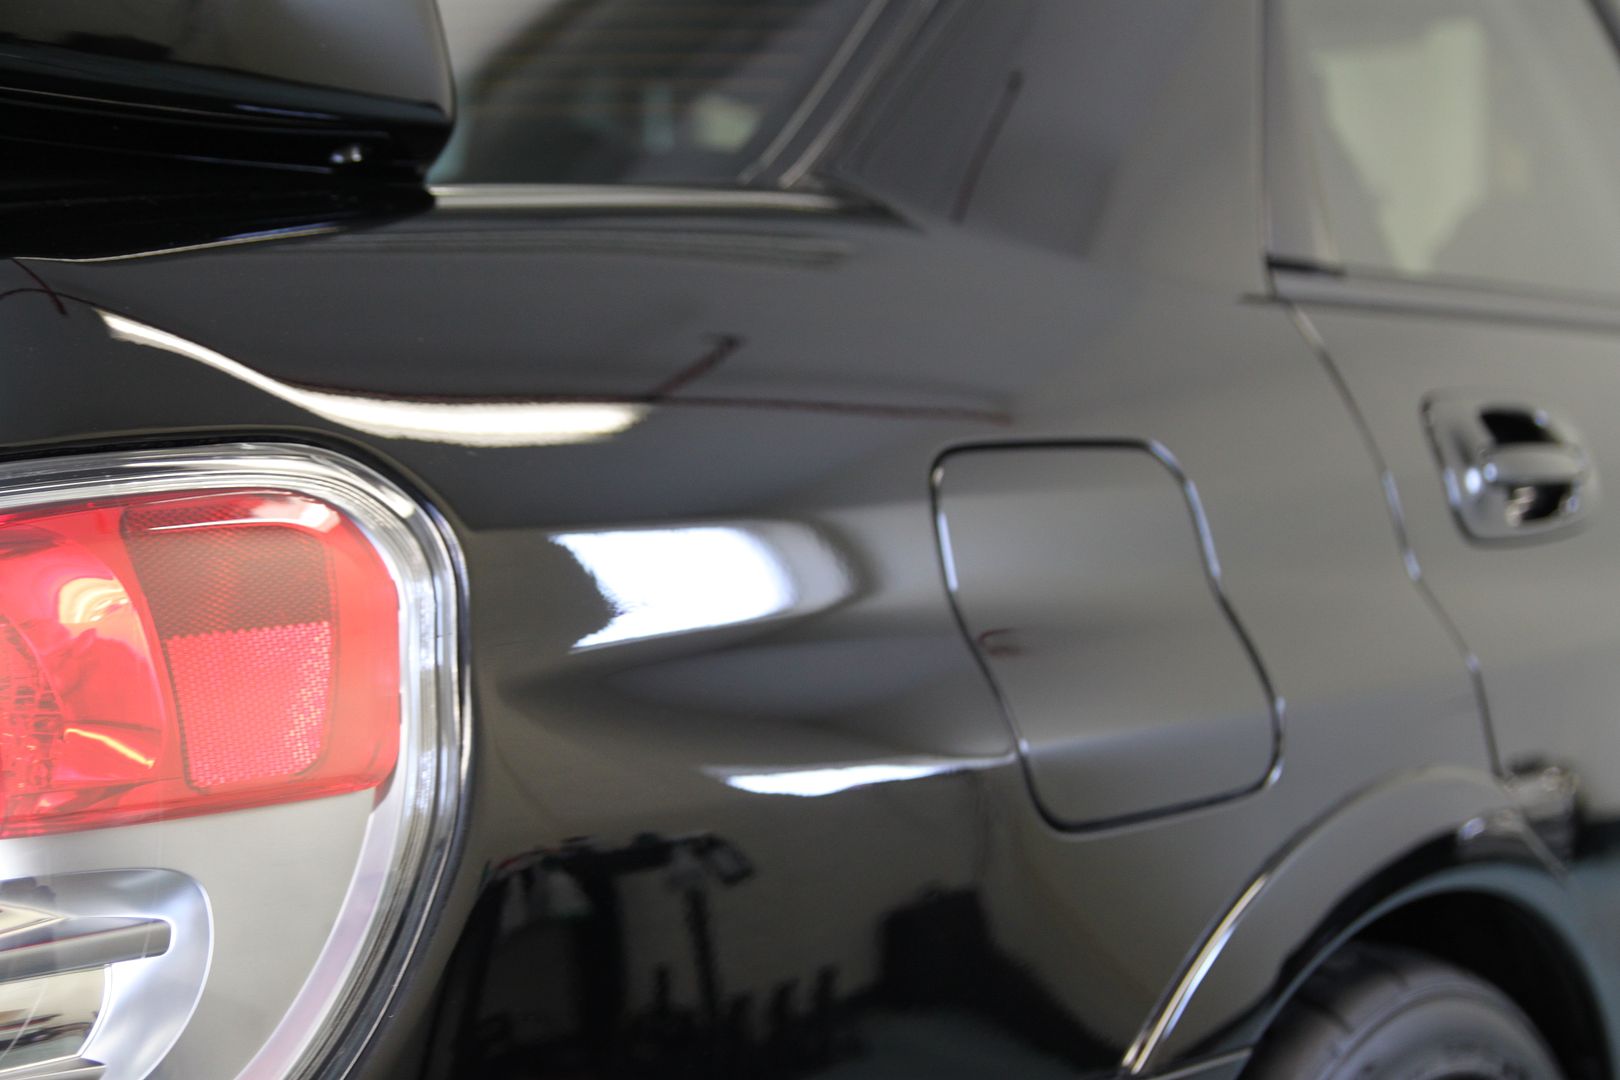
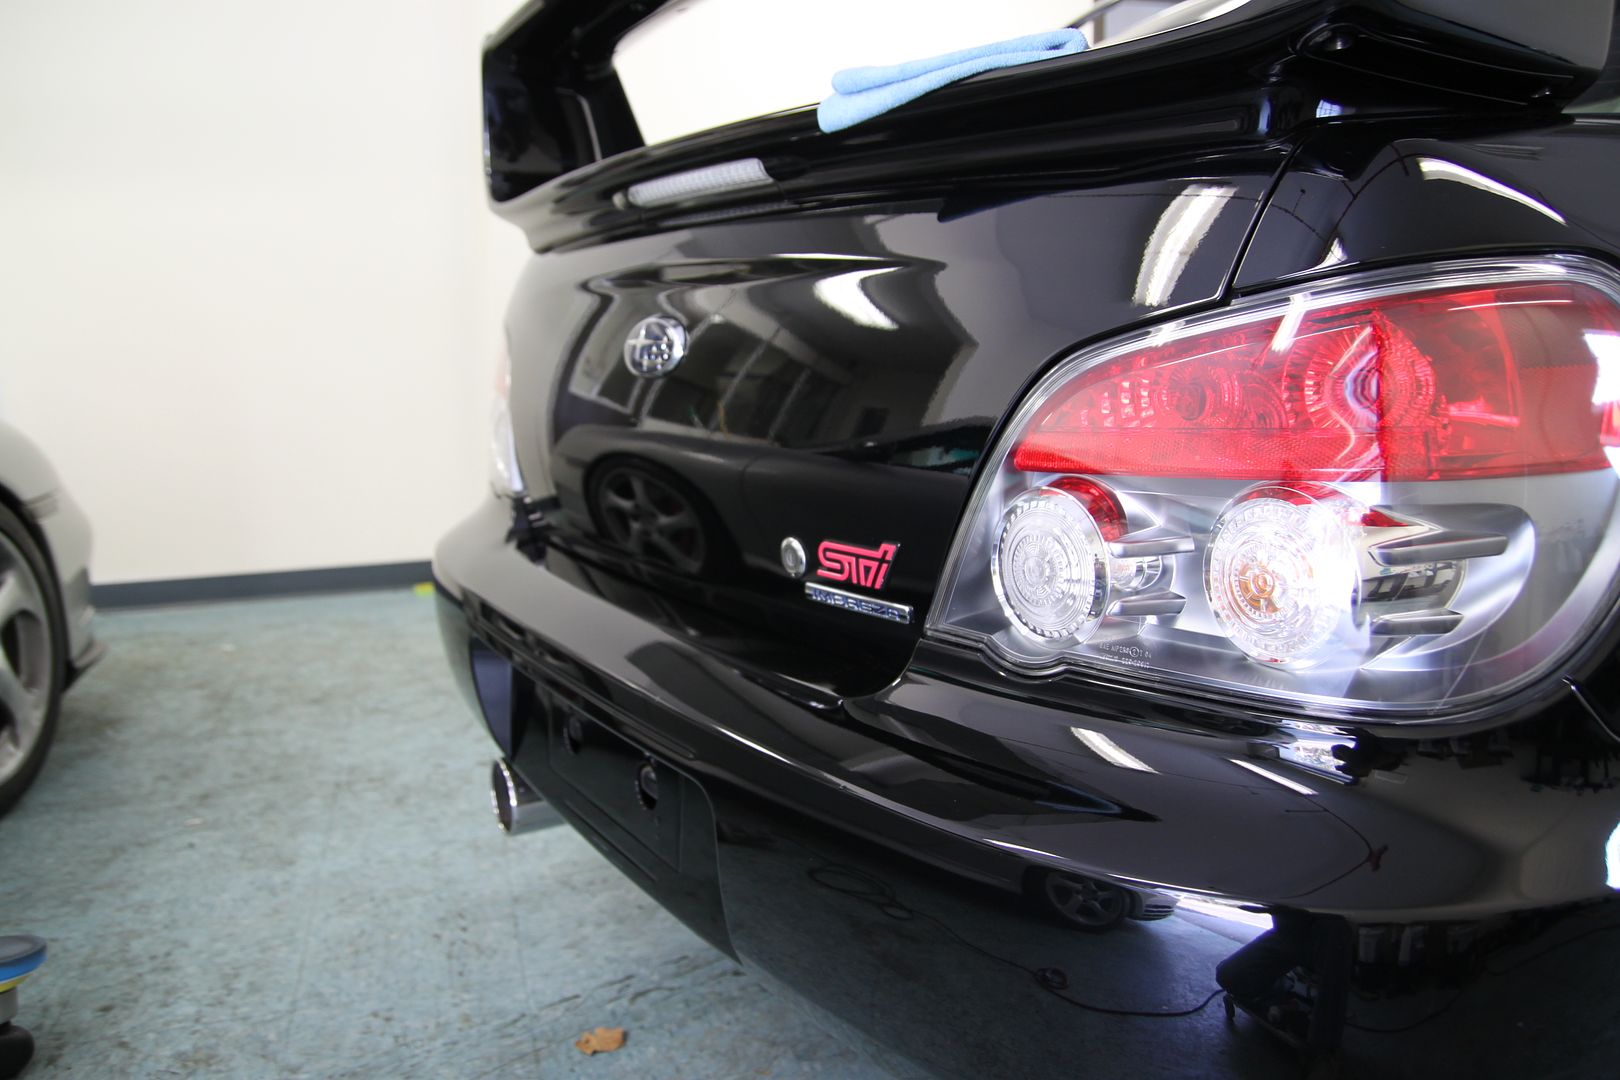
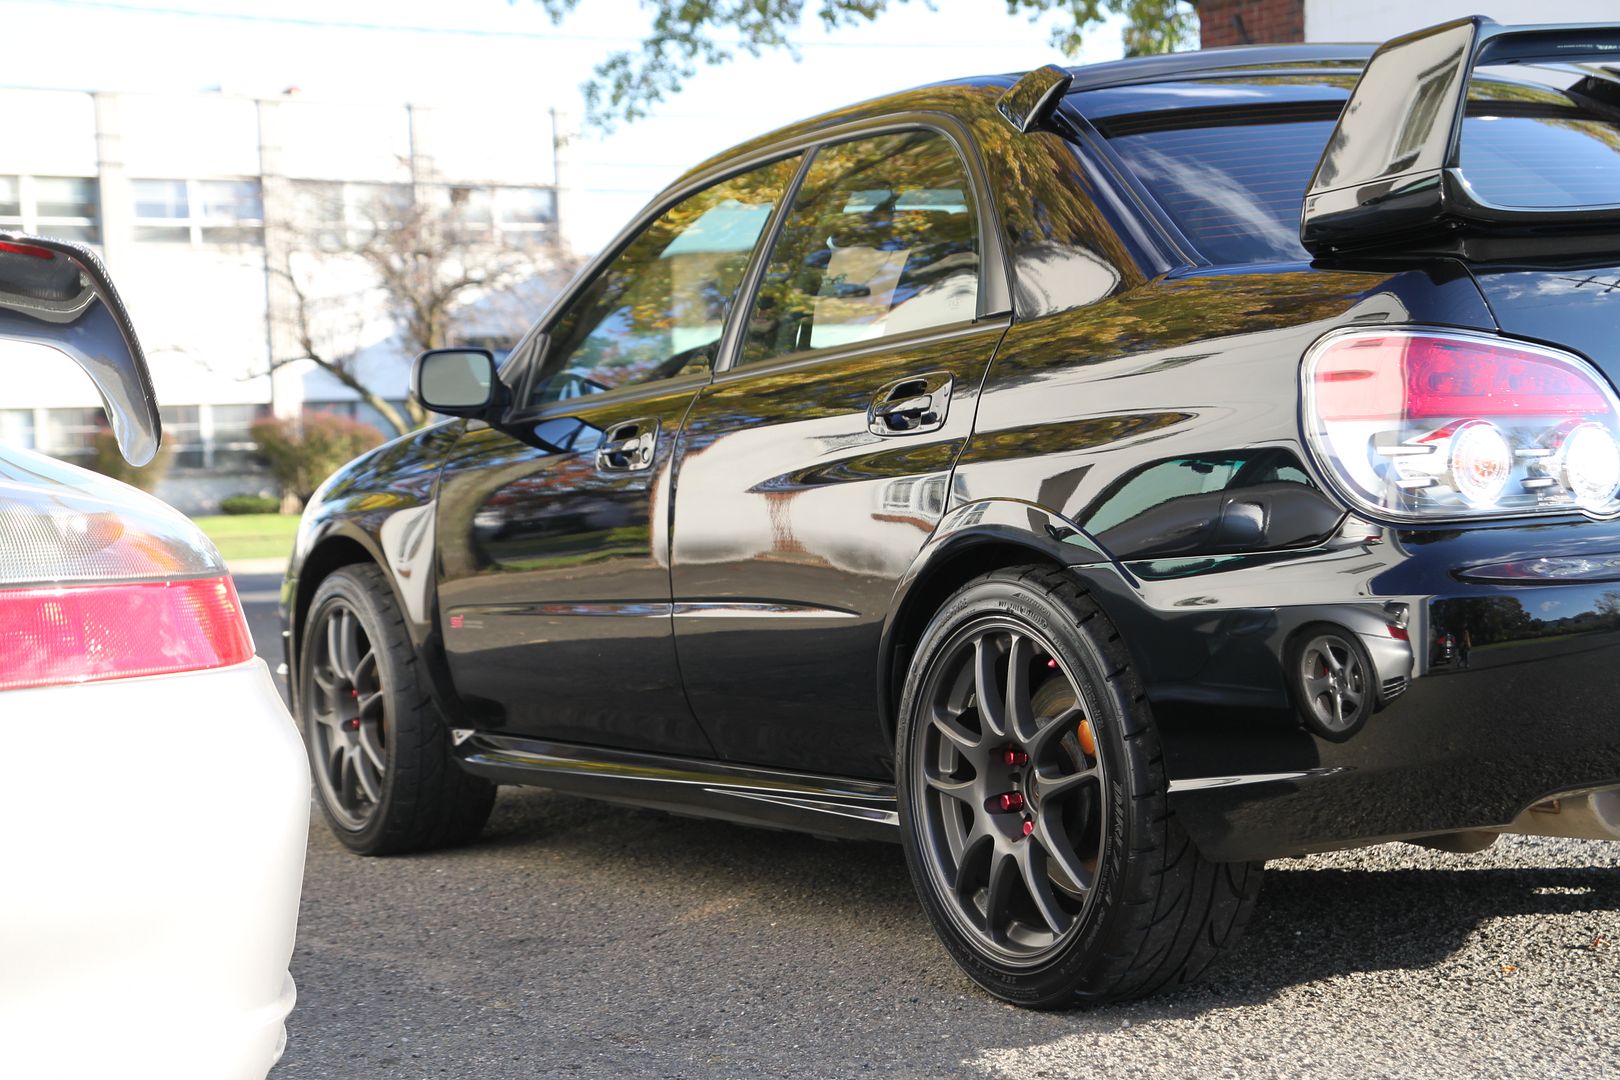
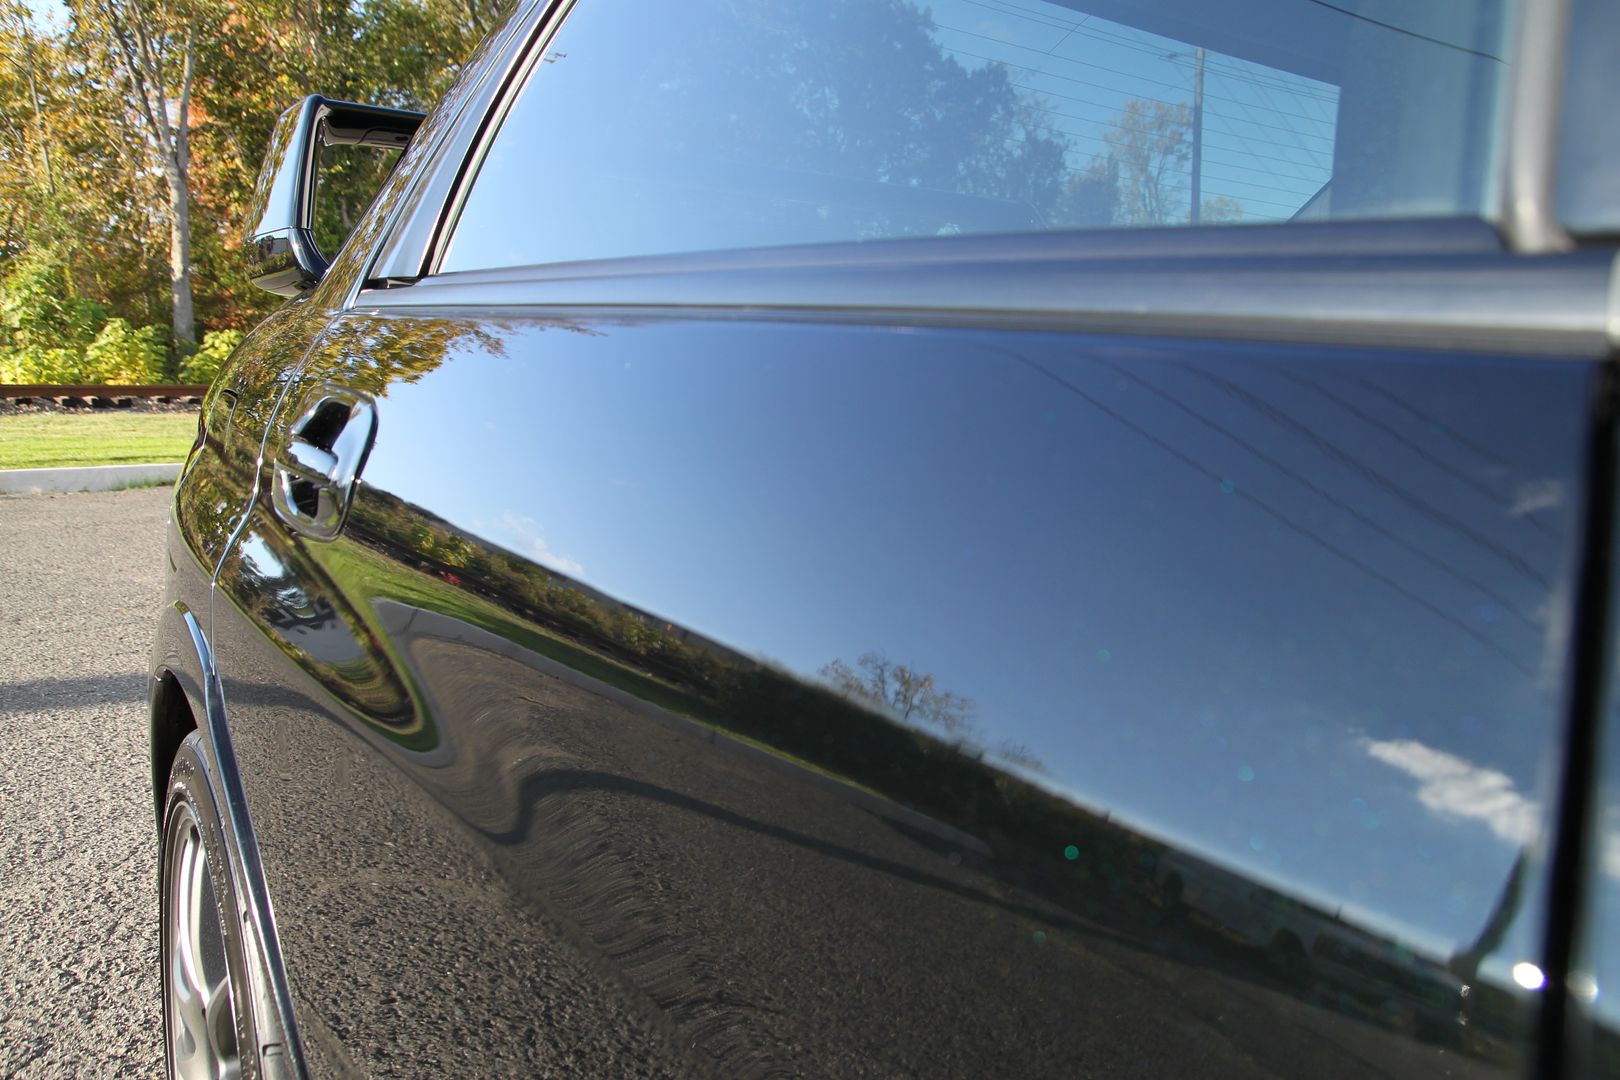
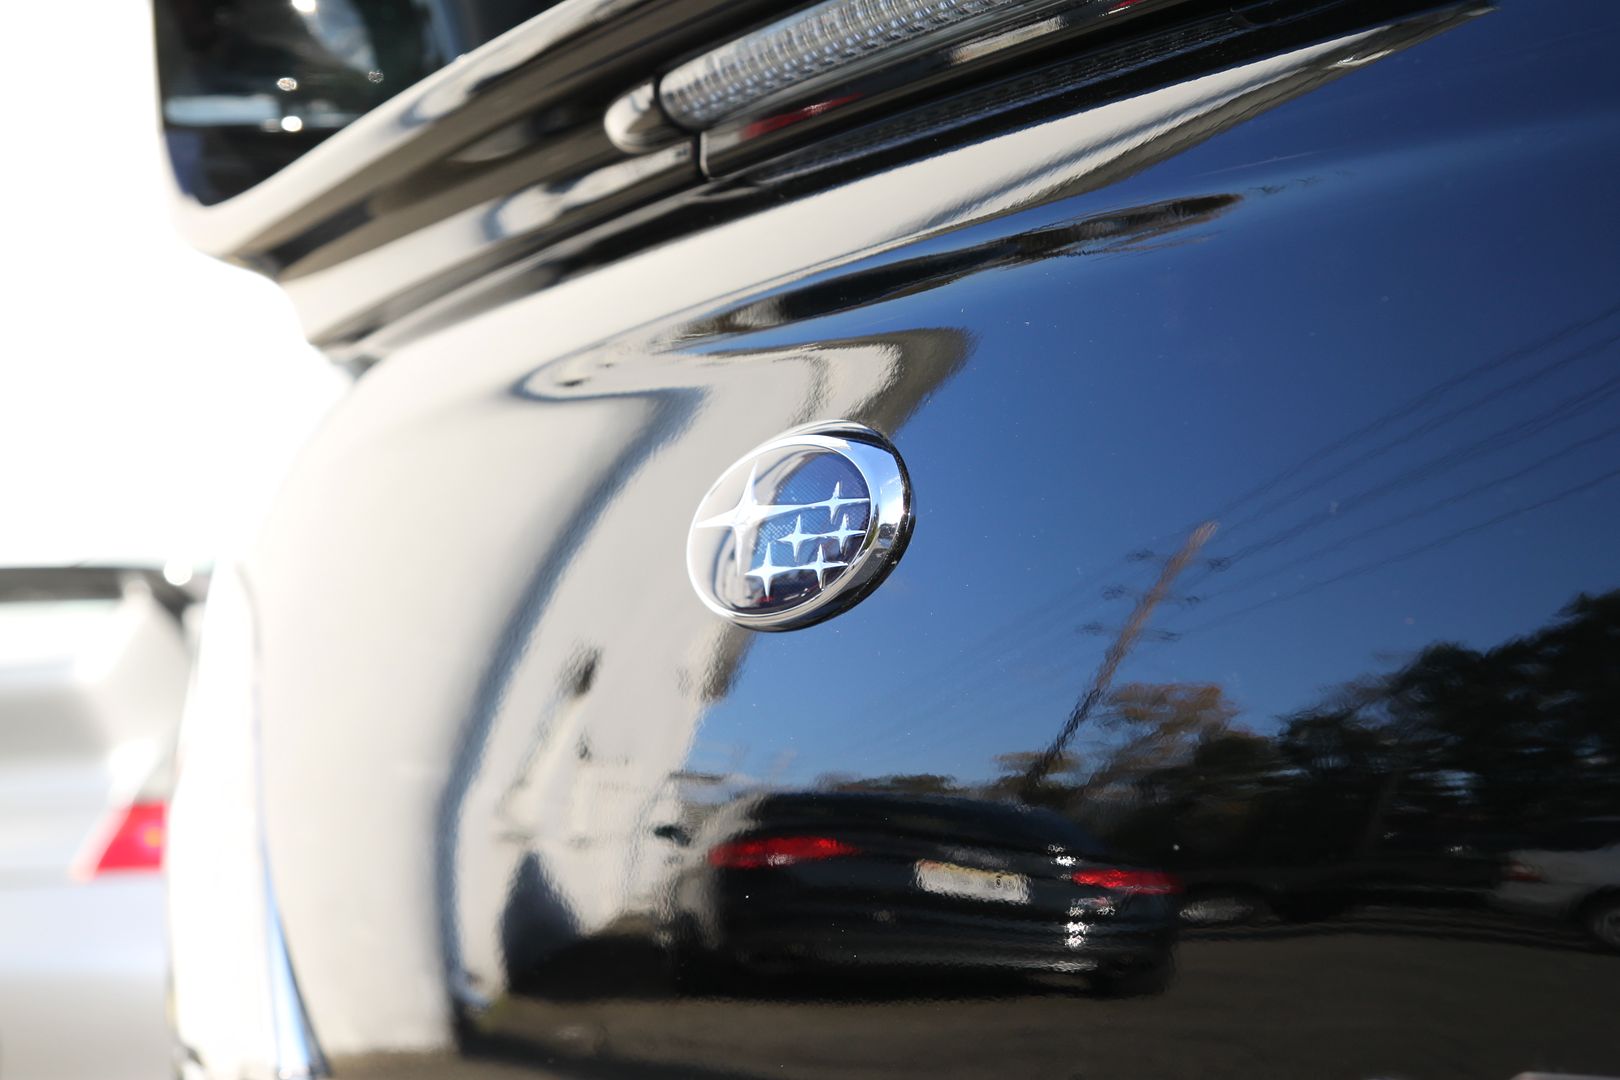
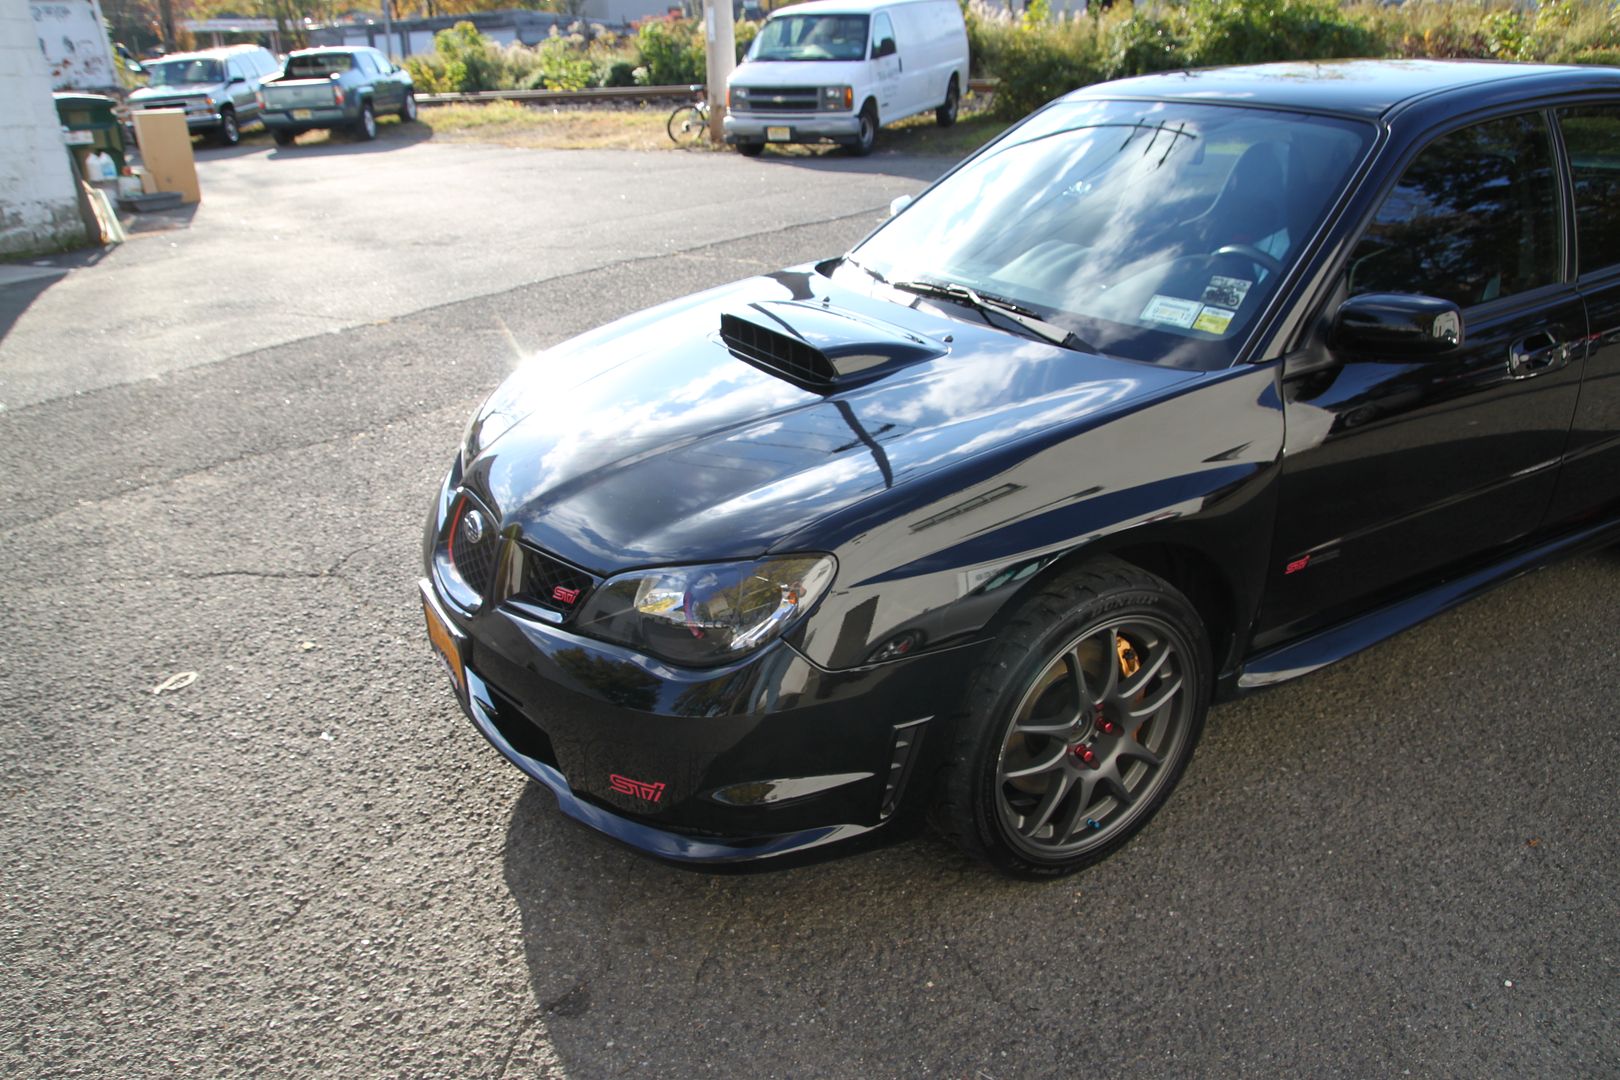
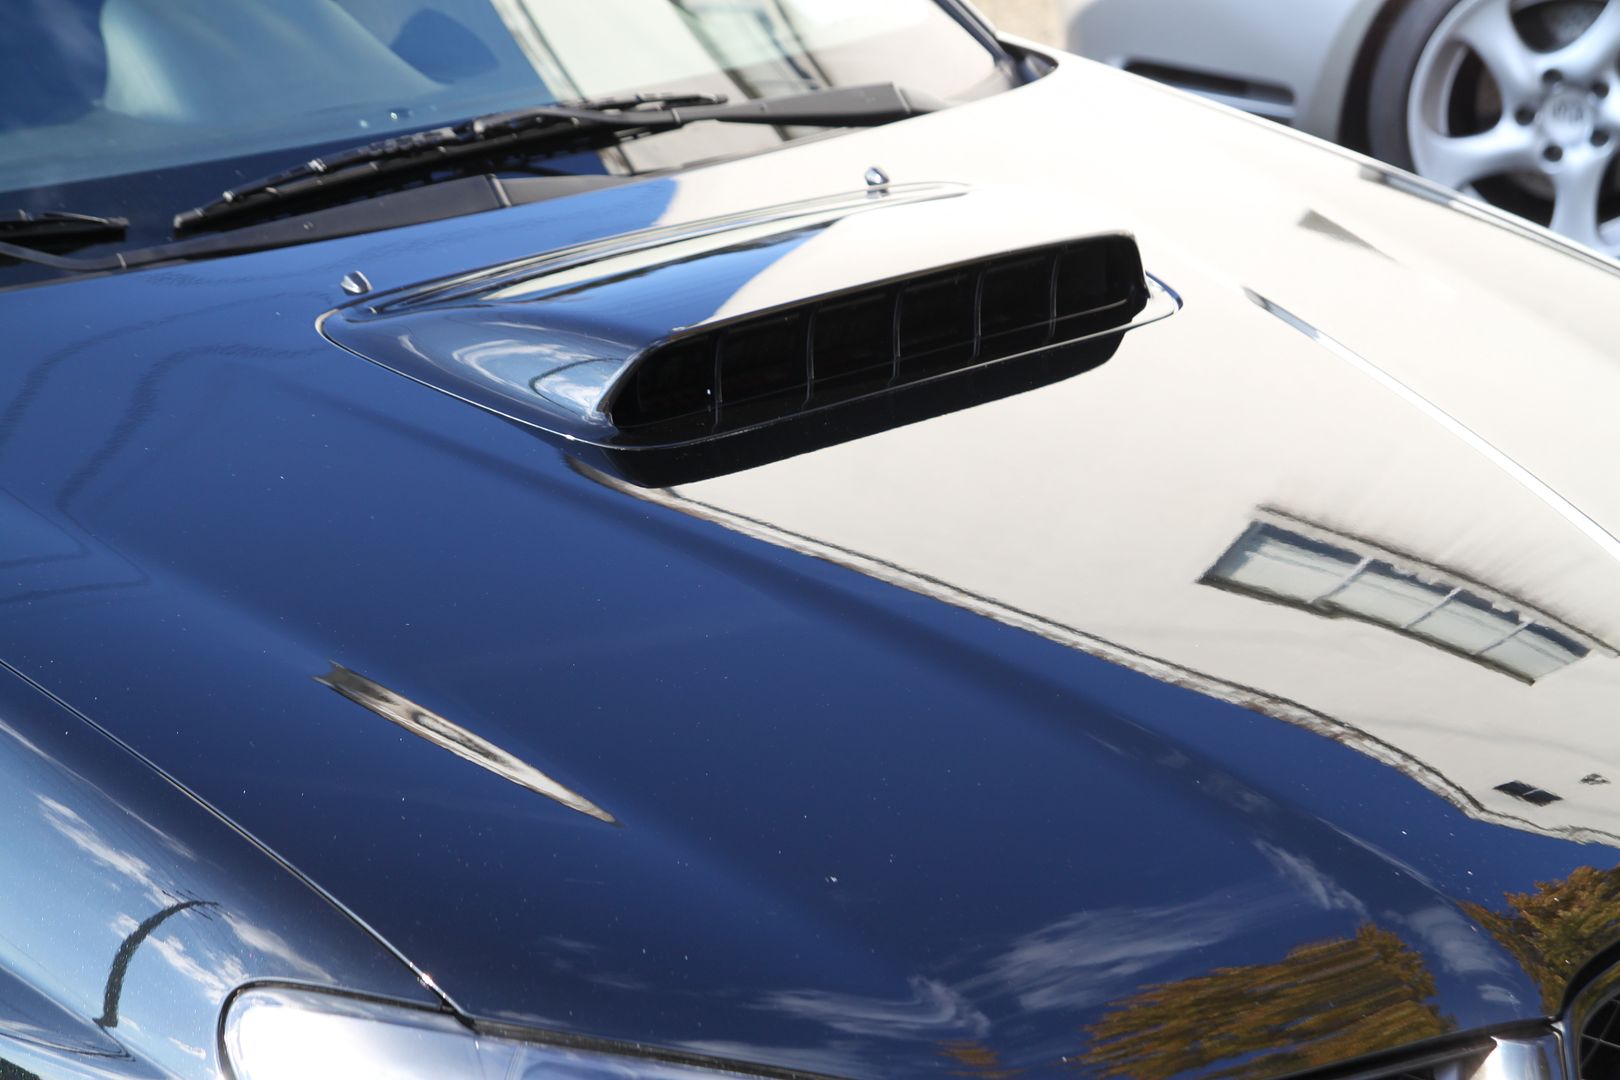
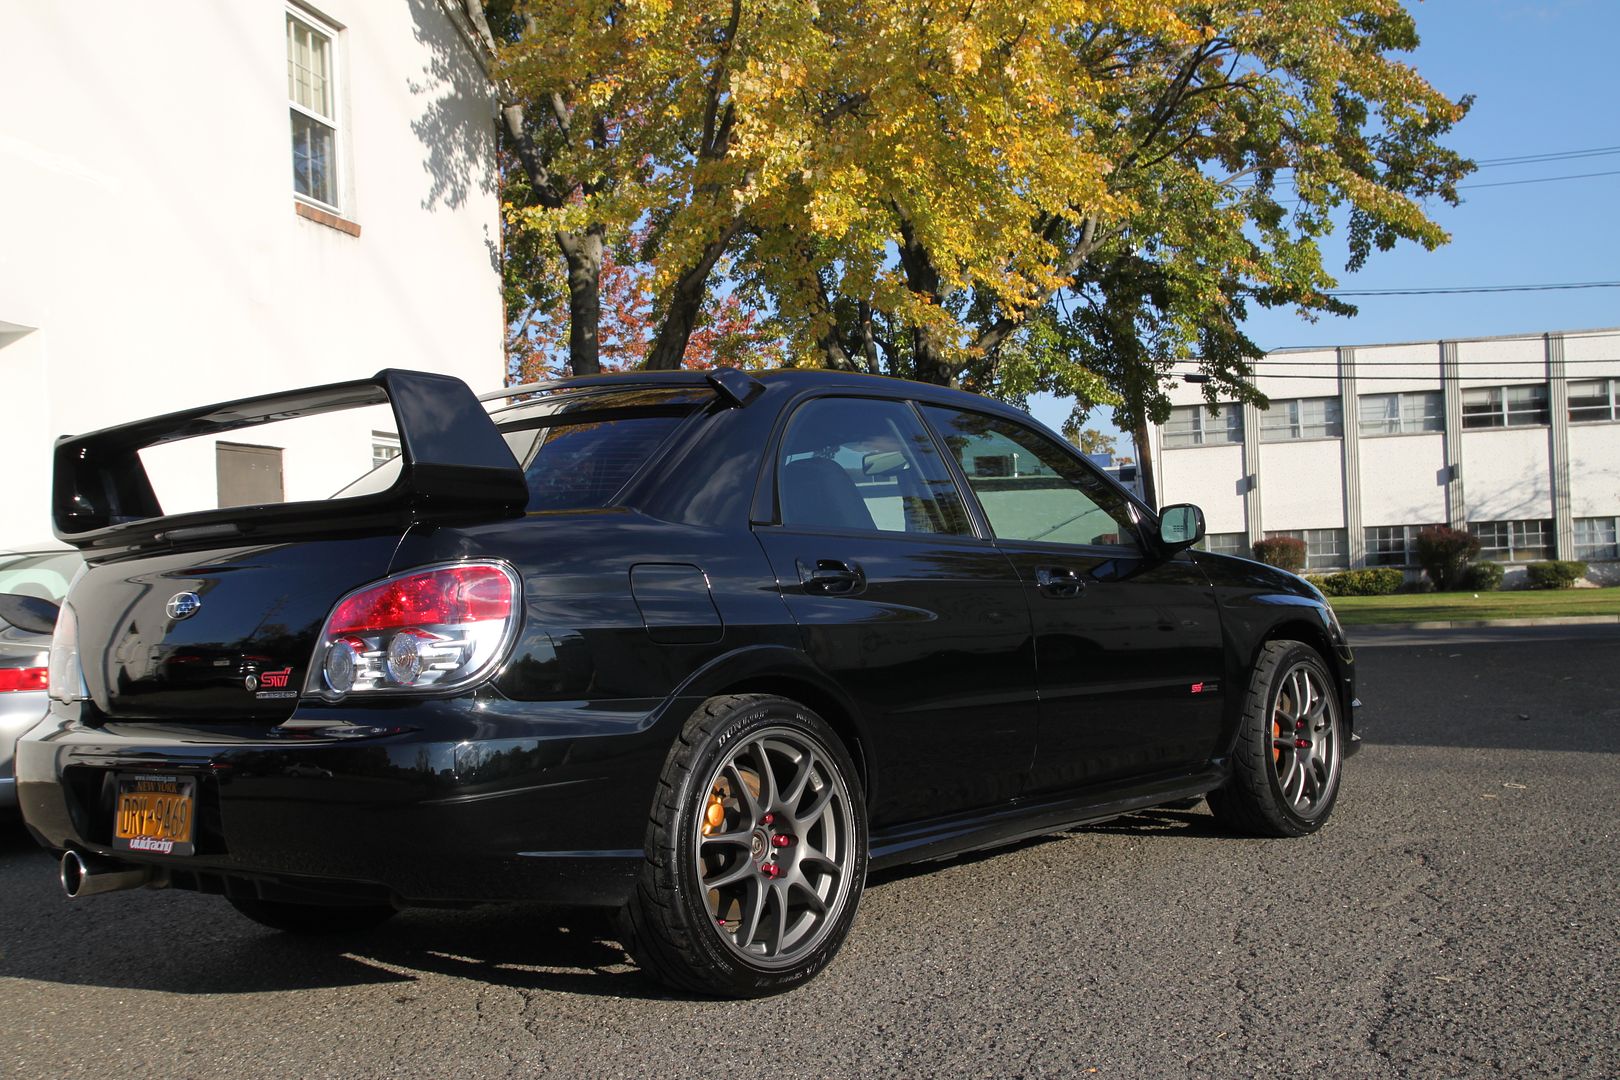
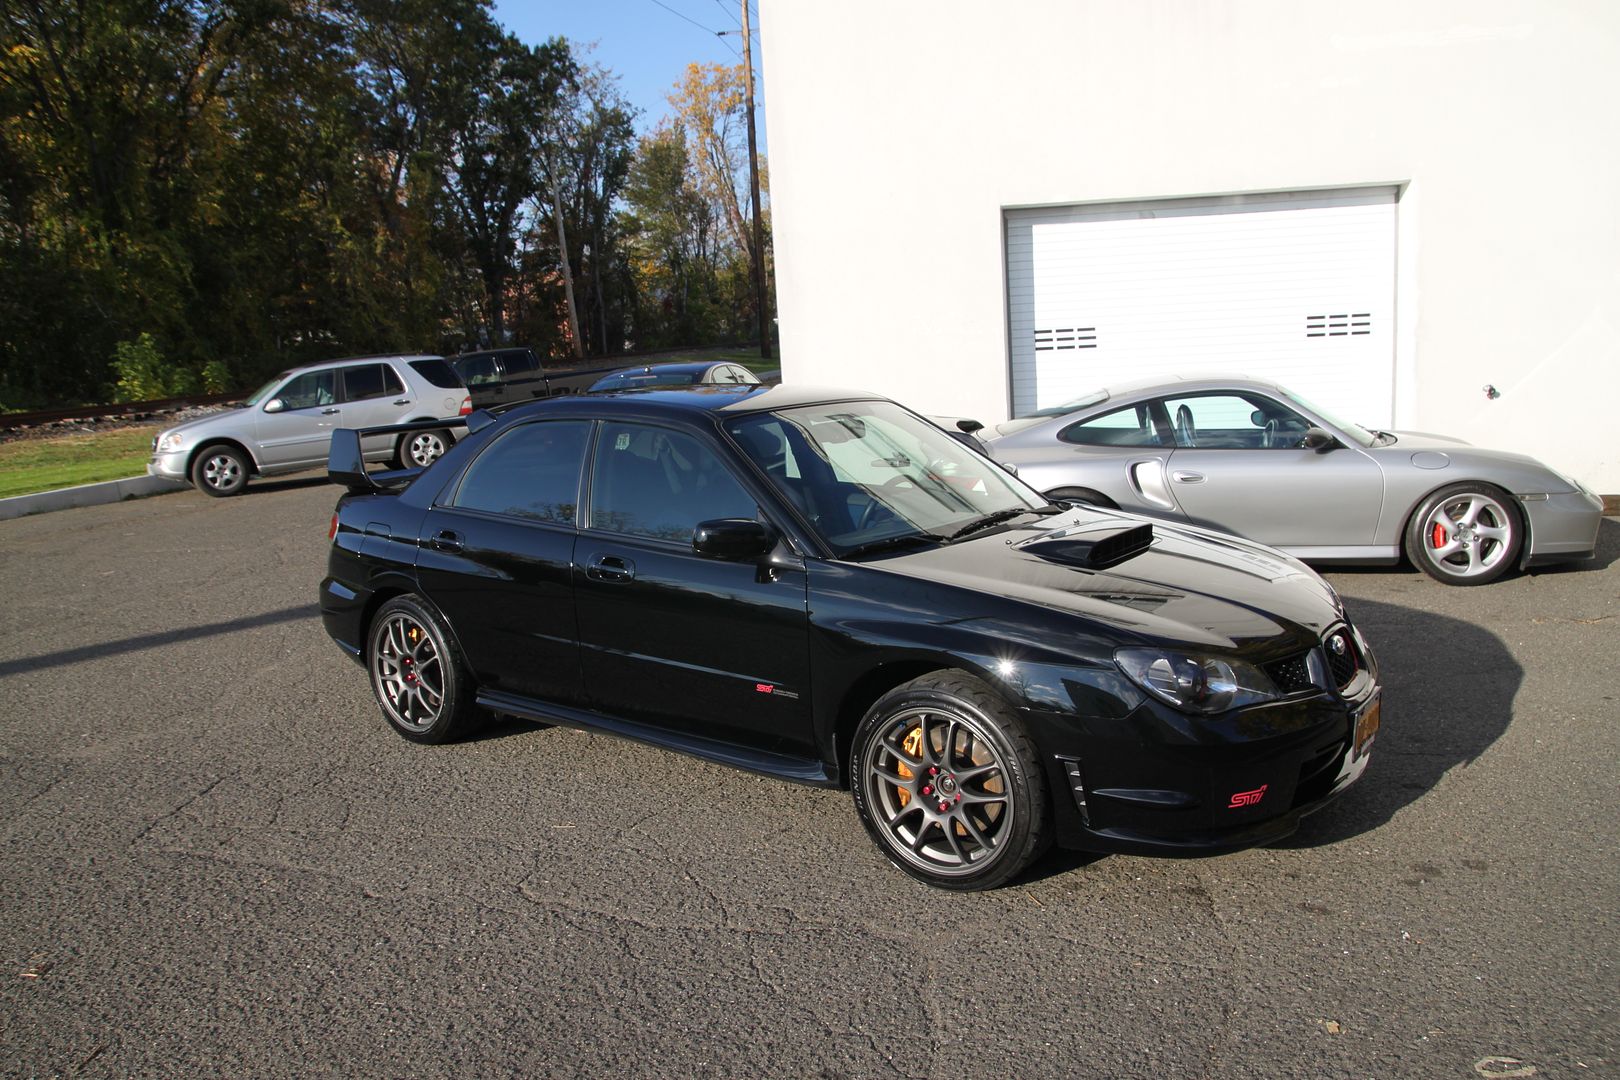
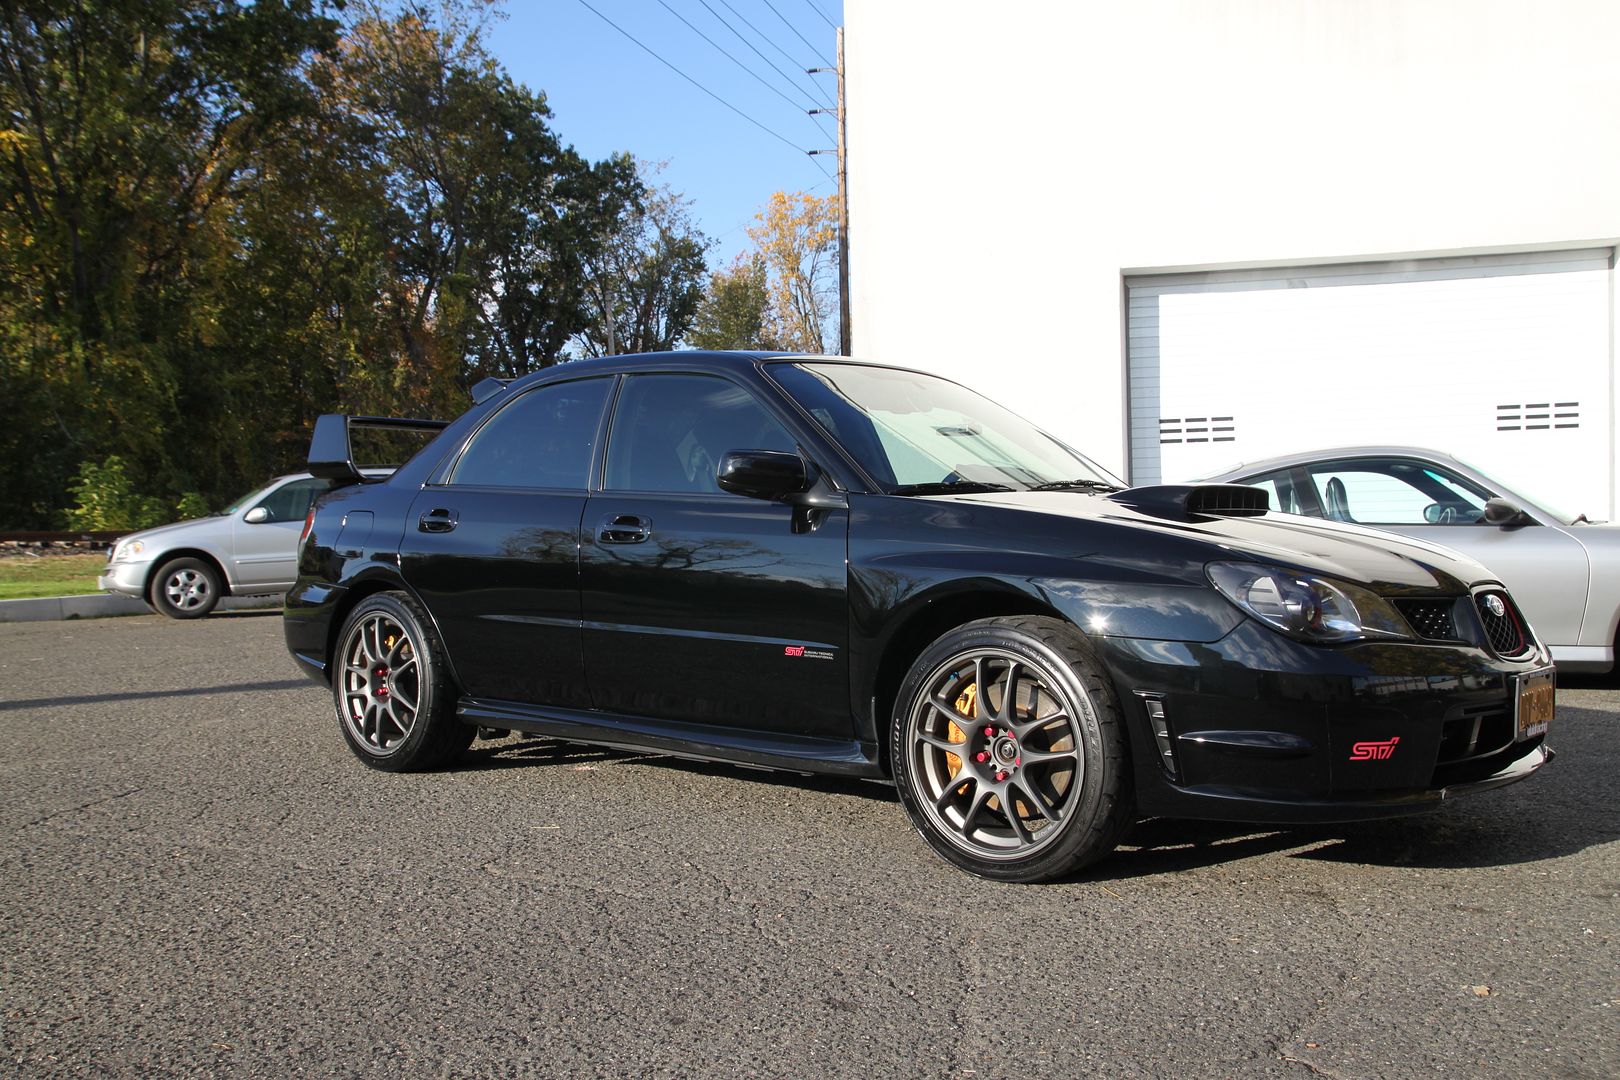
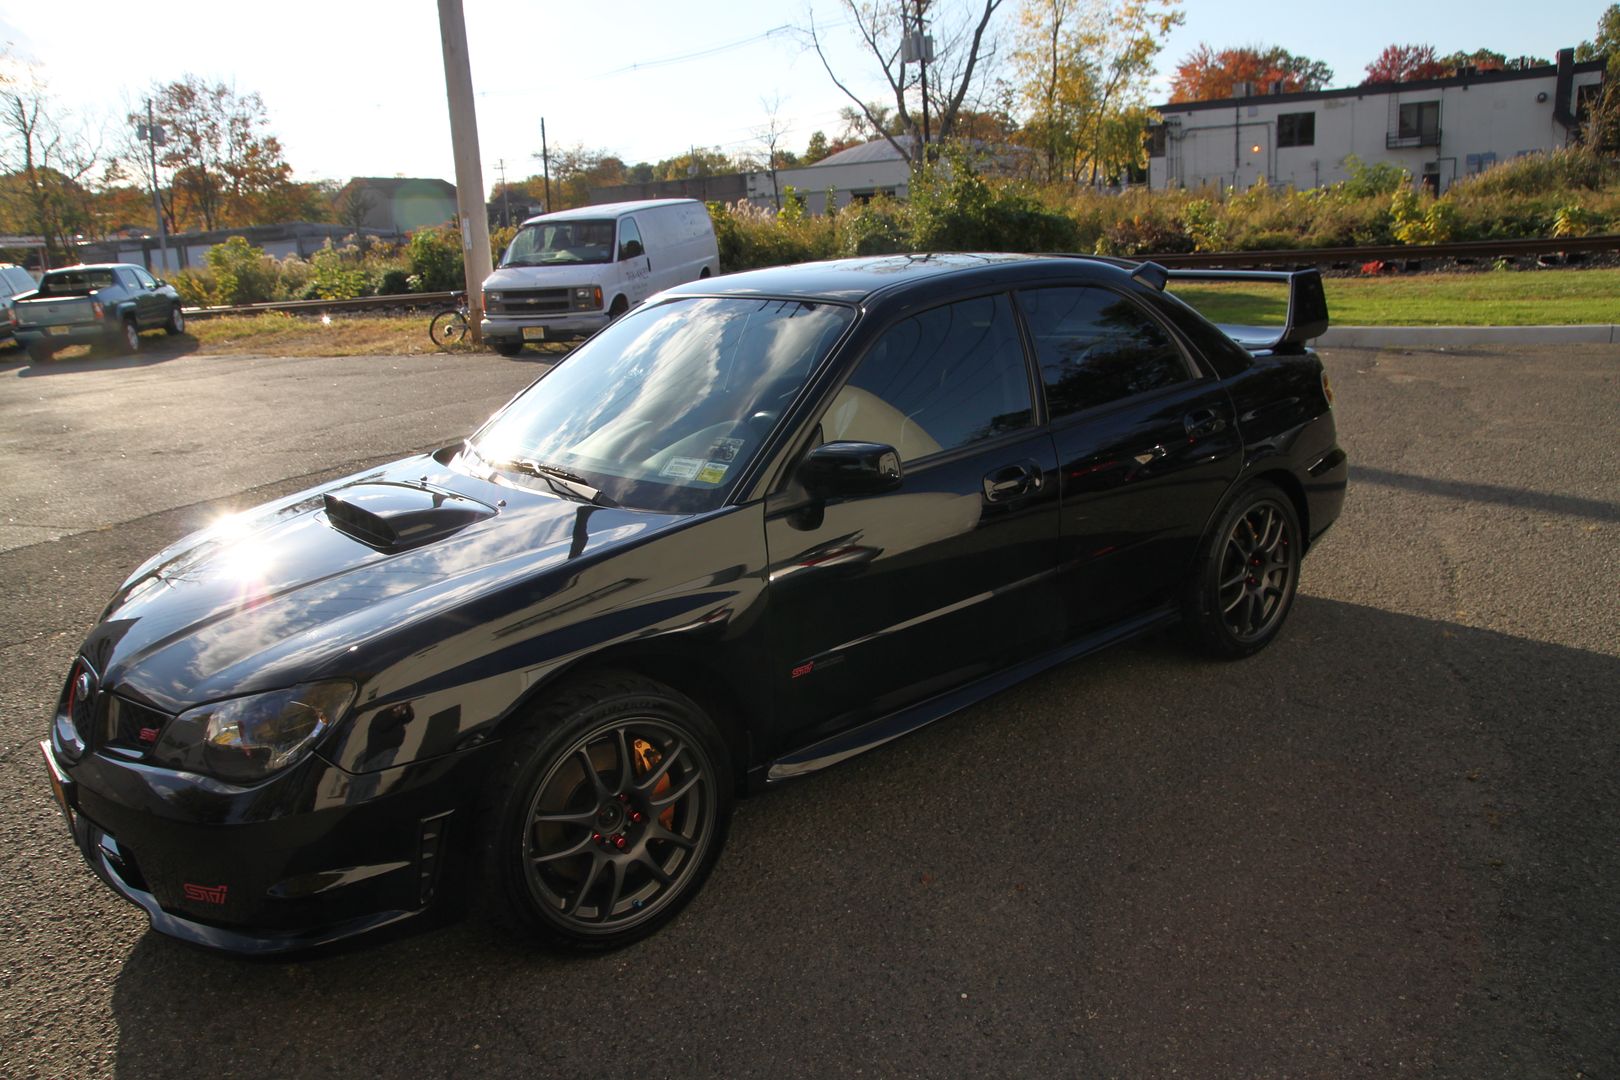
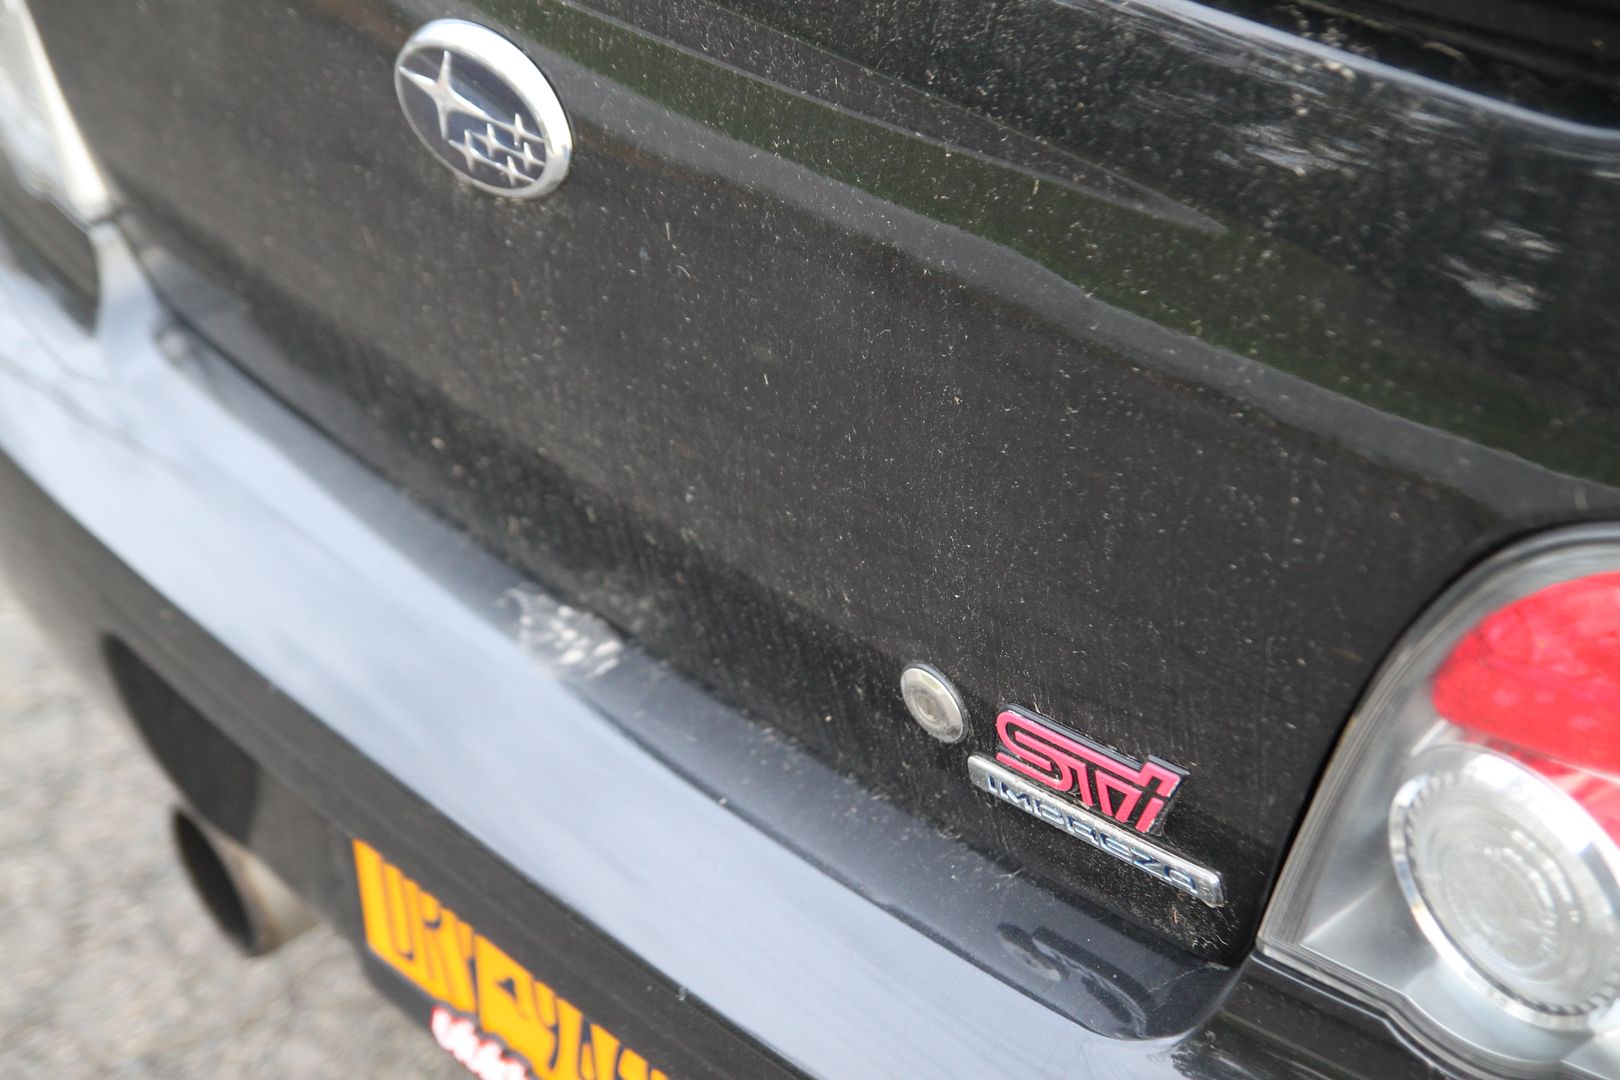
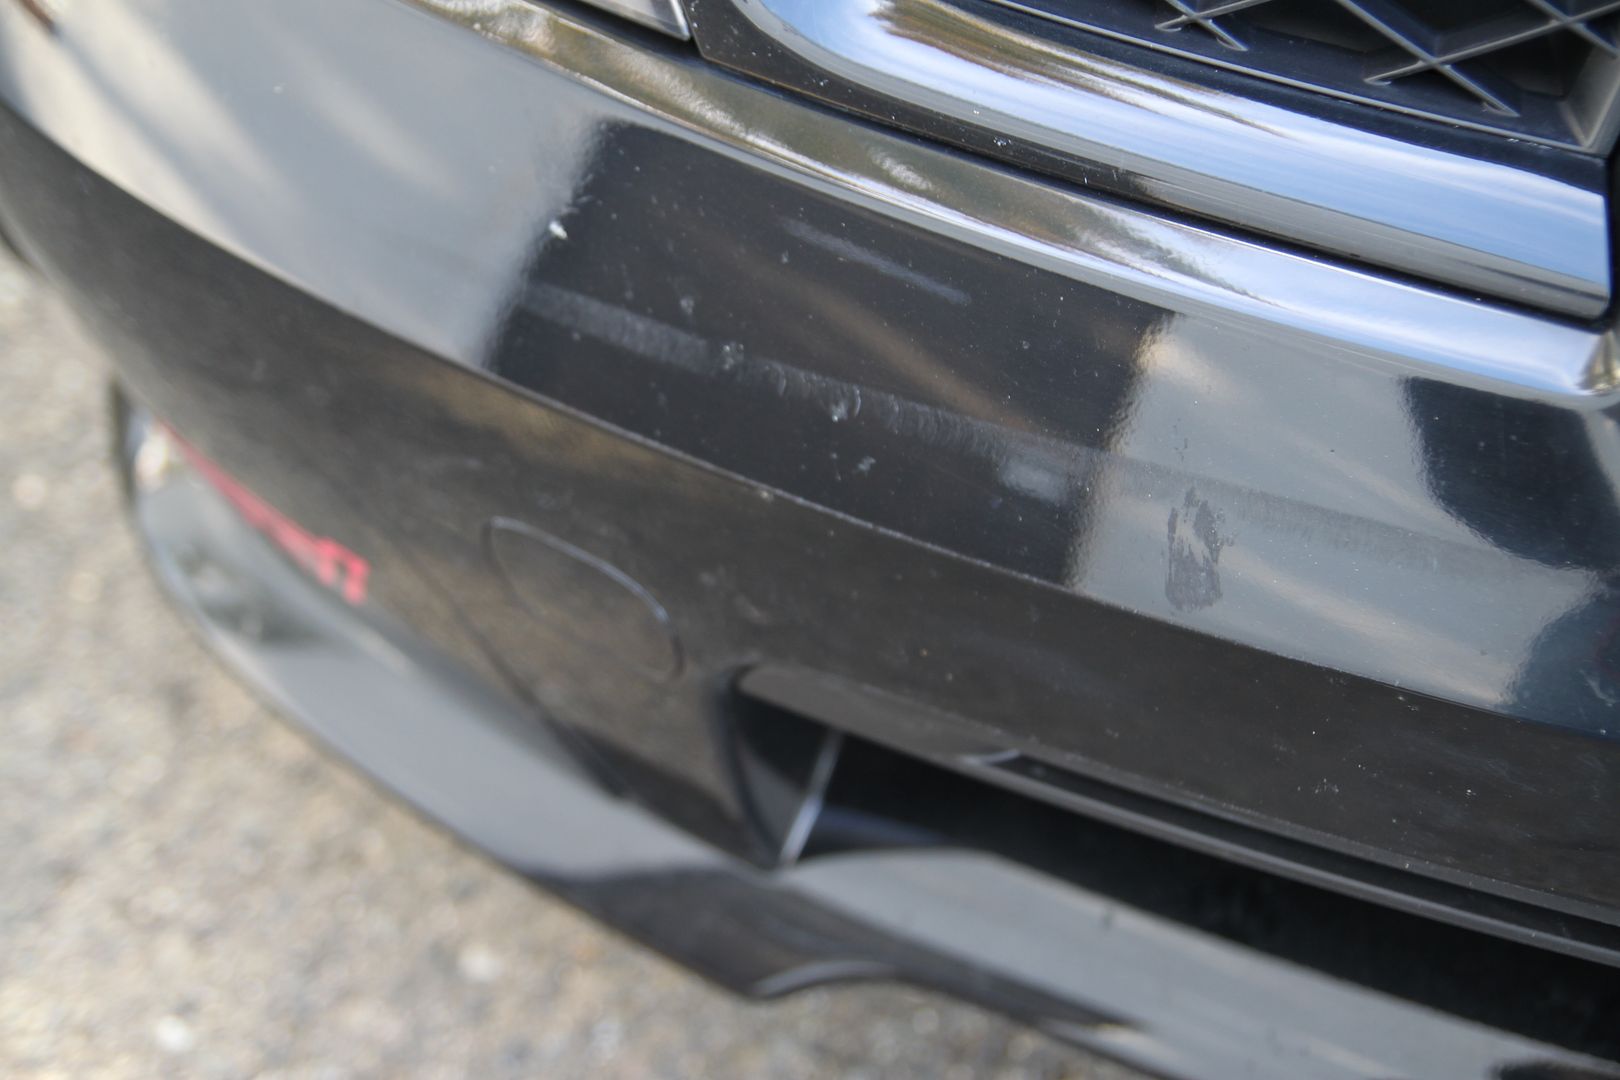
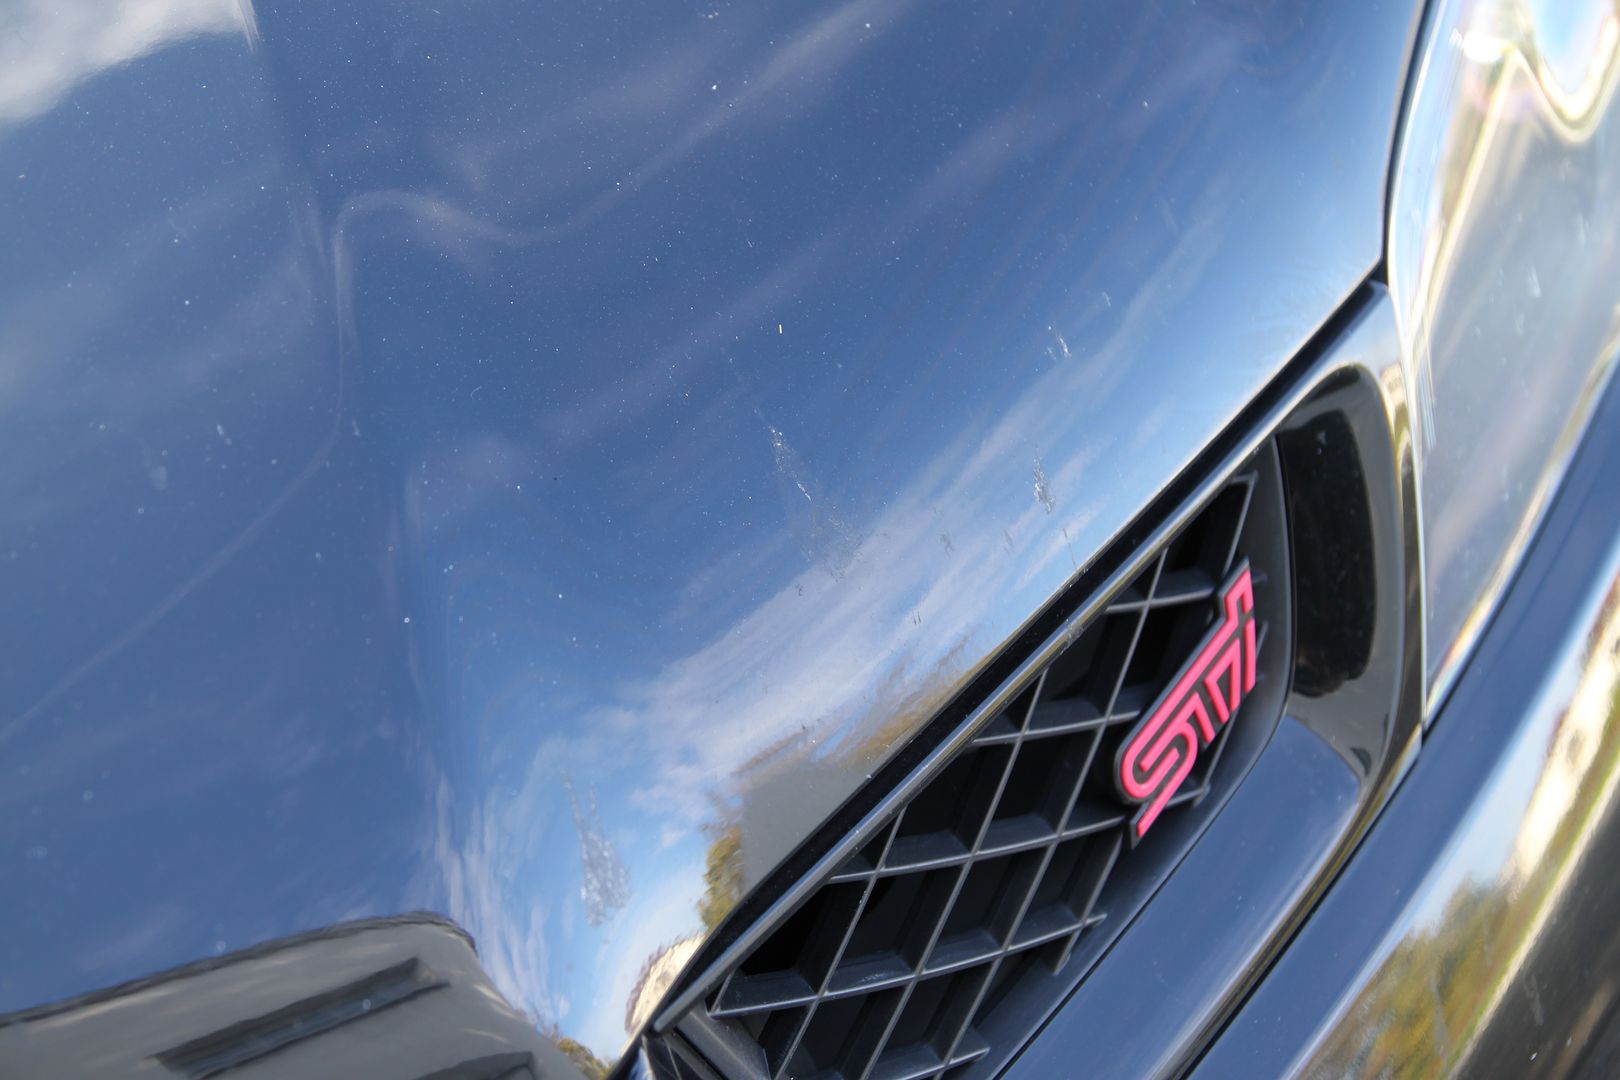
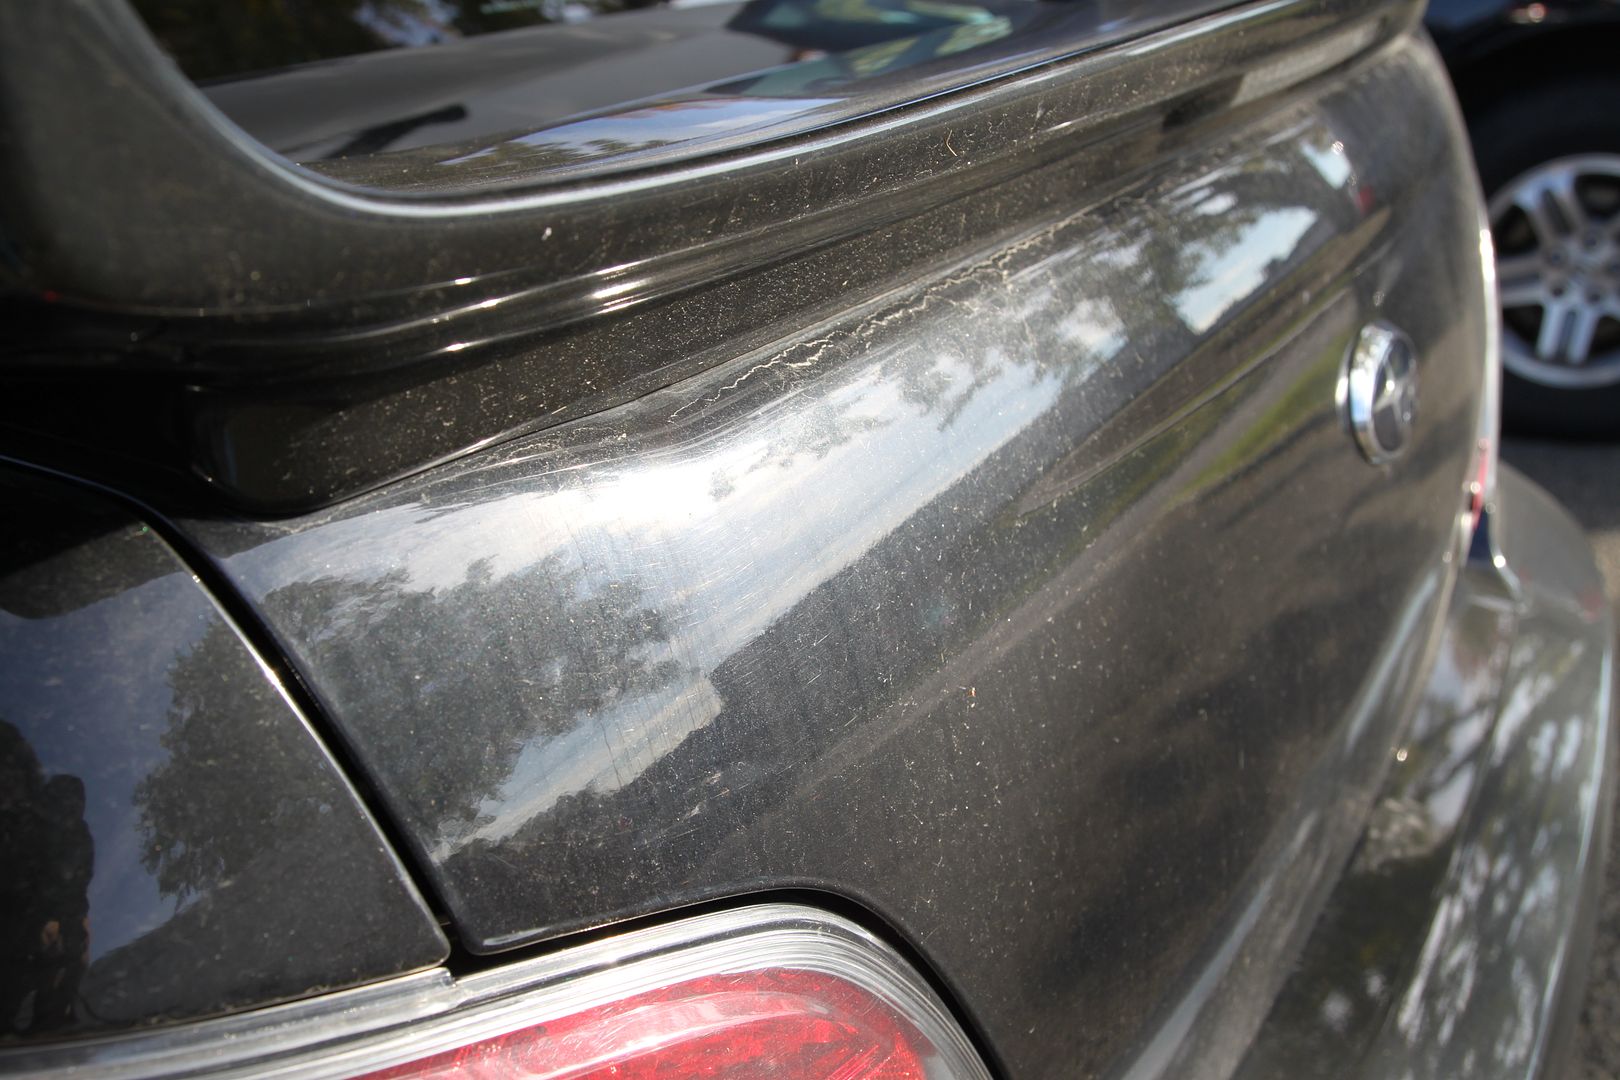
Here we have an 06 STI...WOW is all I can say, STICKY Paint!
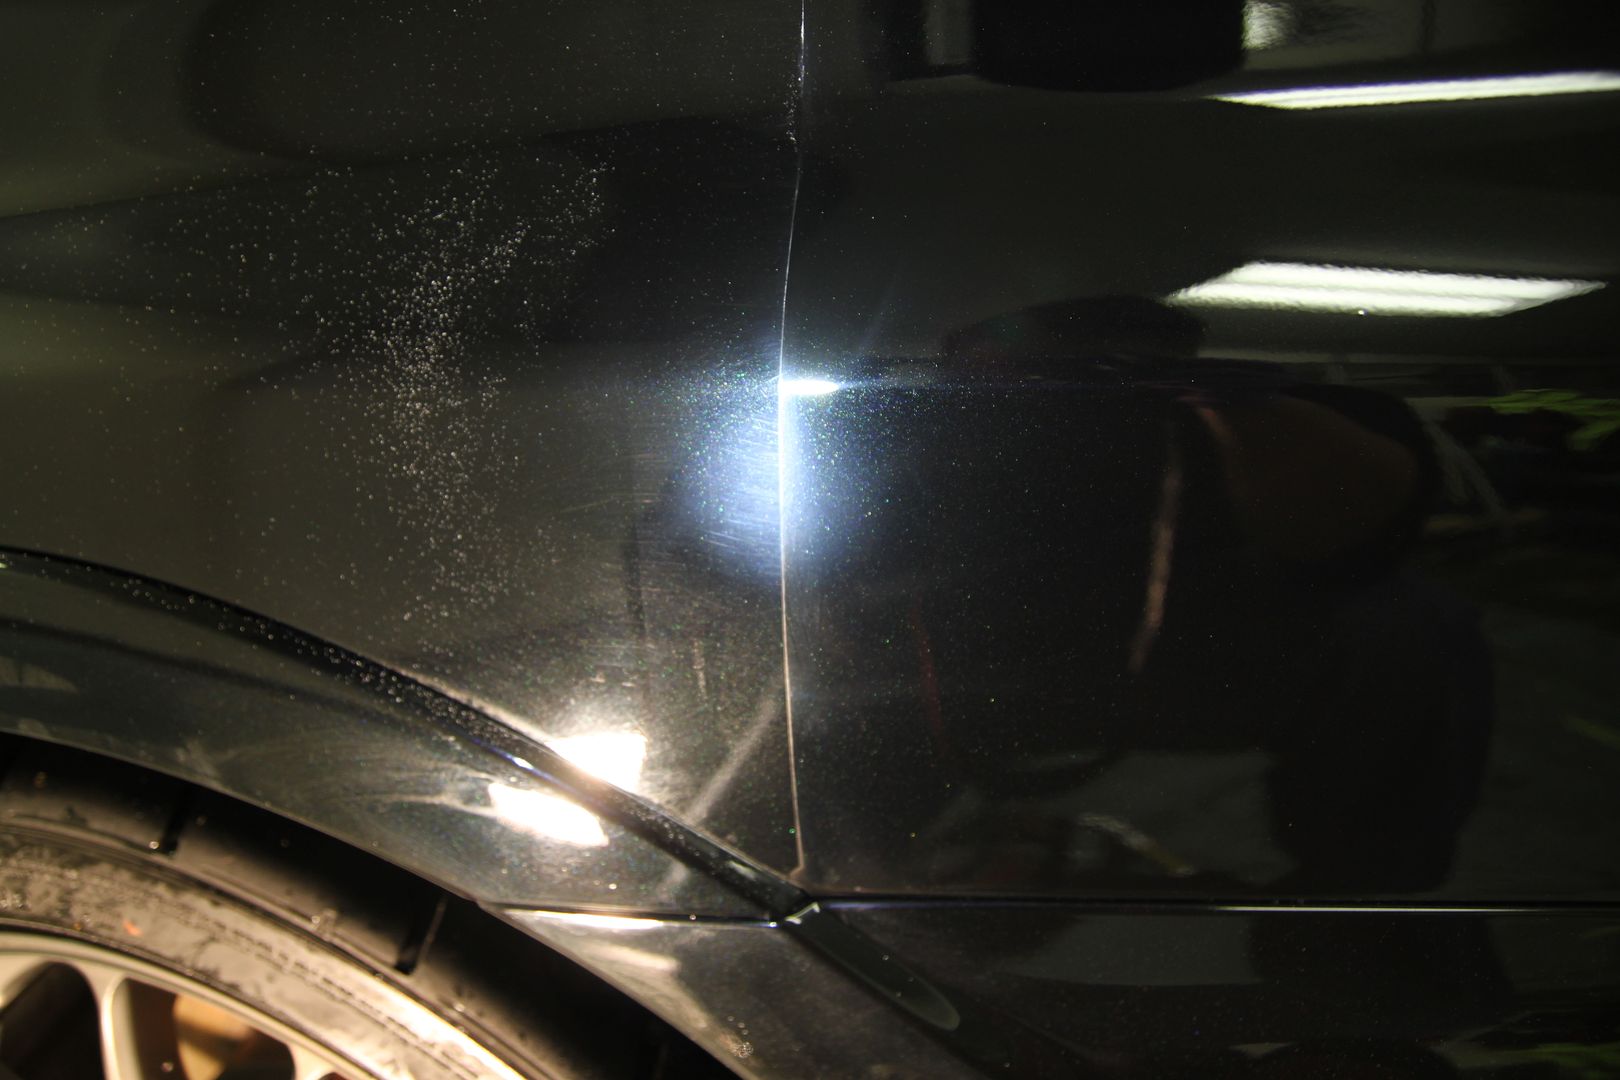
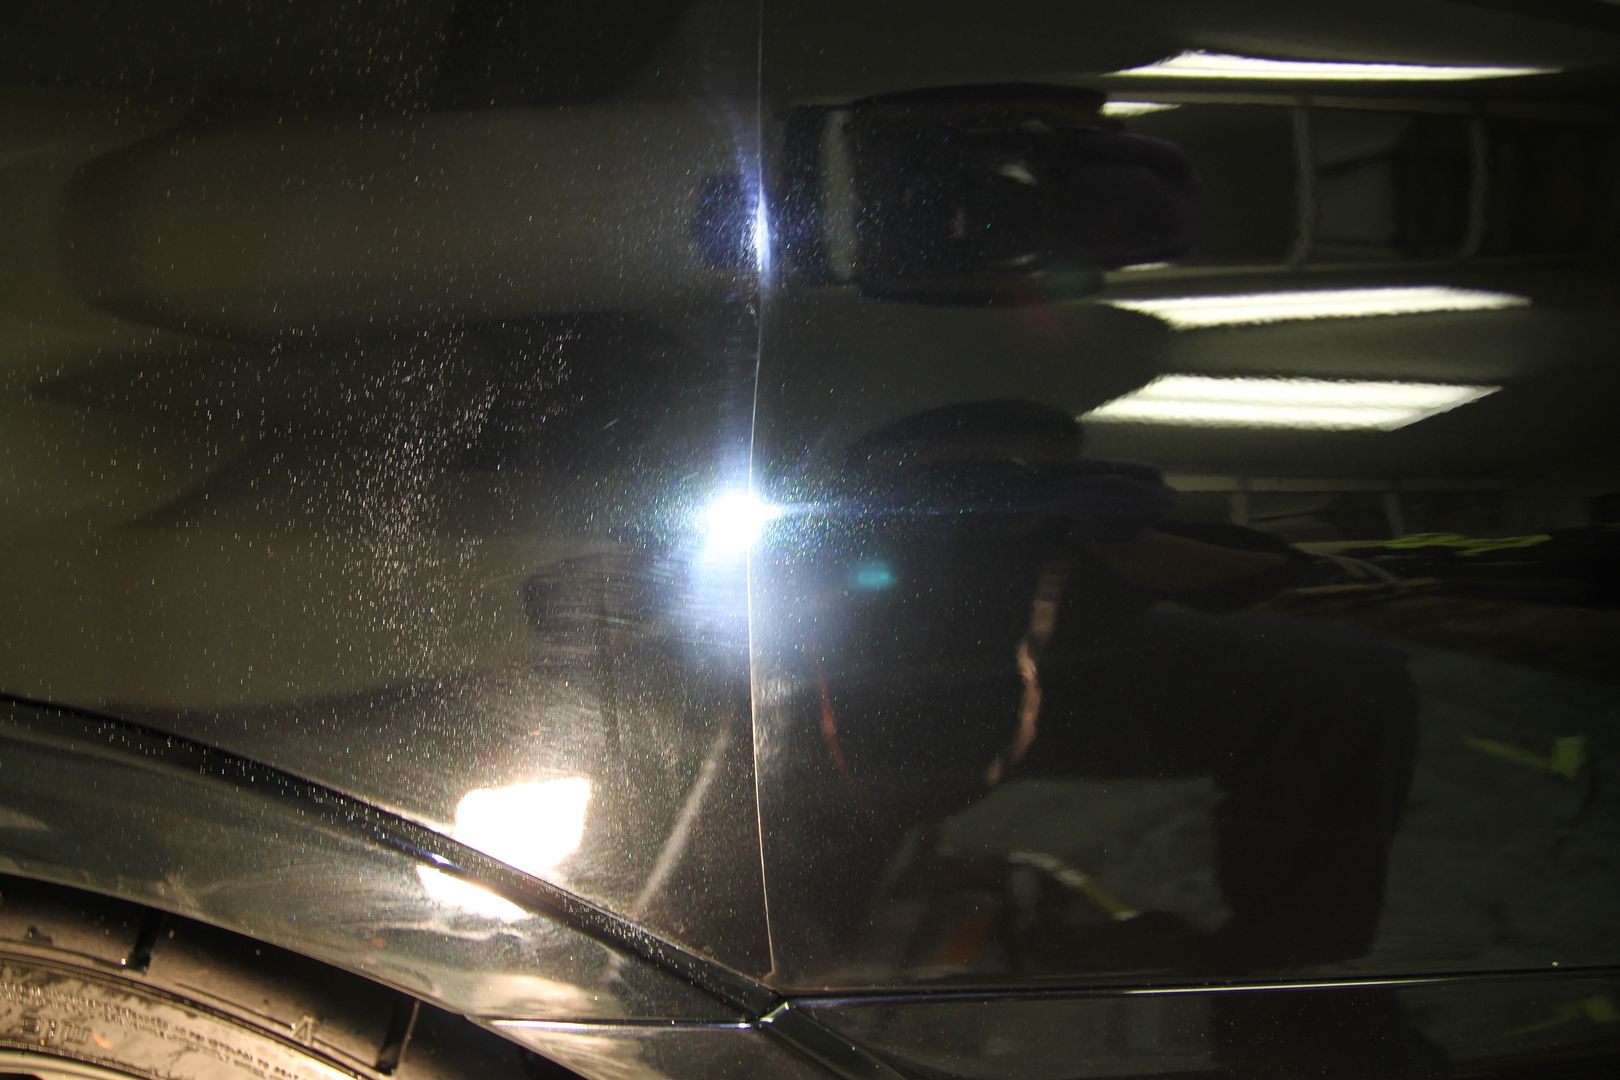
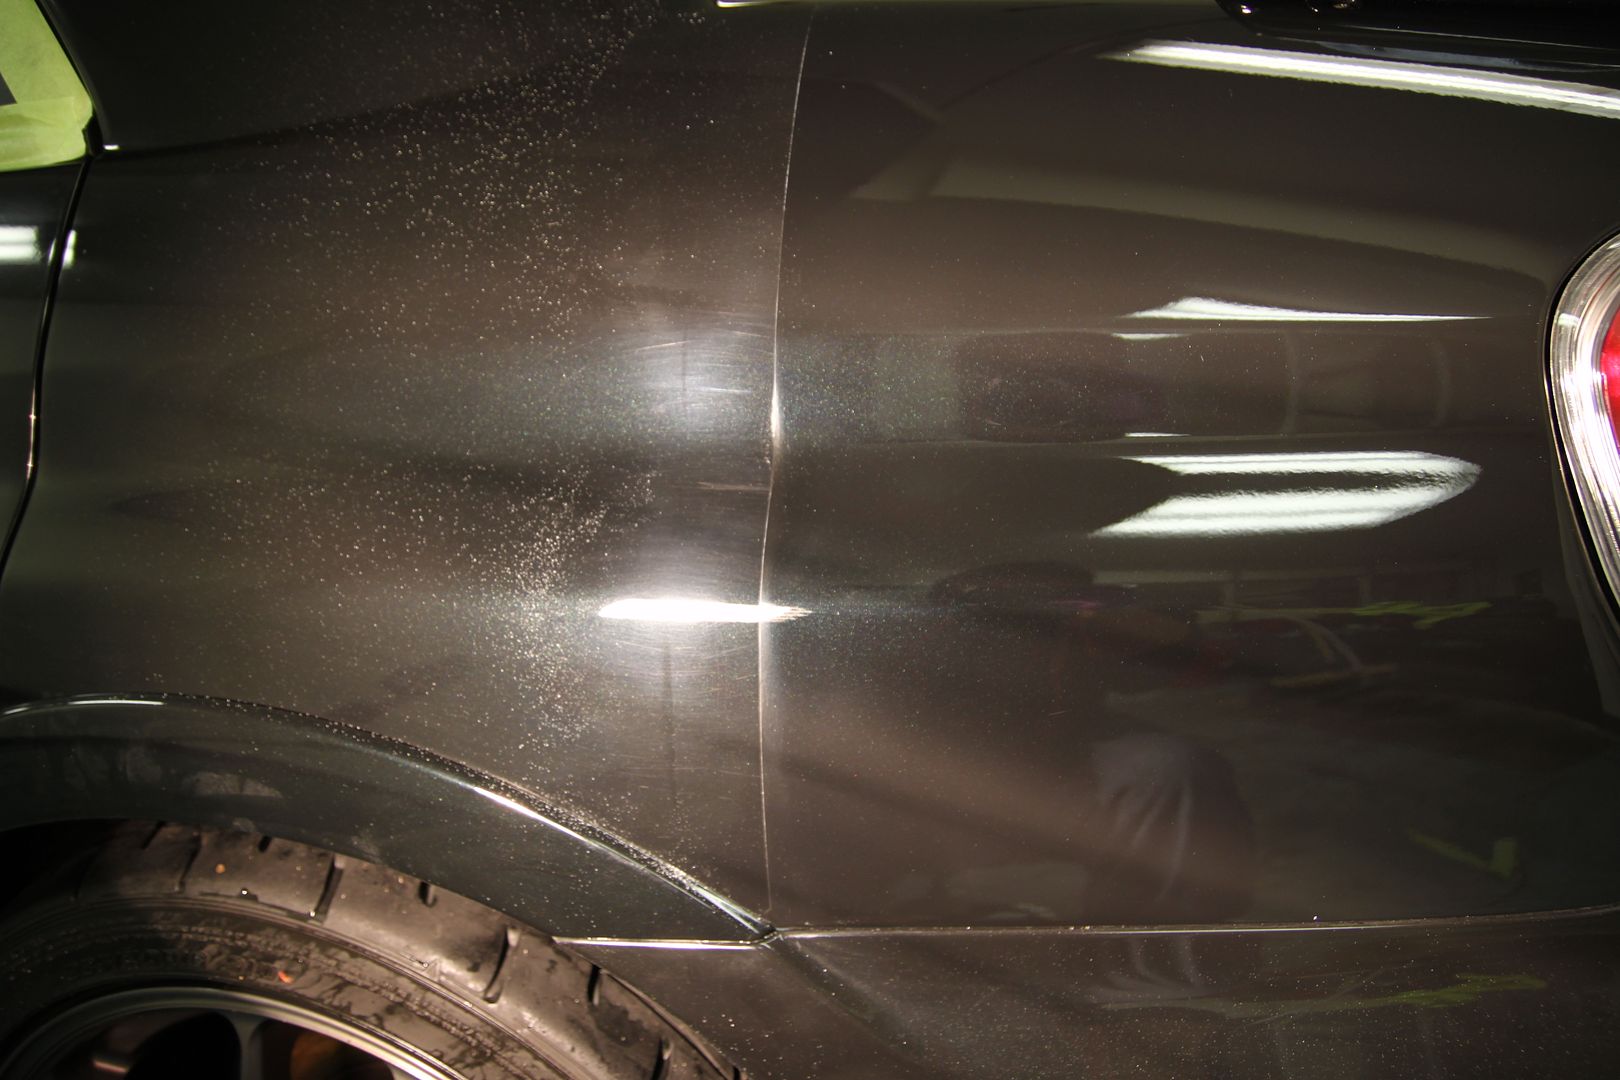
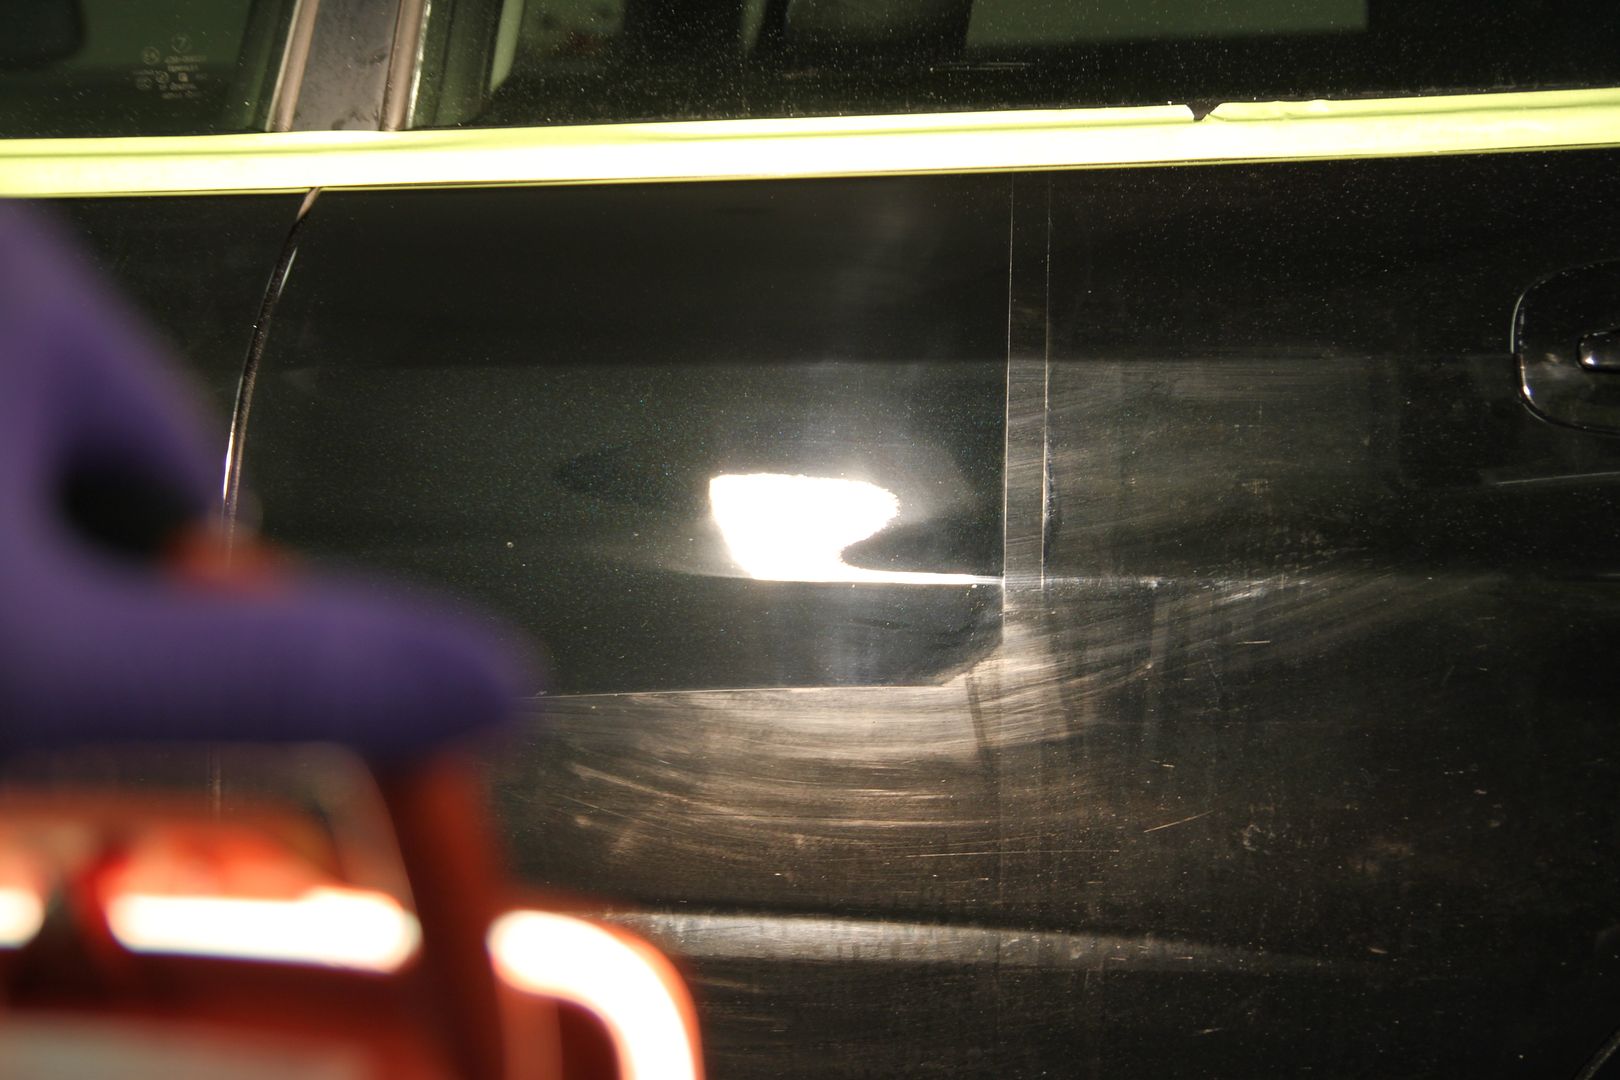
As Dave has said on a few occasions Subies have some major sticky paint! We have done a few of them in WRB/White/Silver but this is one of the first ones (Black) in which we encounter some really STiCKY paint, everything I put on this turn to paste, and each time we wiped off we would mar and put tiny scratches back in the STICKY and super soft paint.
After about 15-18 hours I really lost track of time we finally got it done.
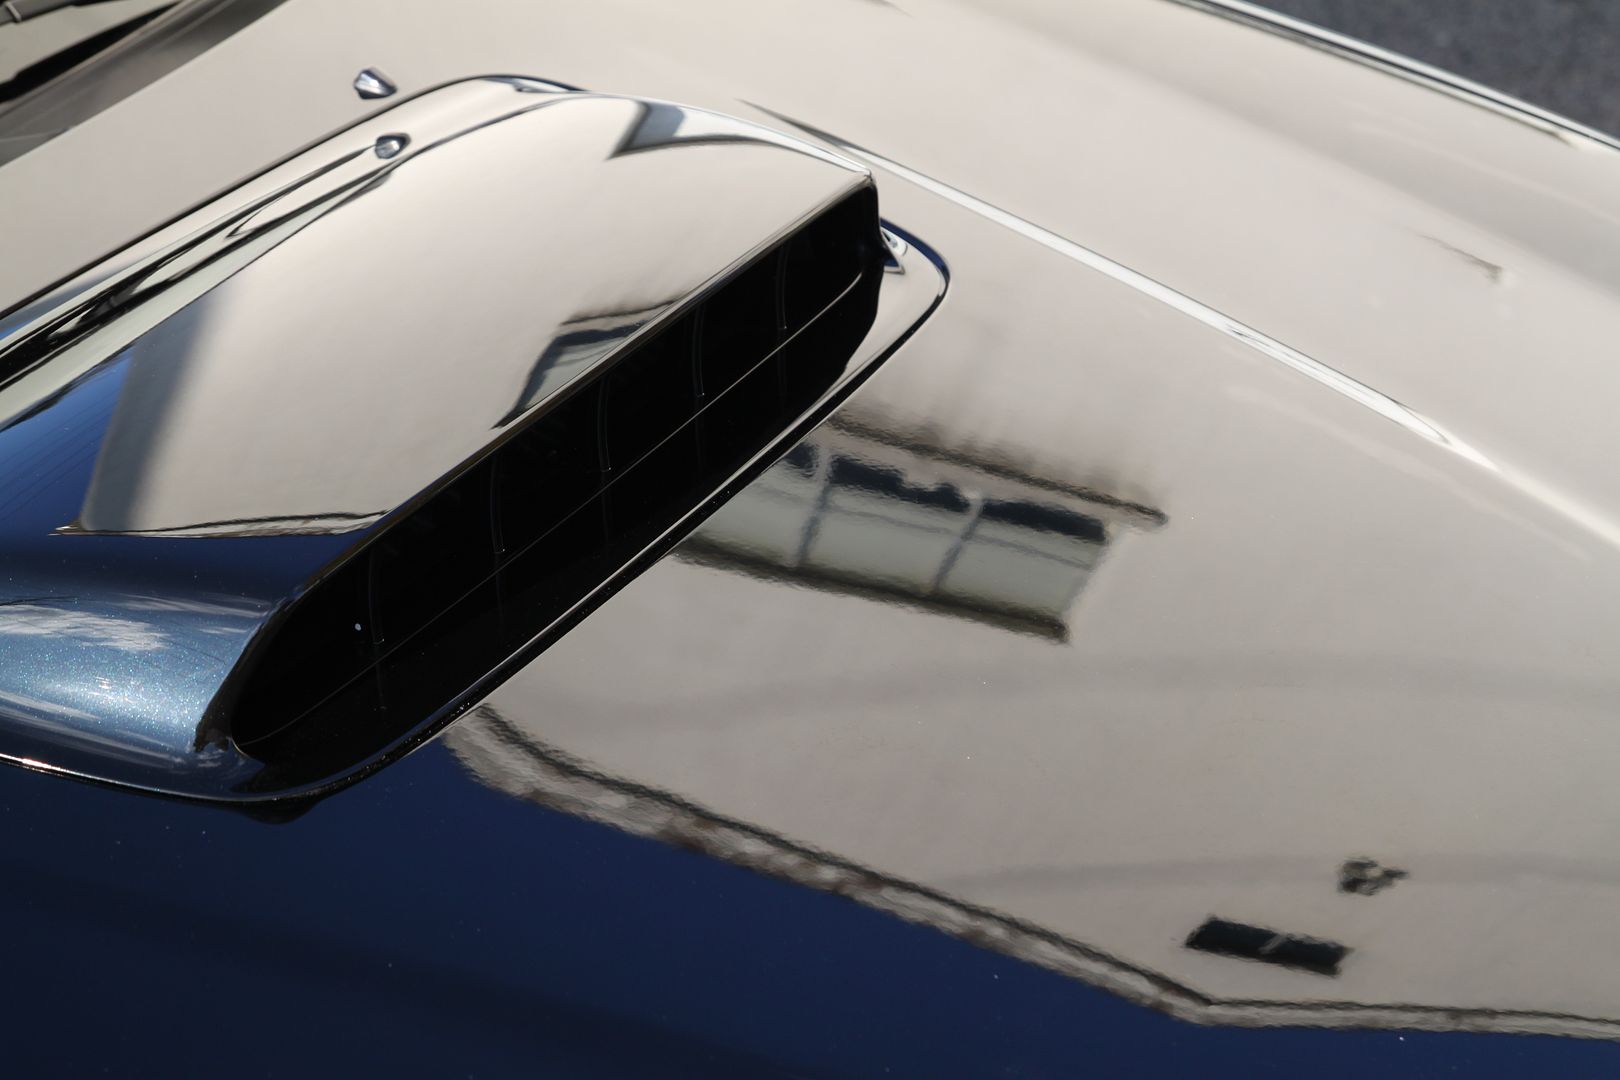
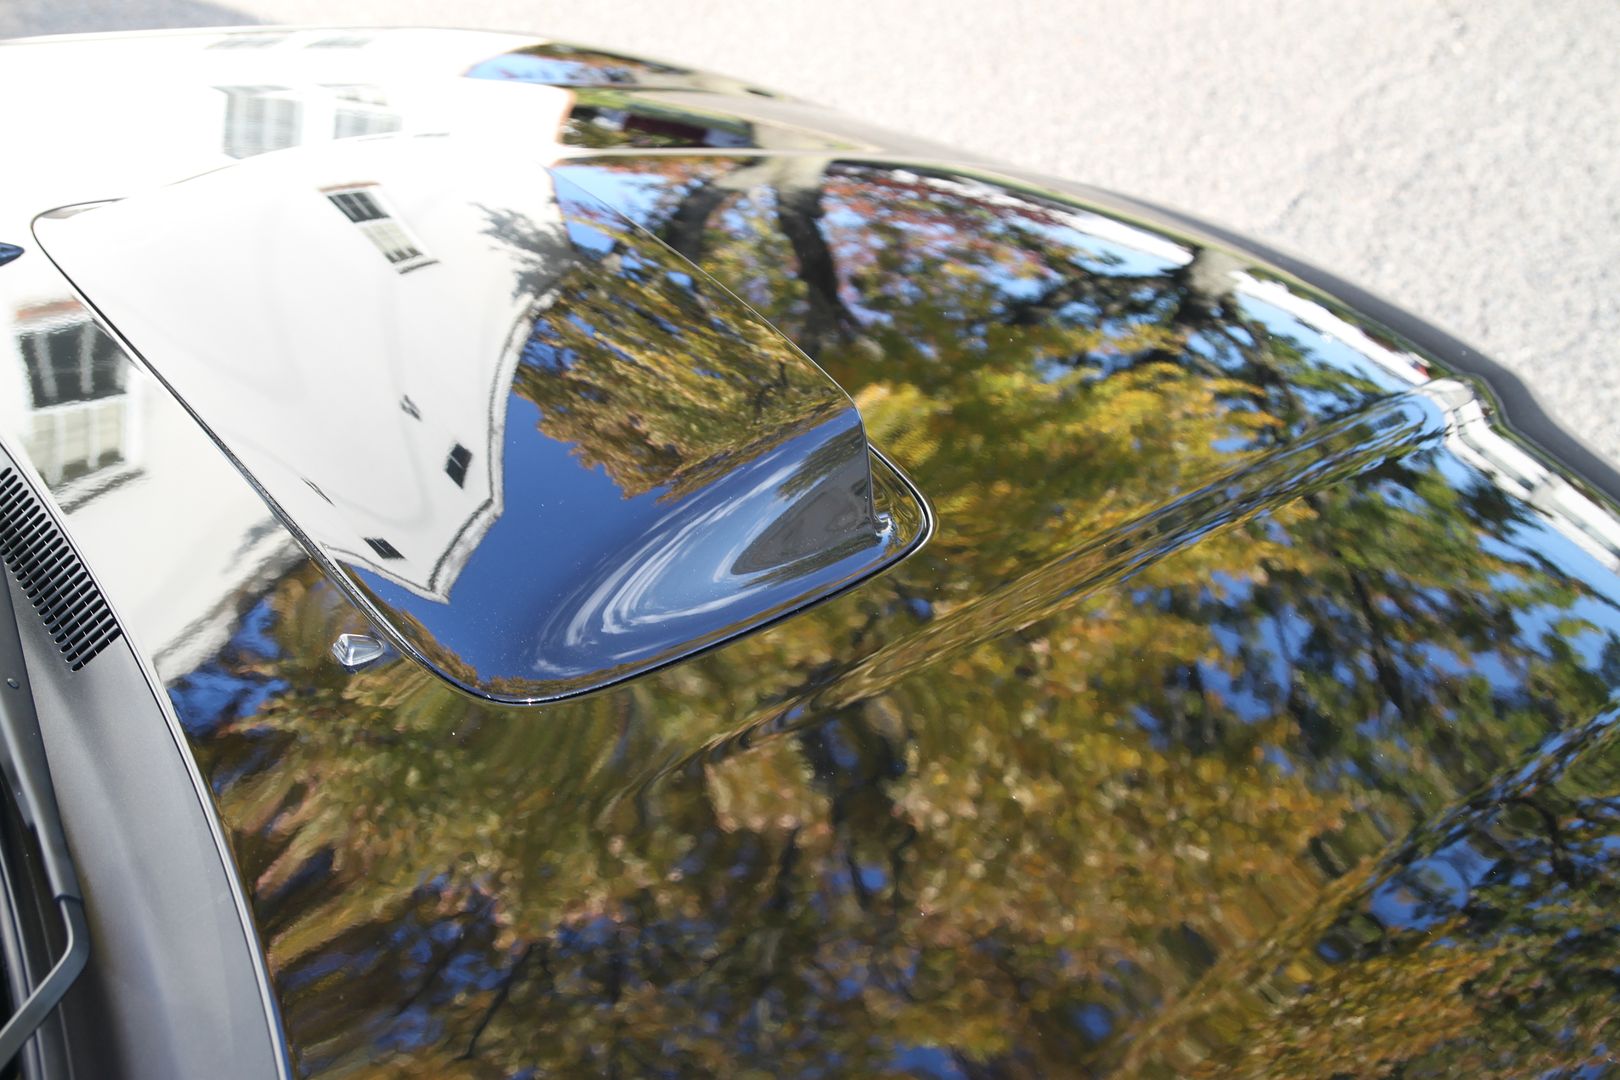
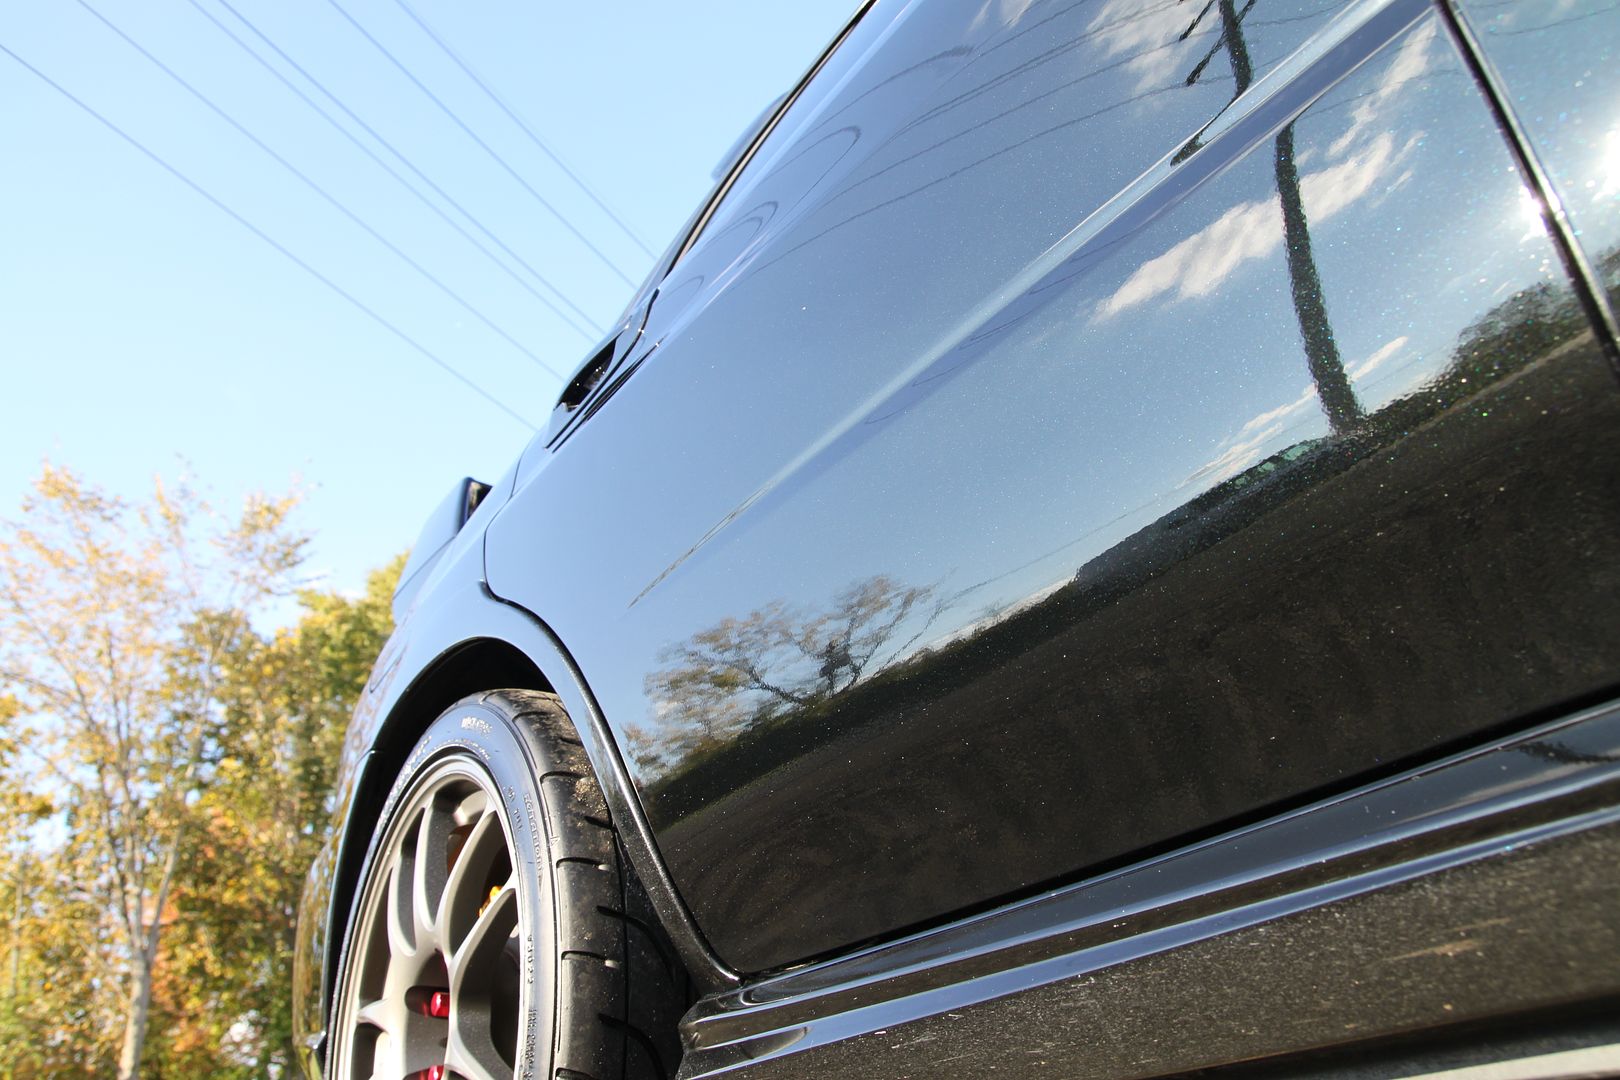
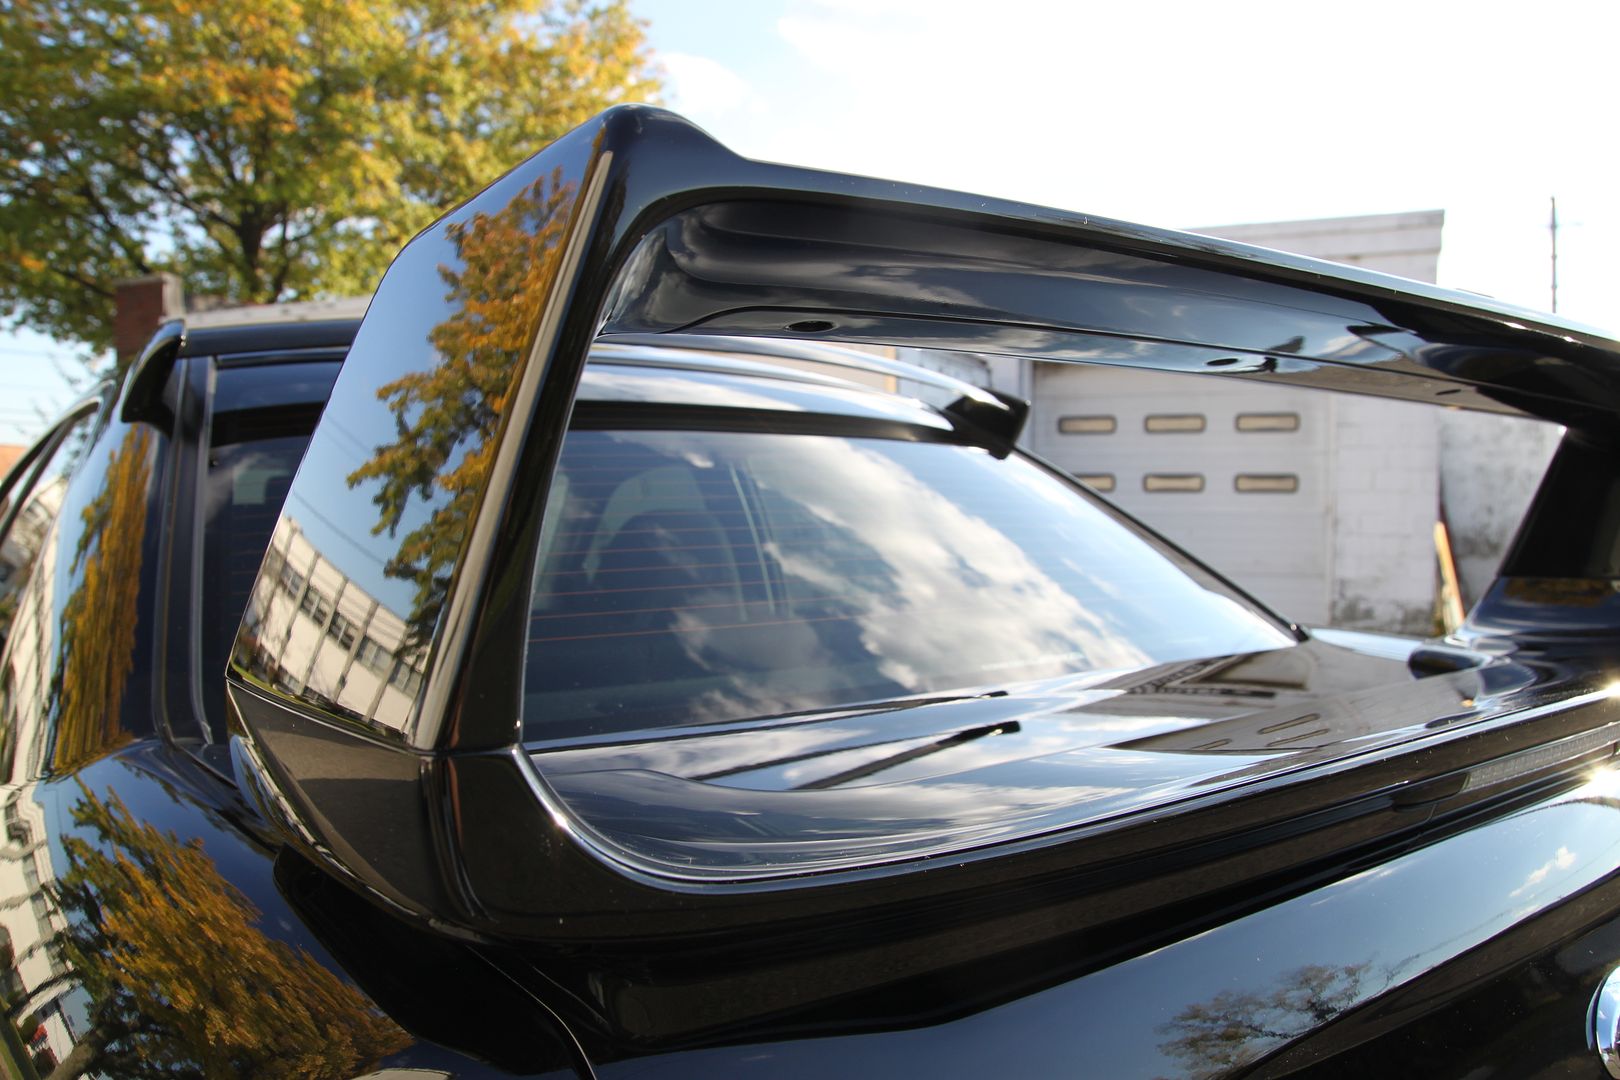
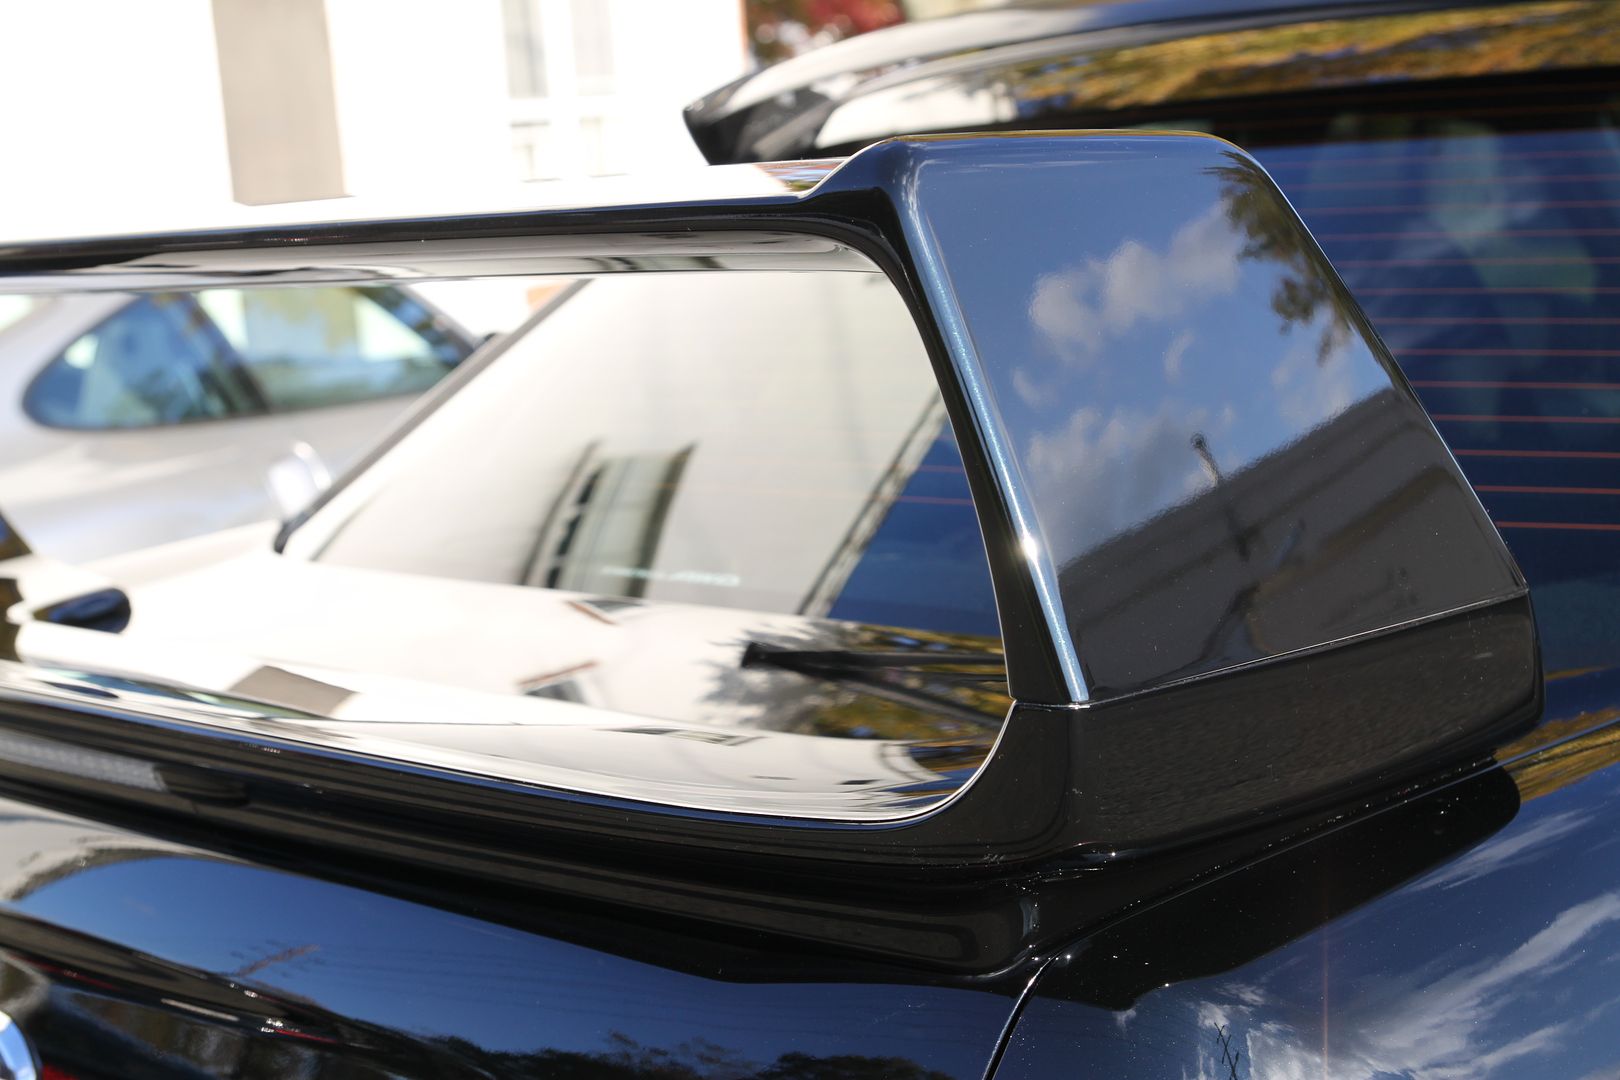
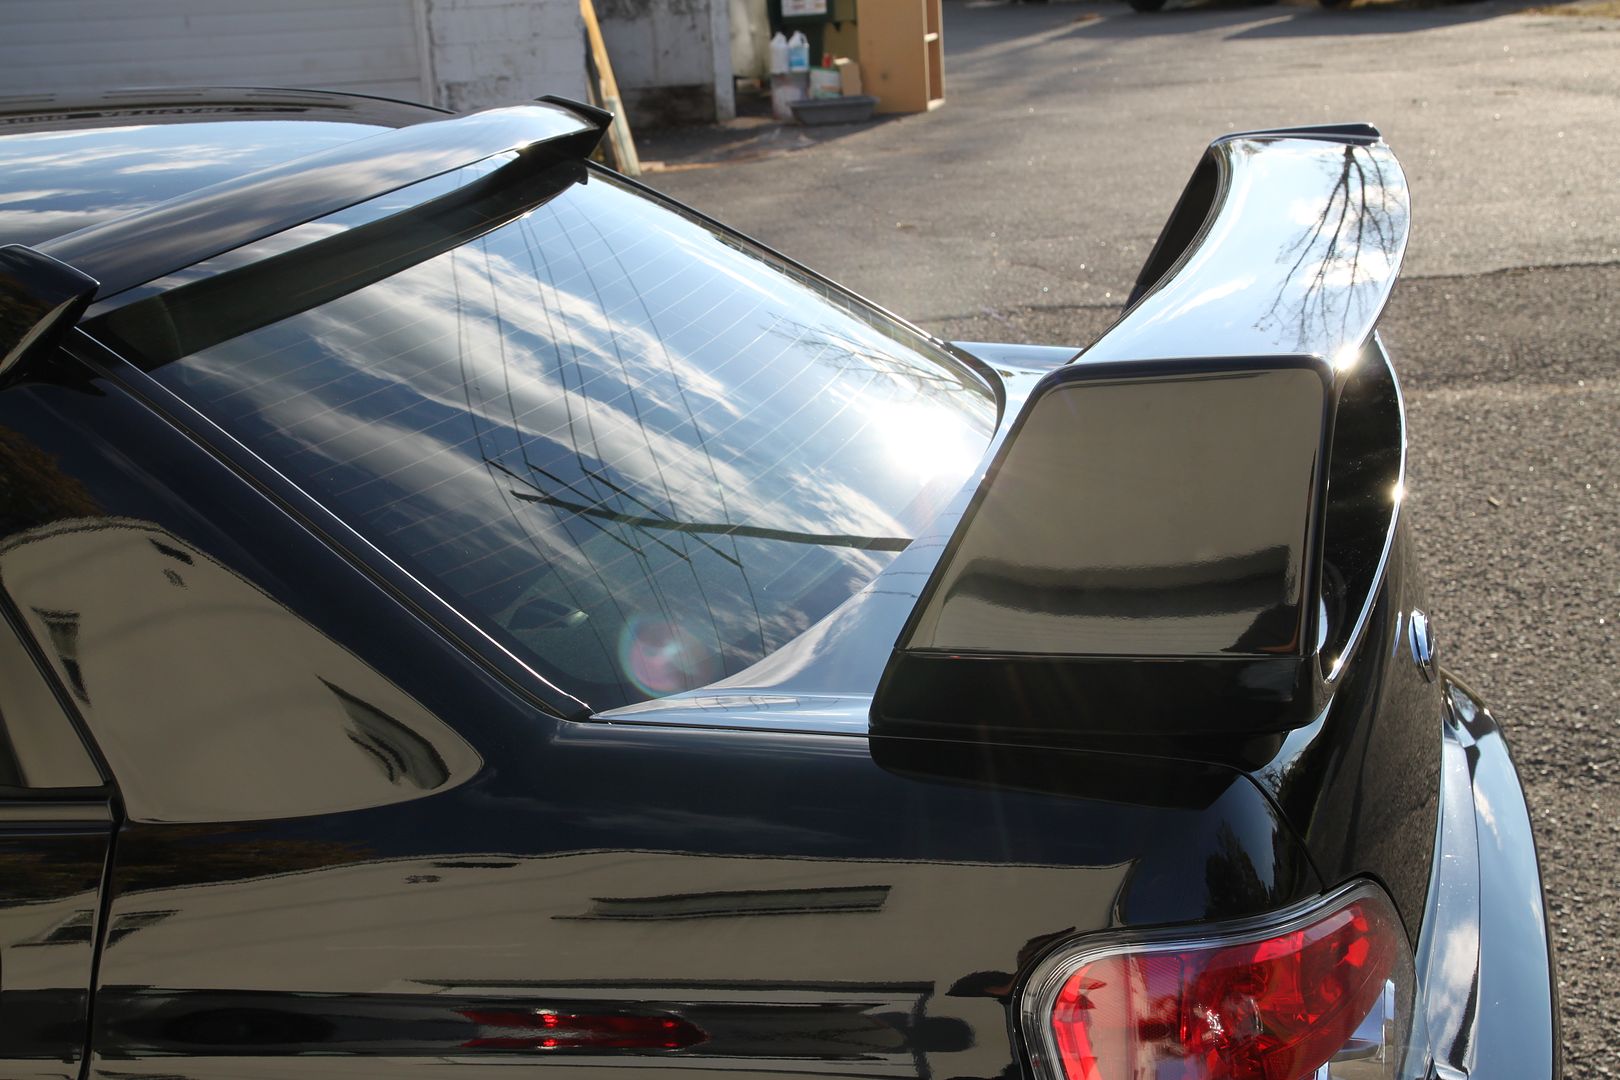
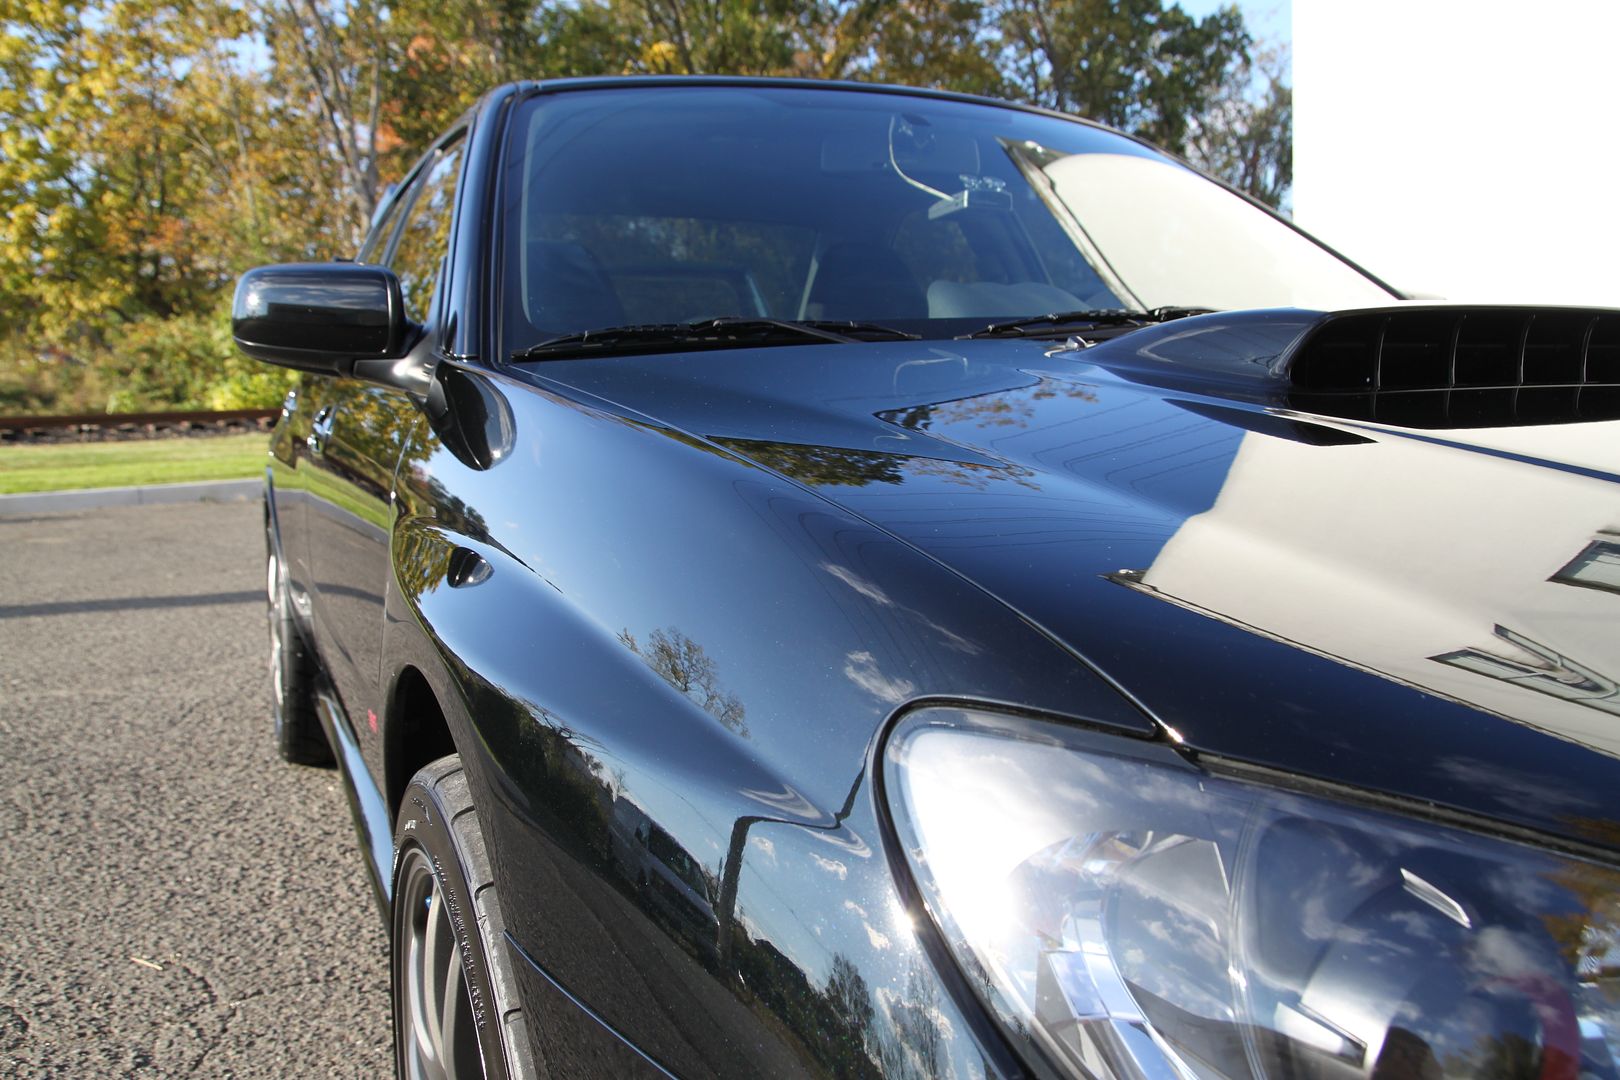
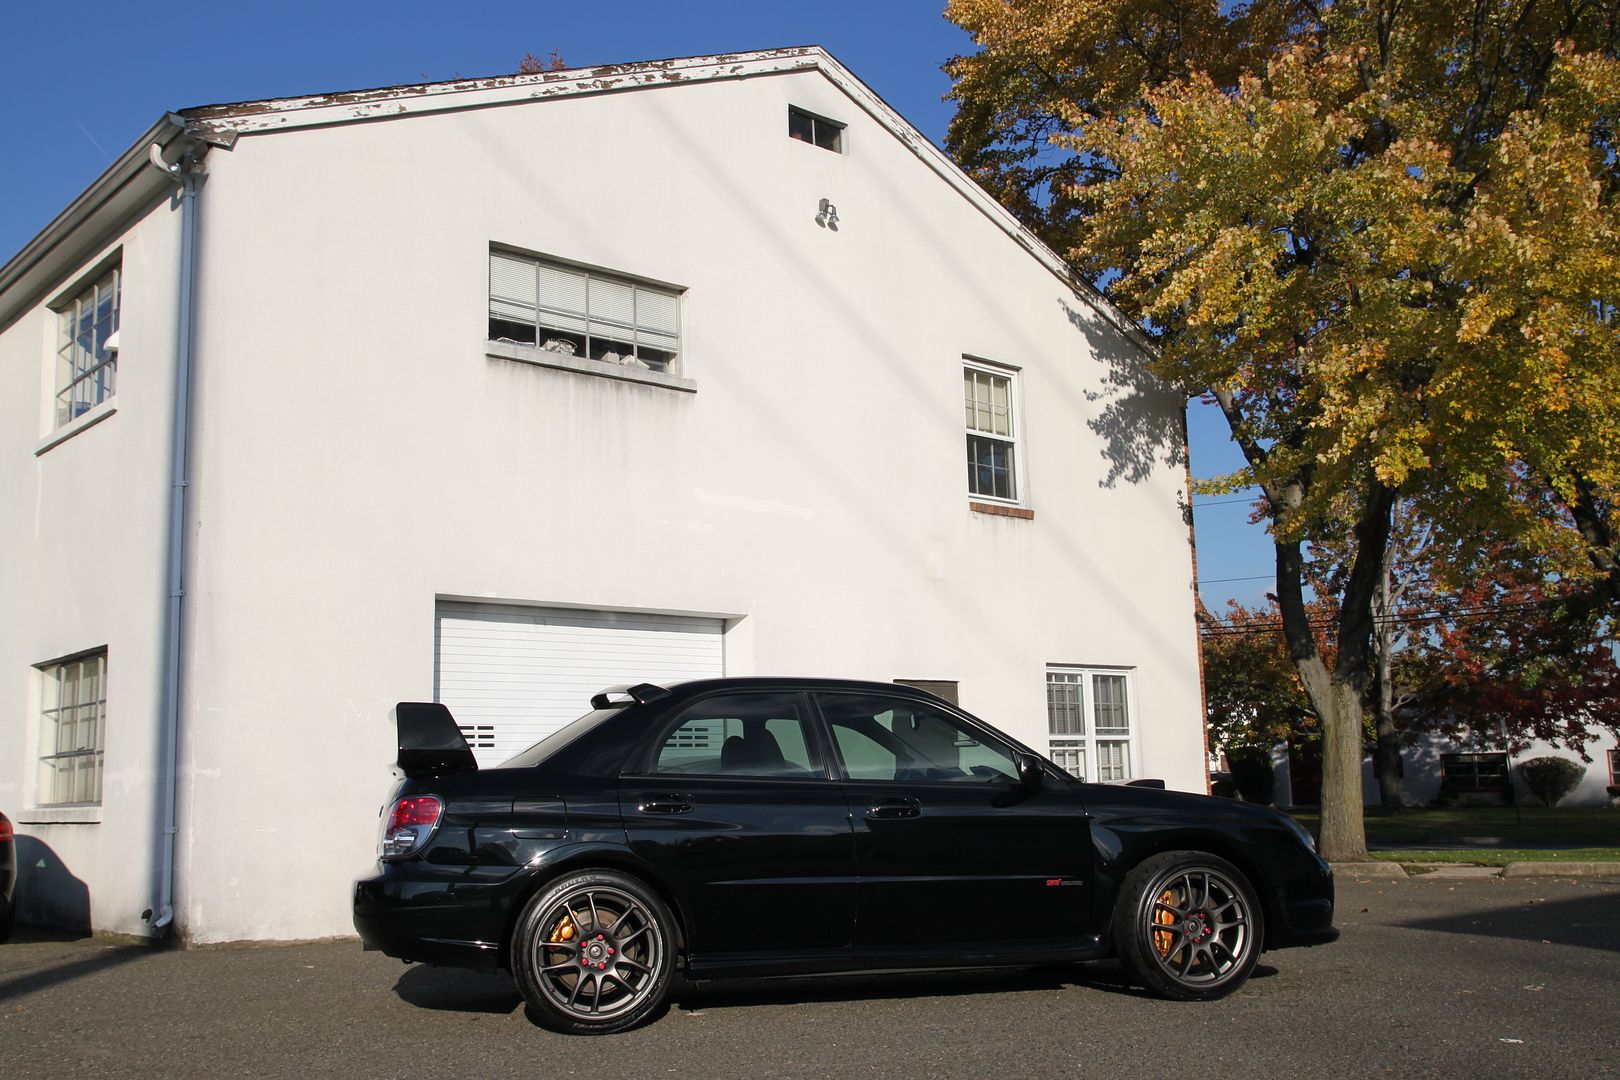
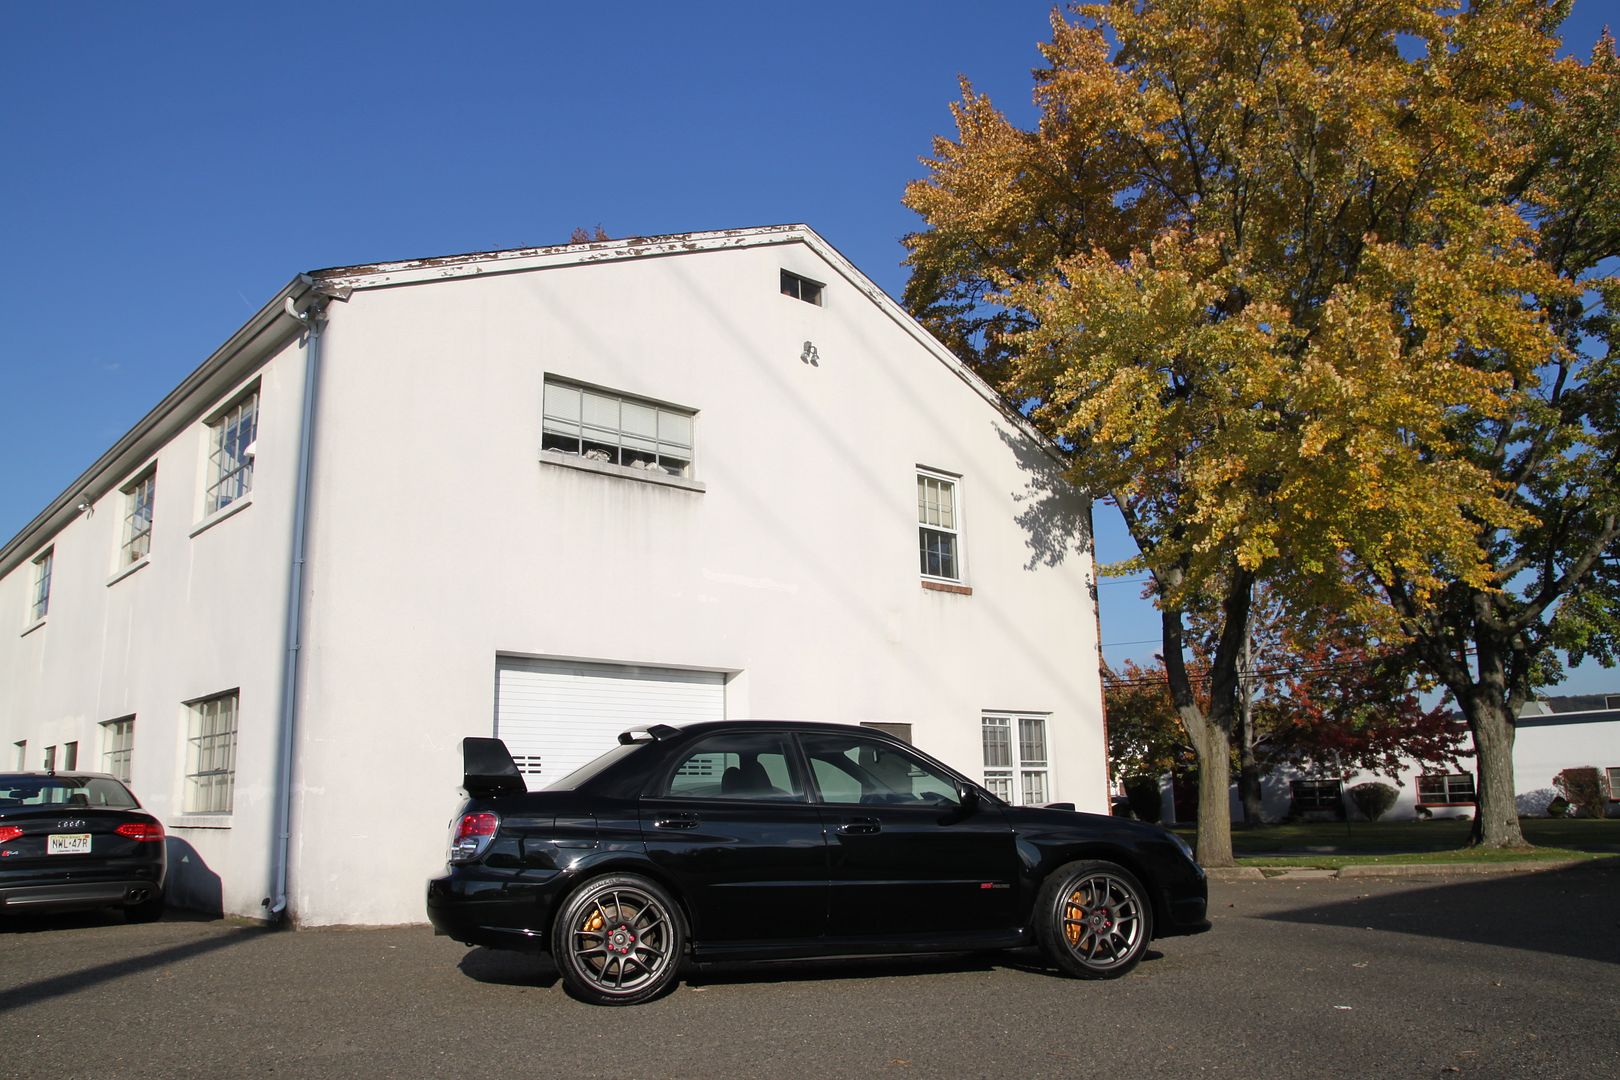
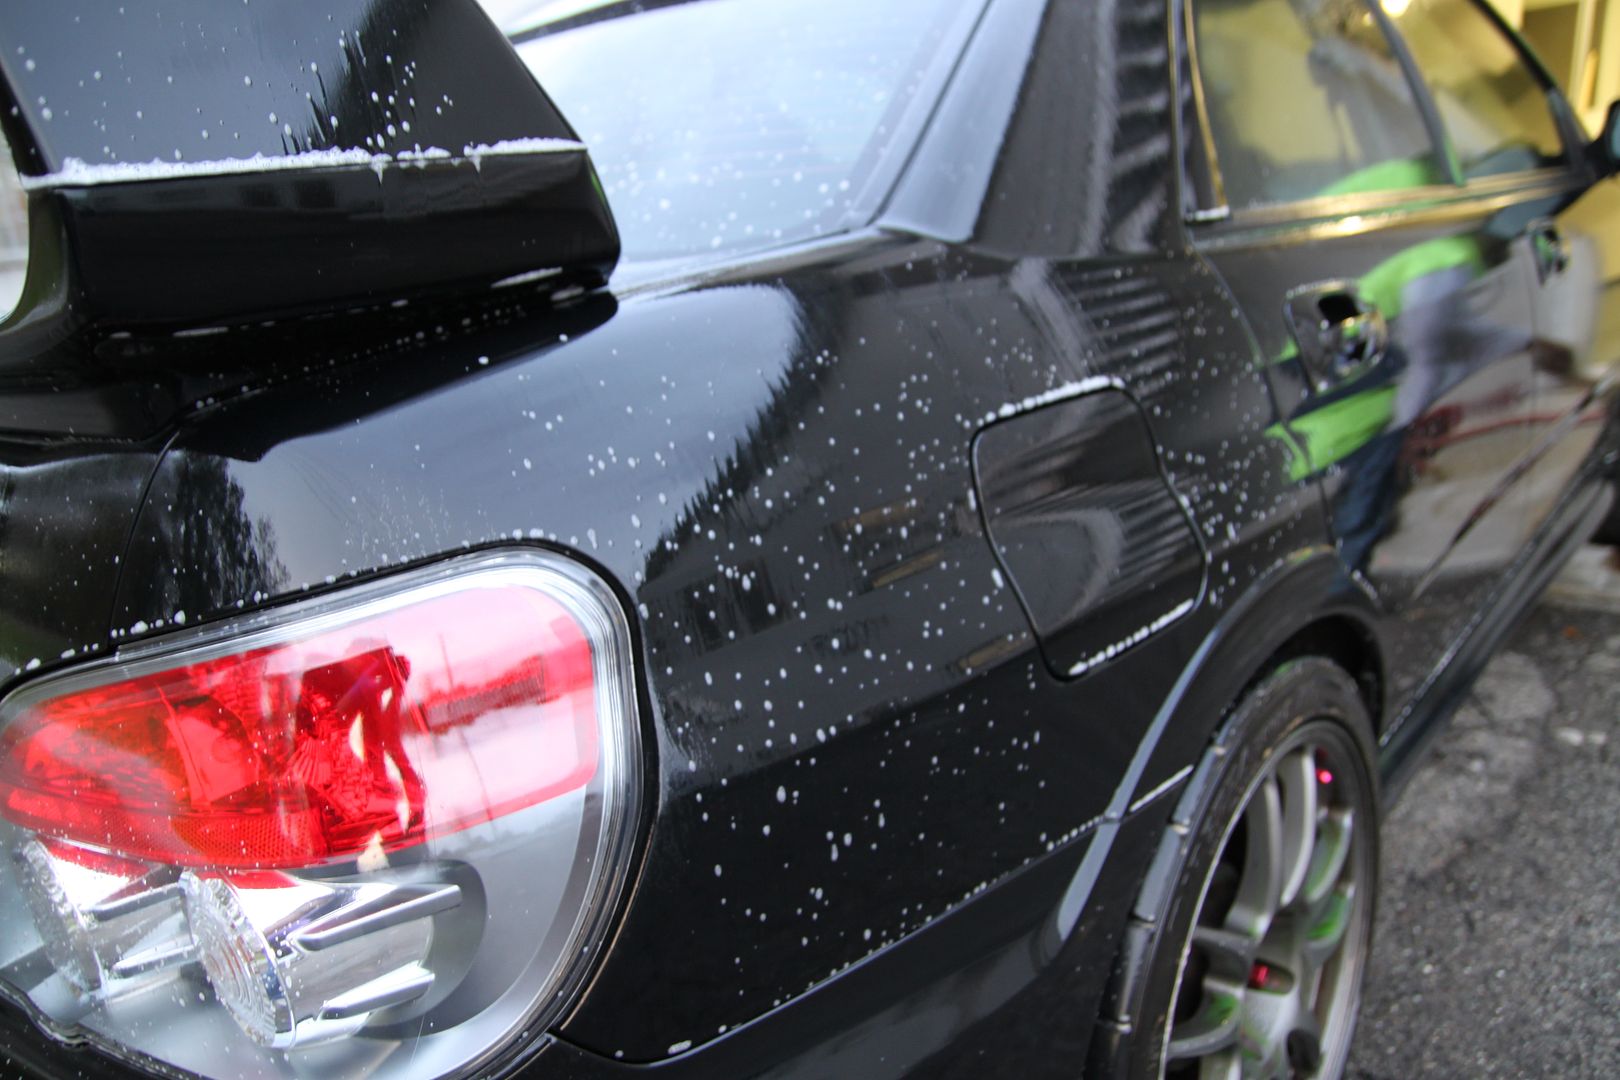
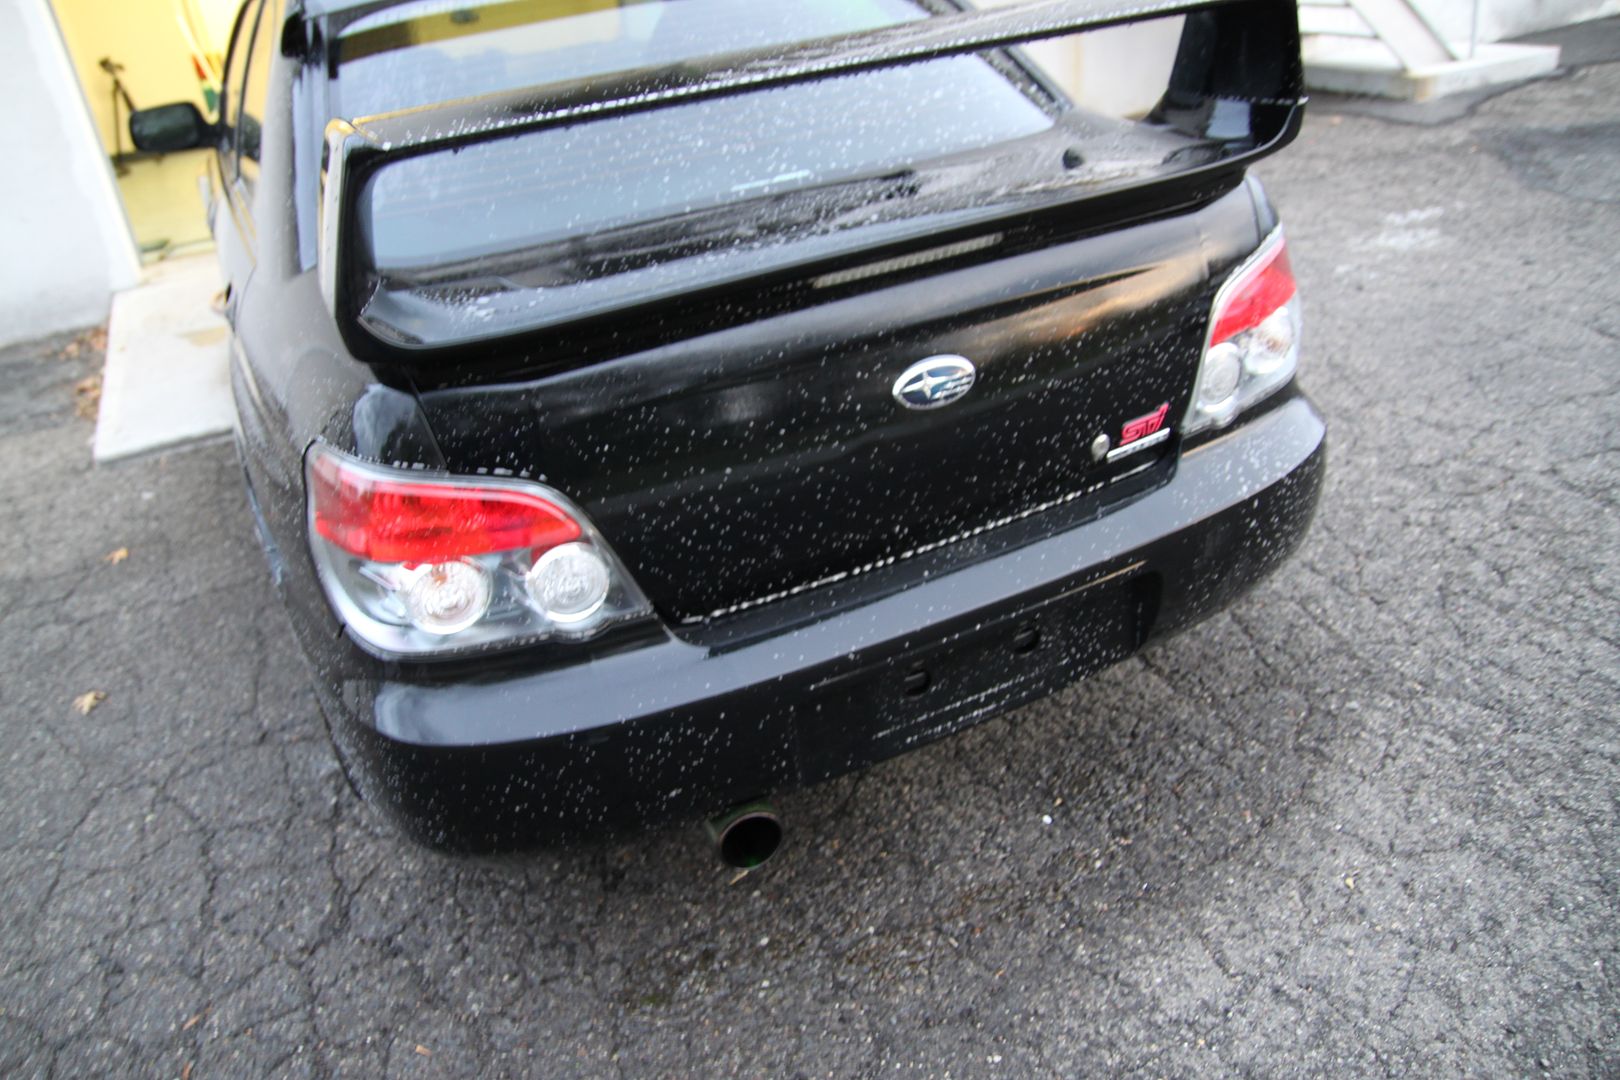
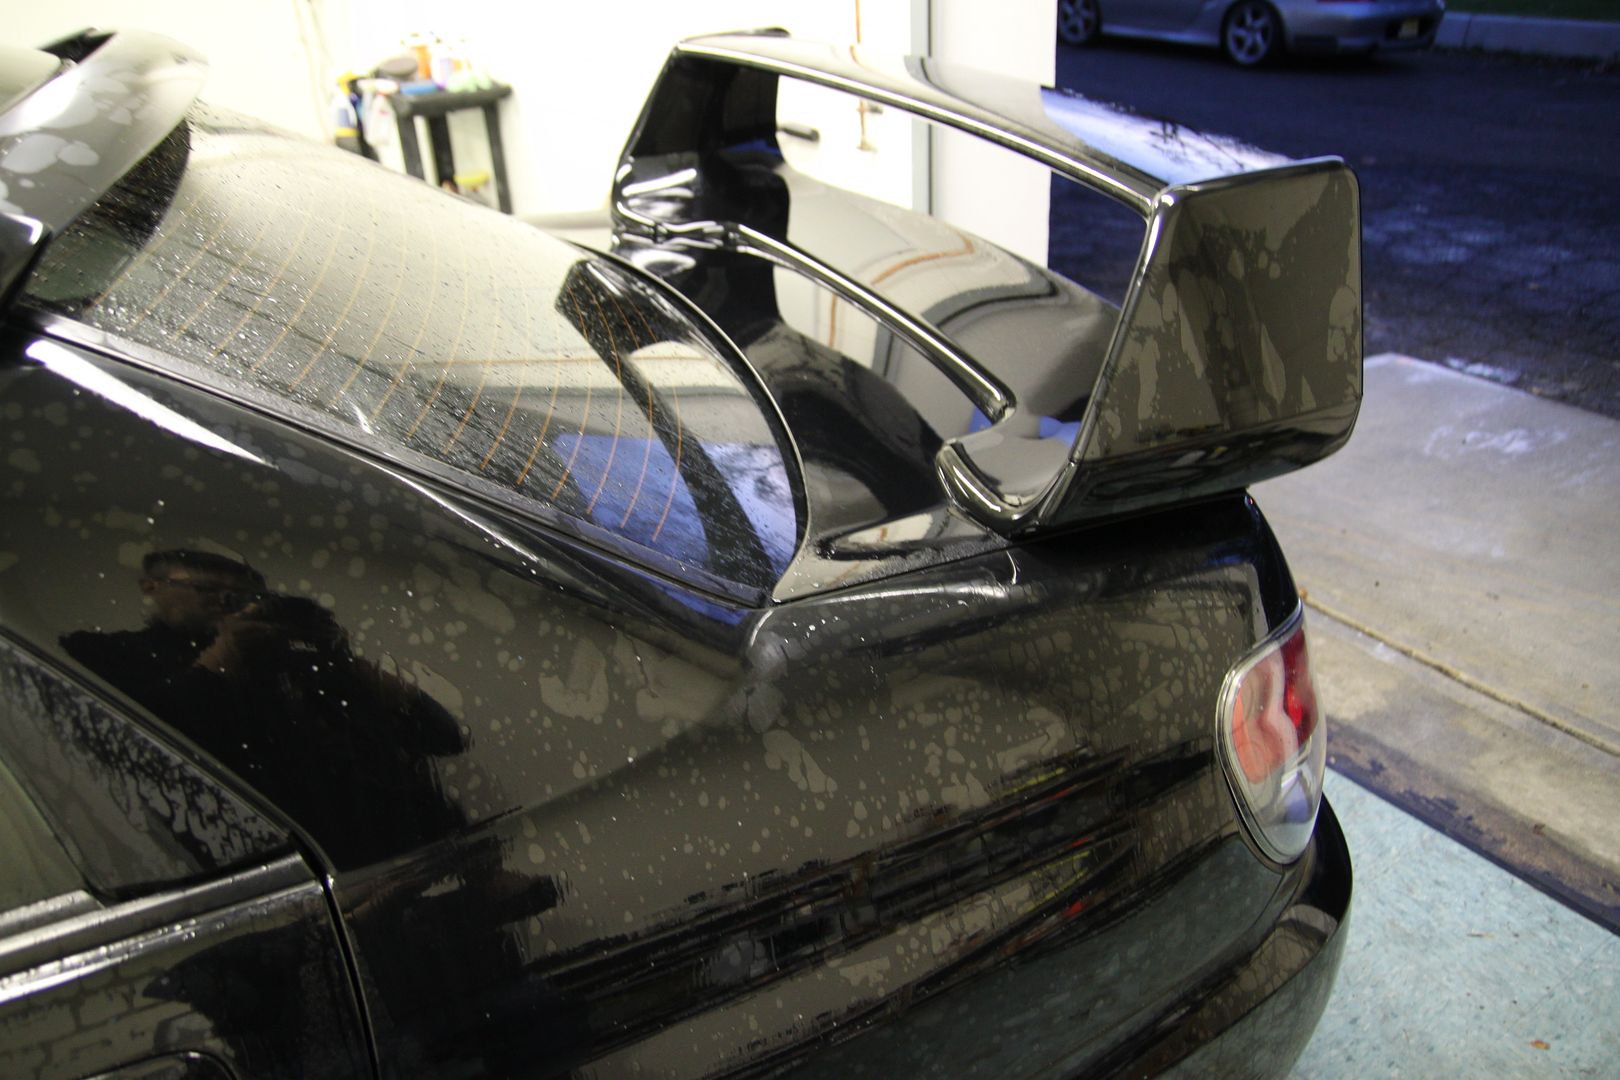
The exterior is all we worked on with this one.
What was done -
Exterior
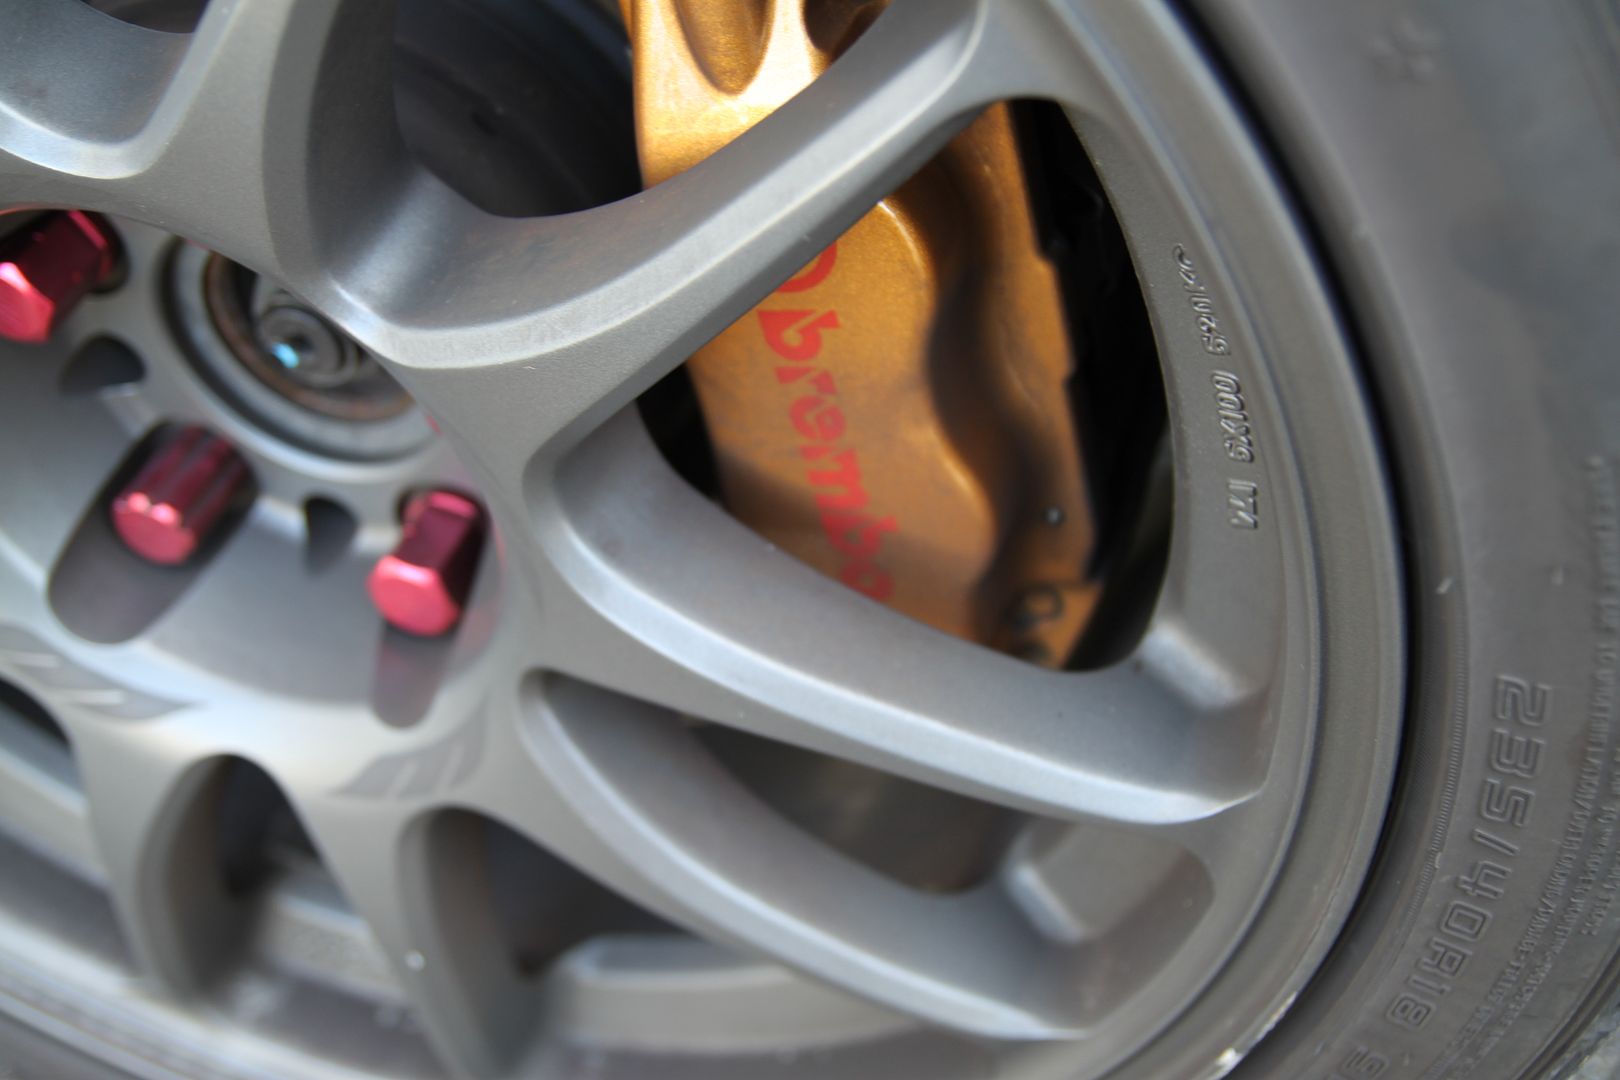
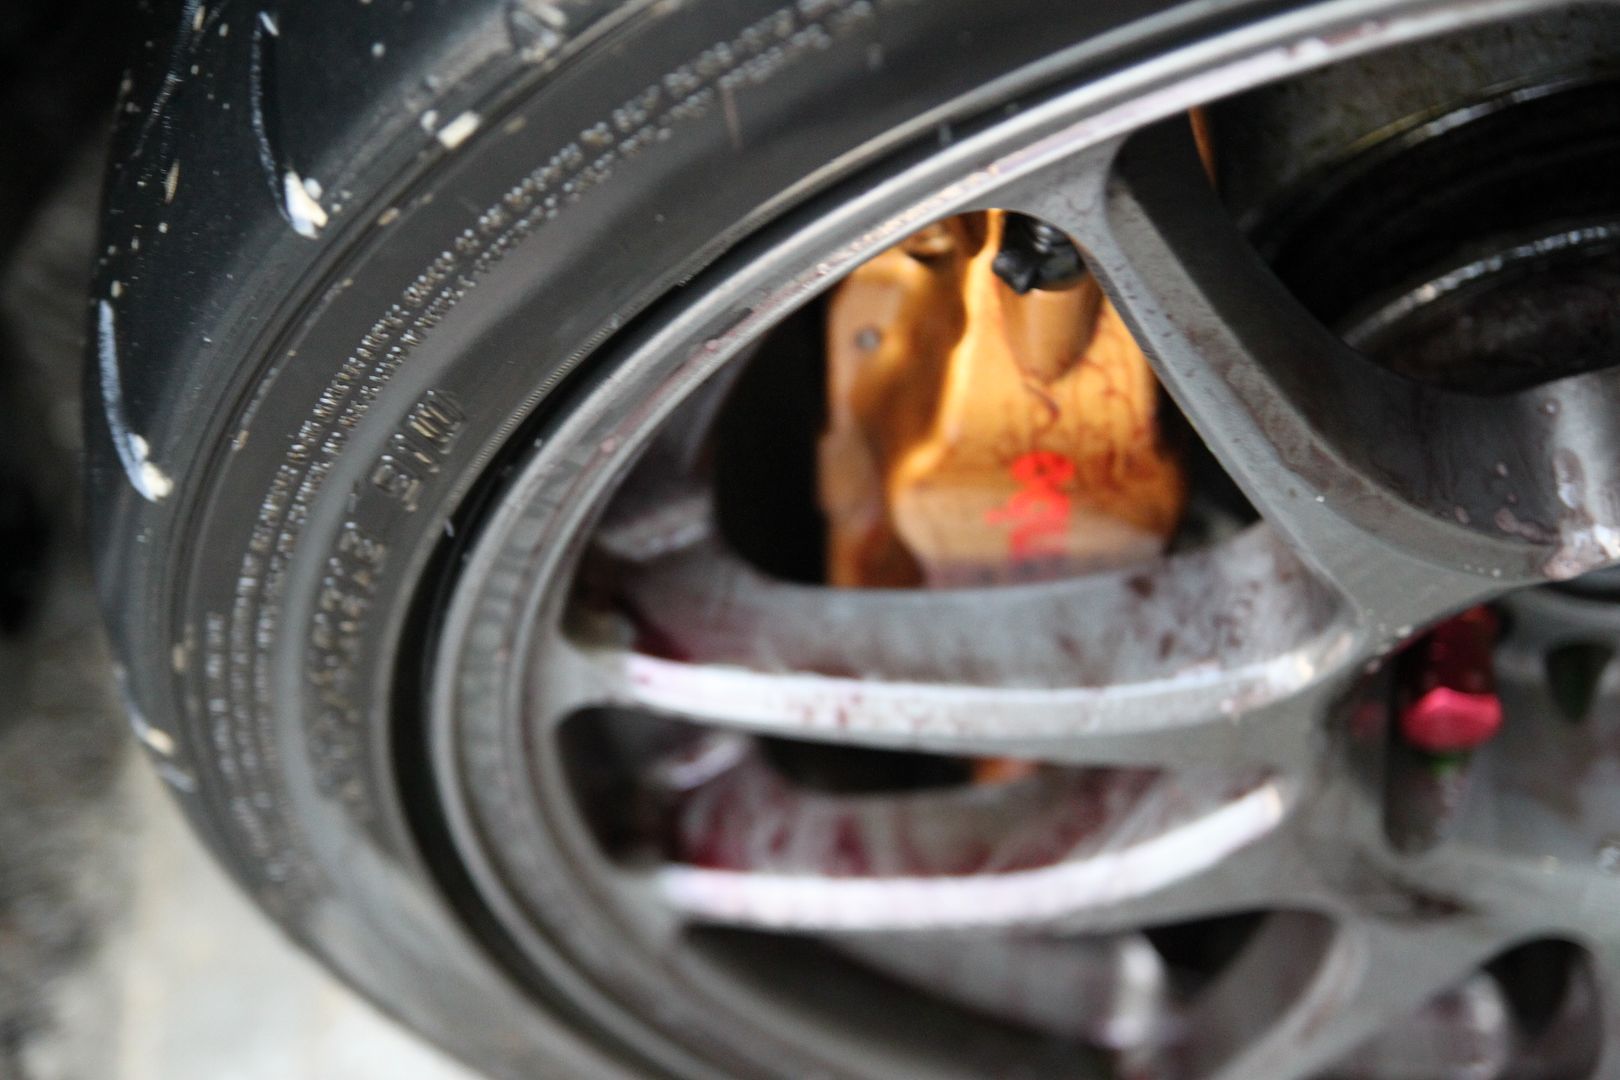
- Wheels were prepped with Sonax Wheel Cleaner and cleaned up with various brushes
- Tires were spritzed down with Adam's All Purpose Cleaner and washed down
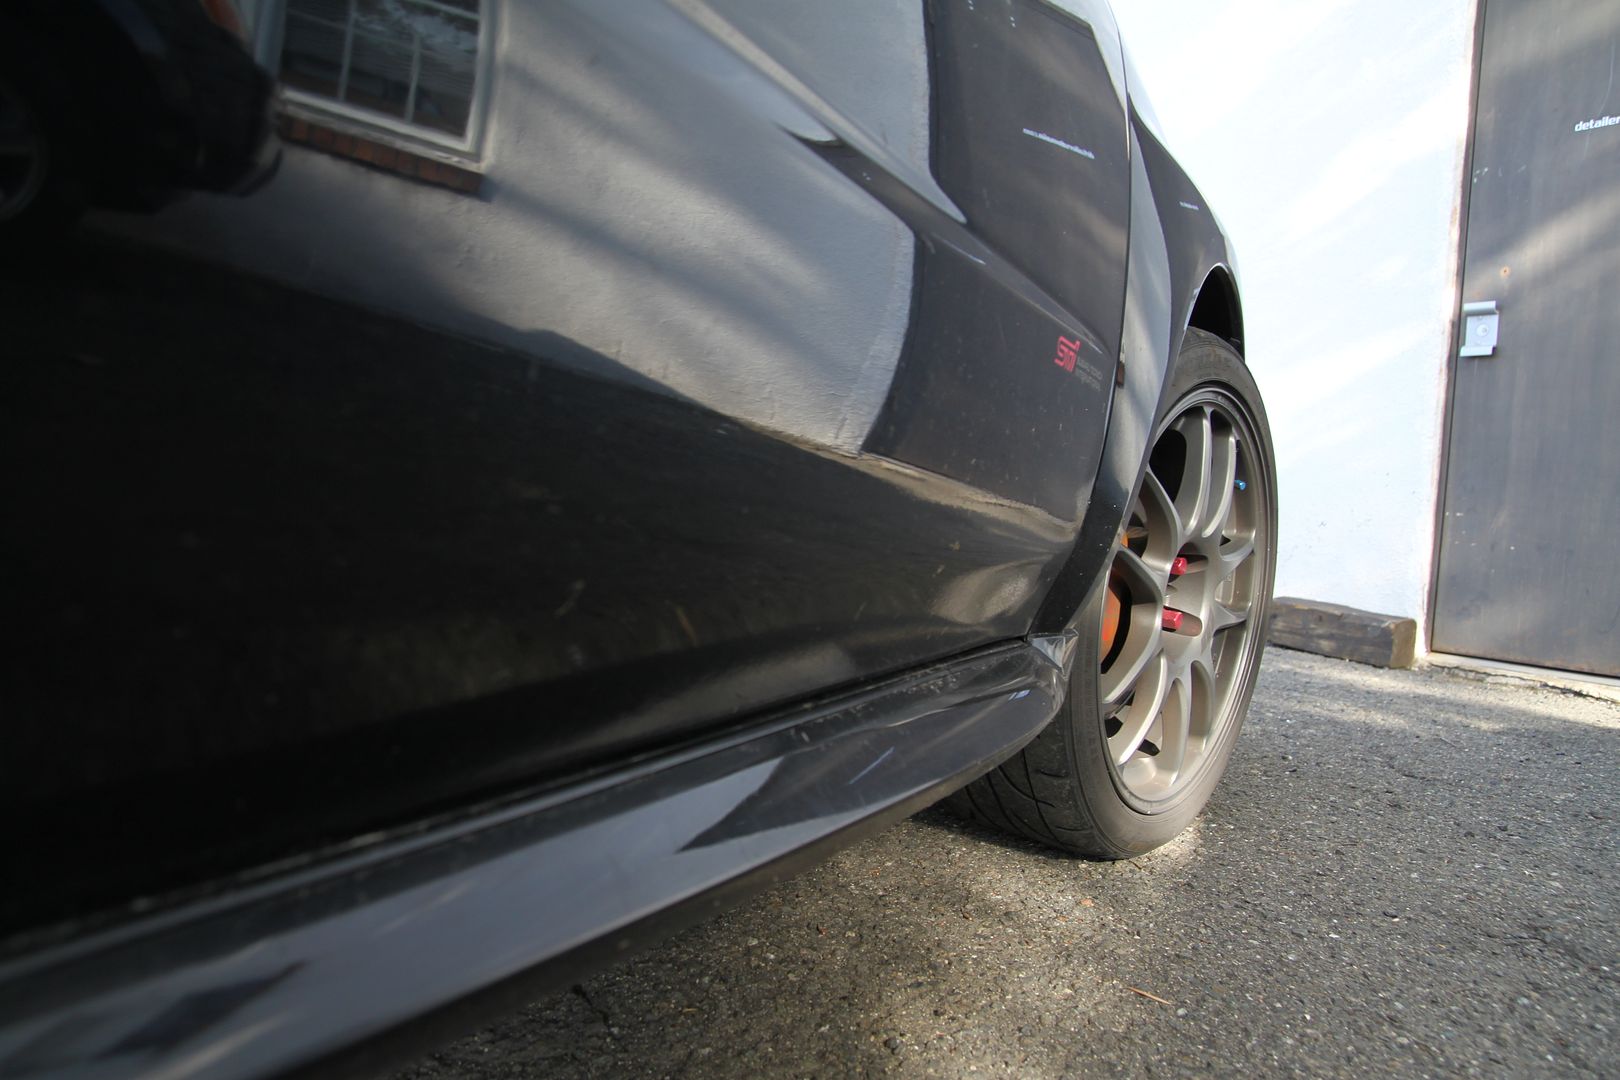
- Wheel wells were cleaned up
- Wash down and rinsed
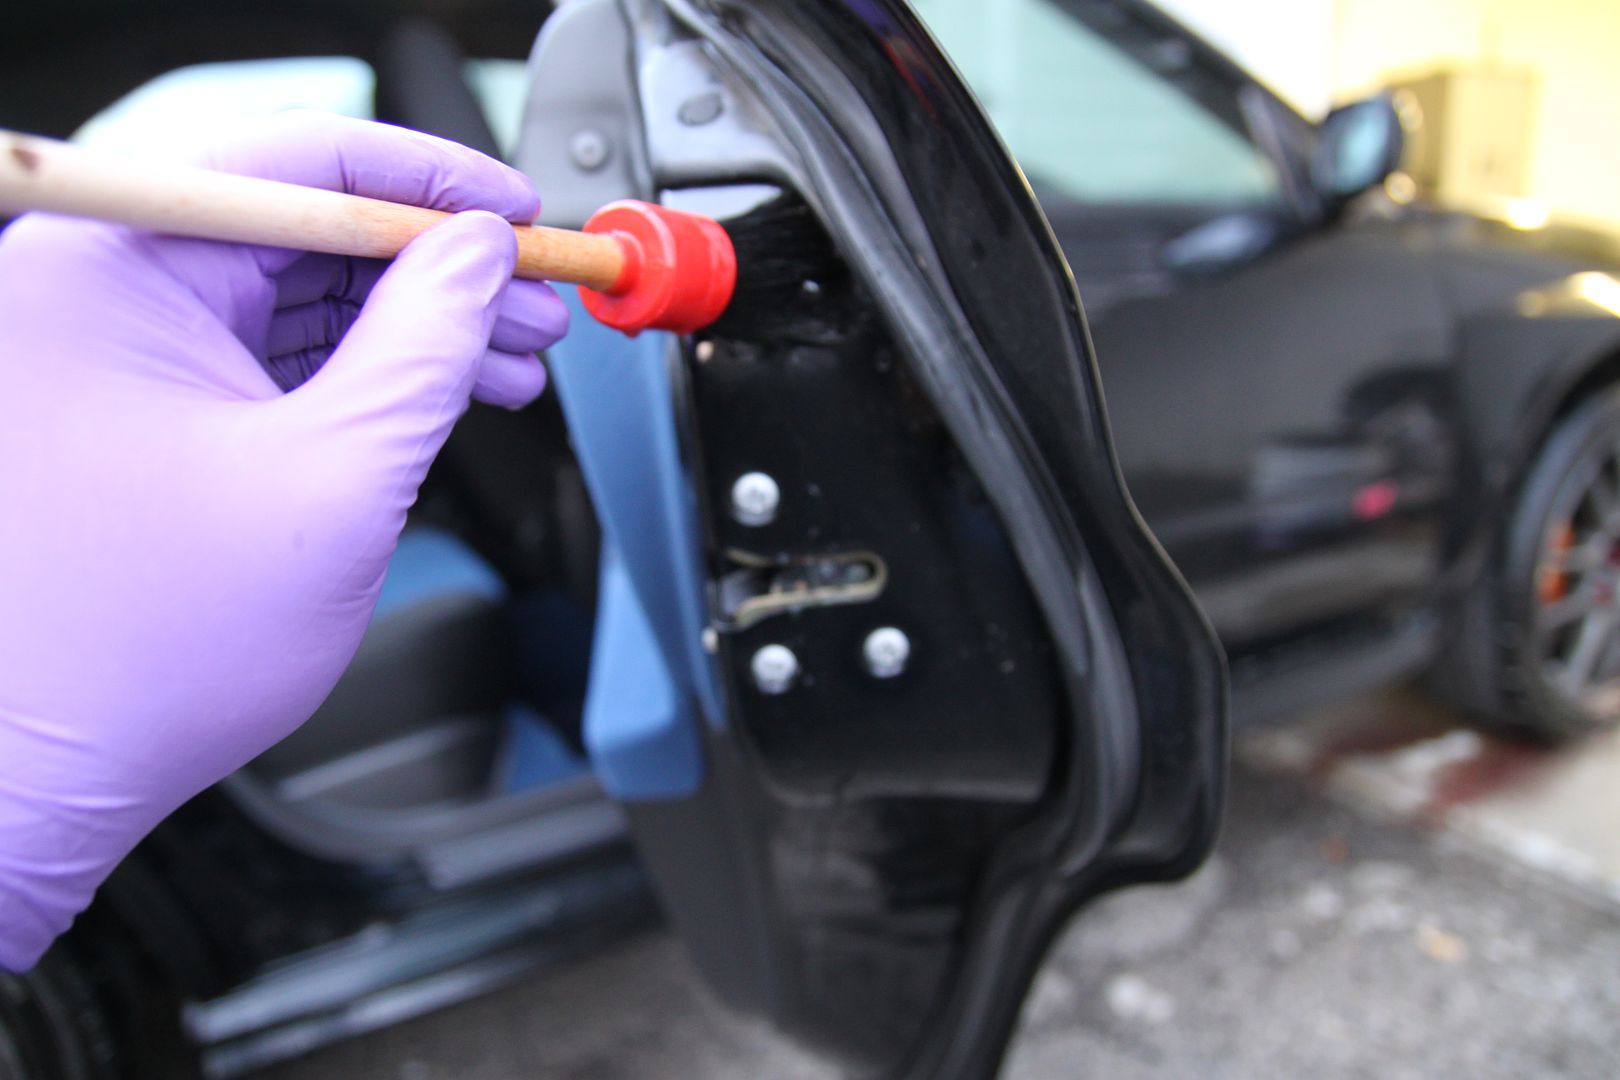
- Door jambs were cleaned up
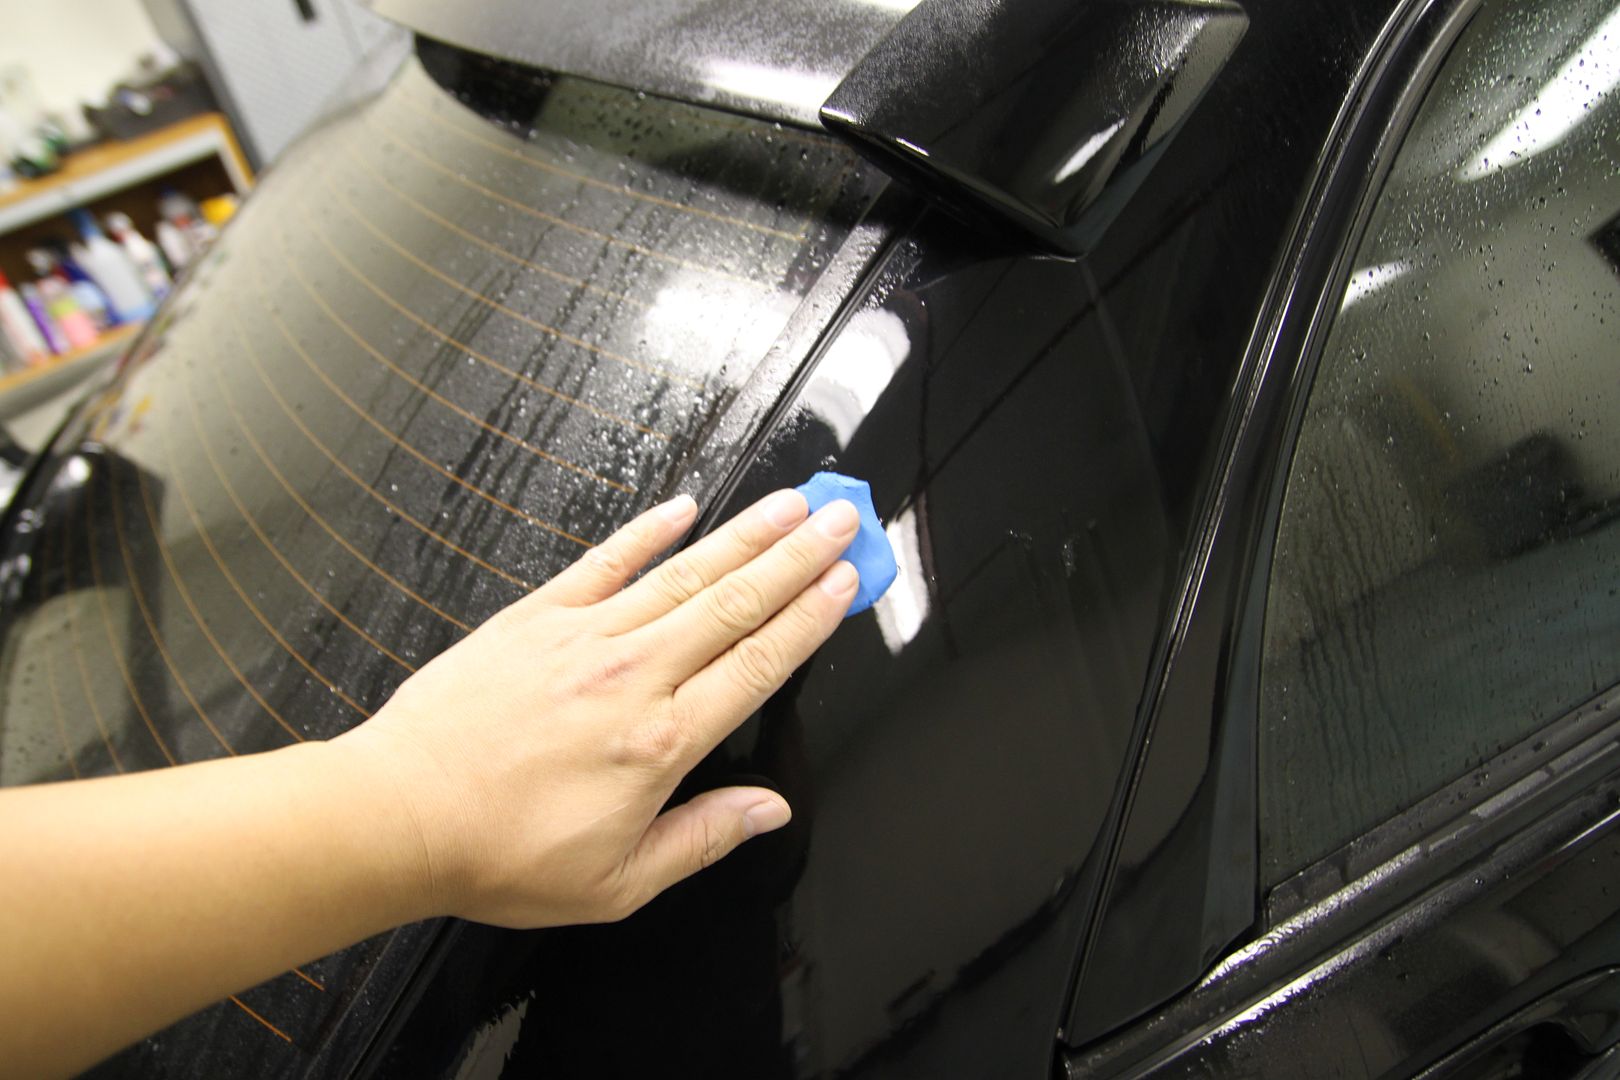
- Clayed
- Dried
- Tires dressed
- Masking
- 3 Step Paint correction (Meg's M105, Menzerna Power Finish, Menzerna Super Finish)
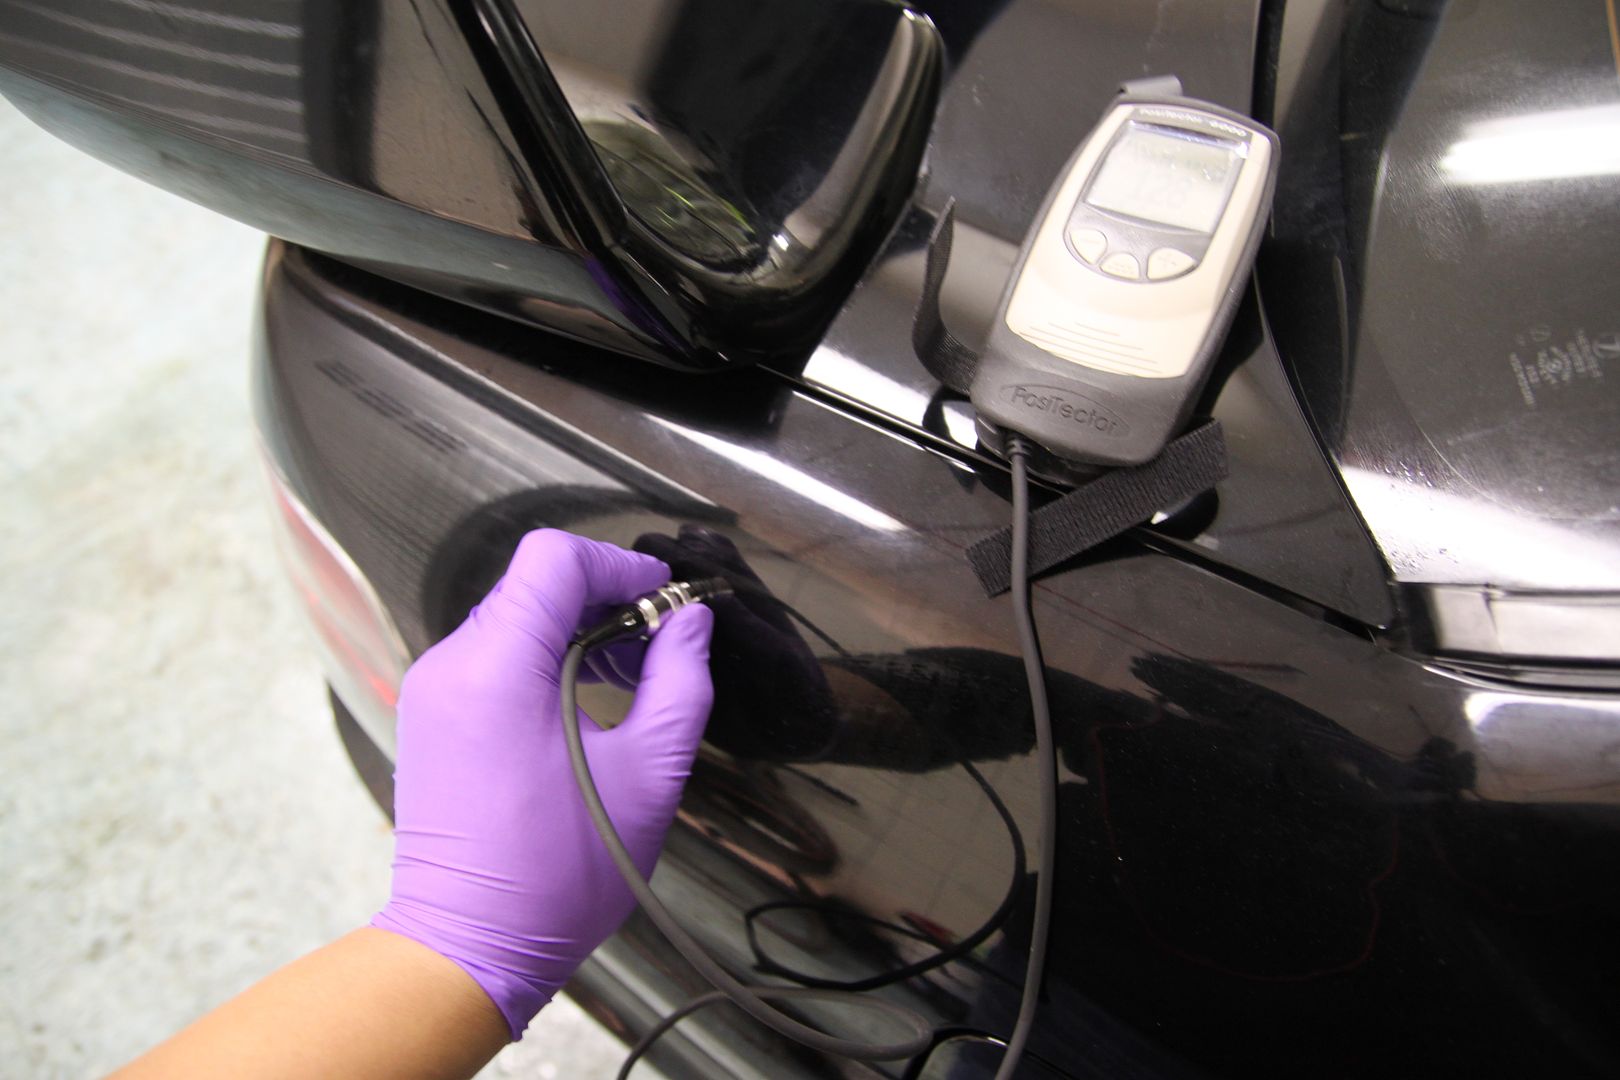
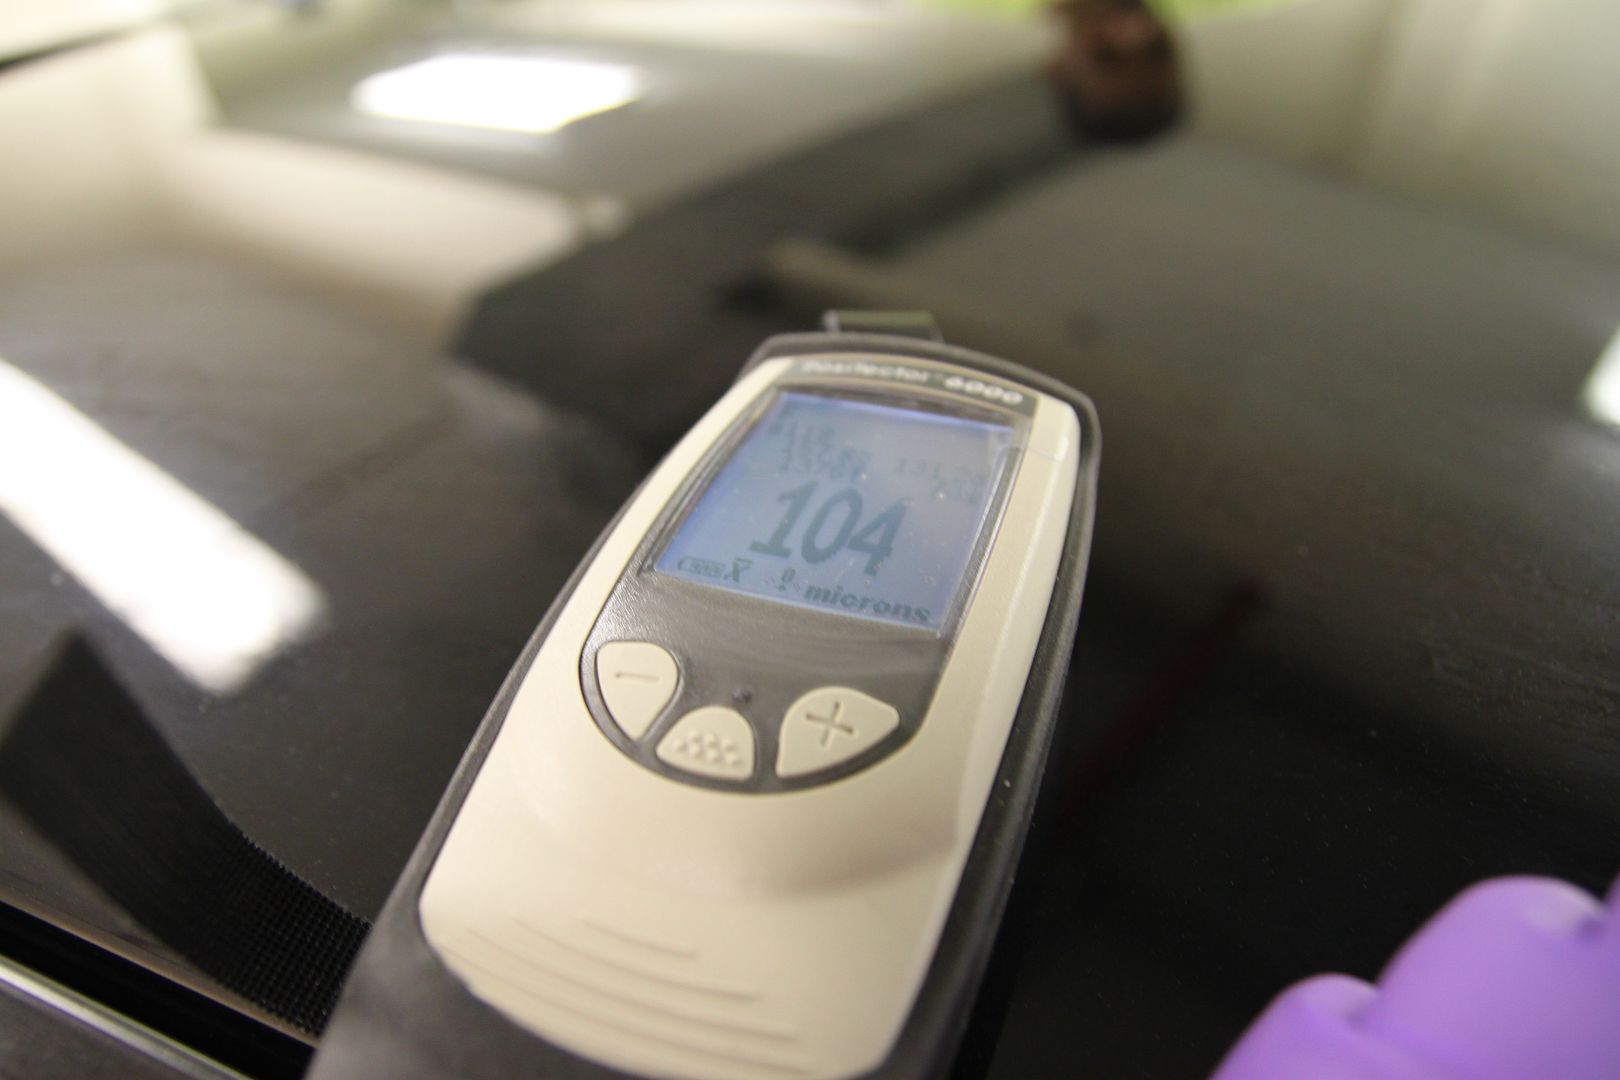
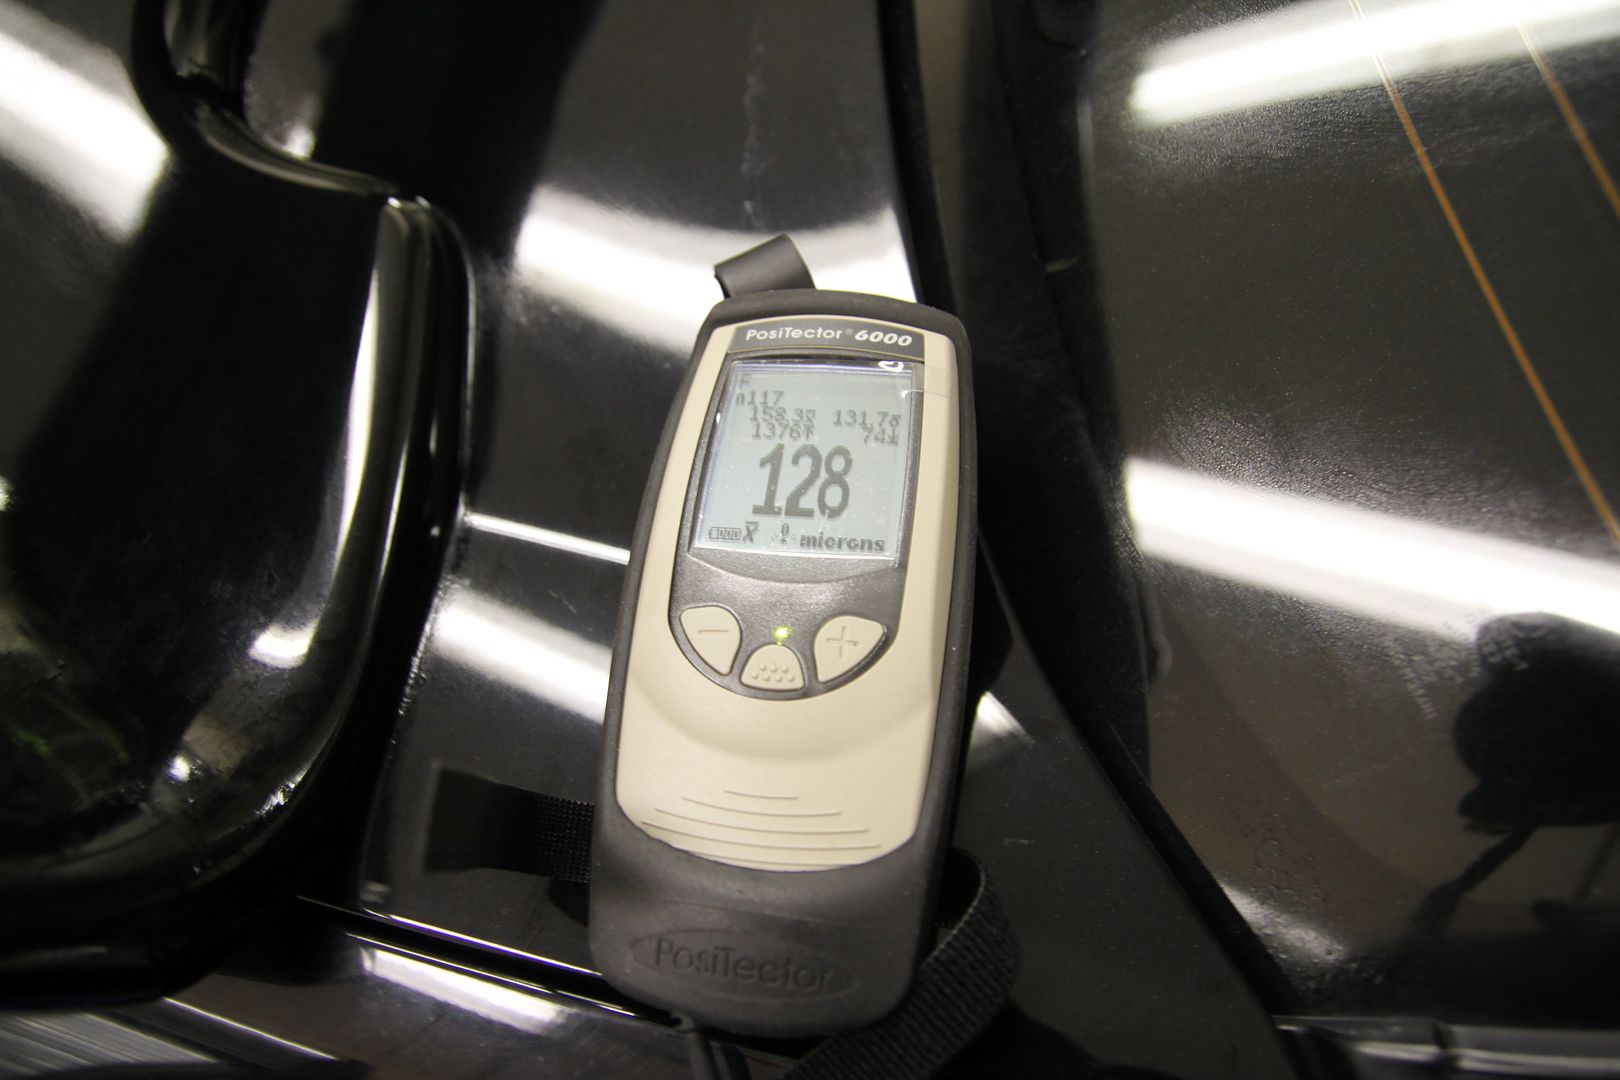
- Inspection with Fenix, 3m Sun Gun, Infratech, and natural sunlight
- Last Step - Menzerna Power Lock and Lusso Oro
- Rubber and Plastics Treated
- Exterior windows and mirrors cleaned and sealed
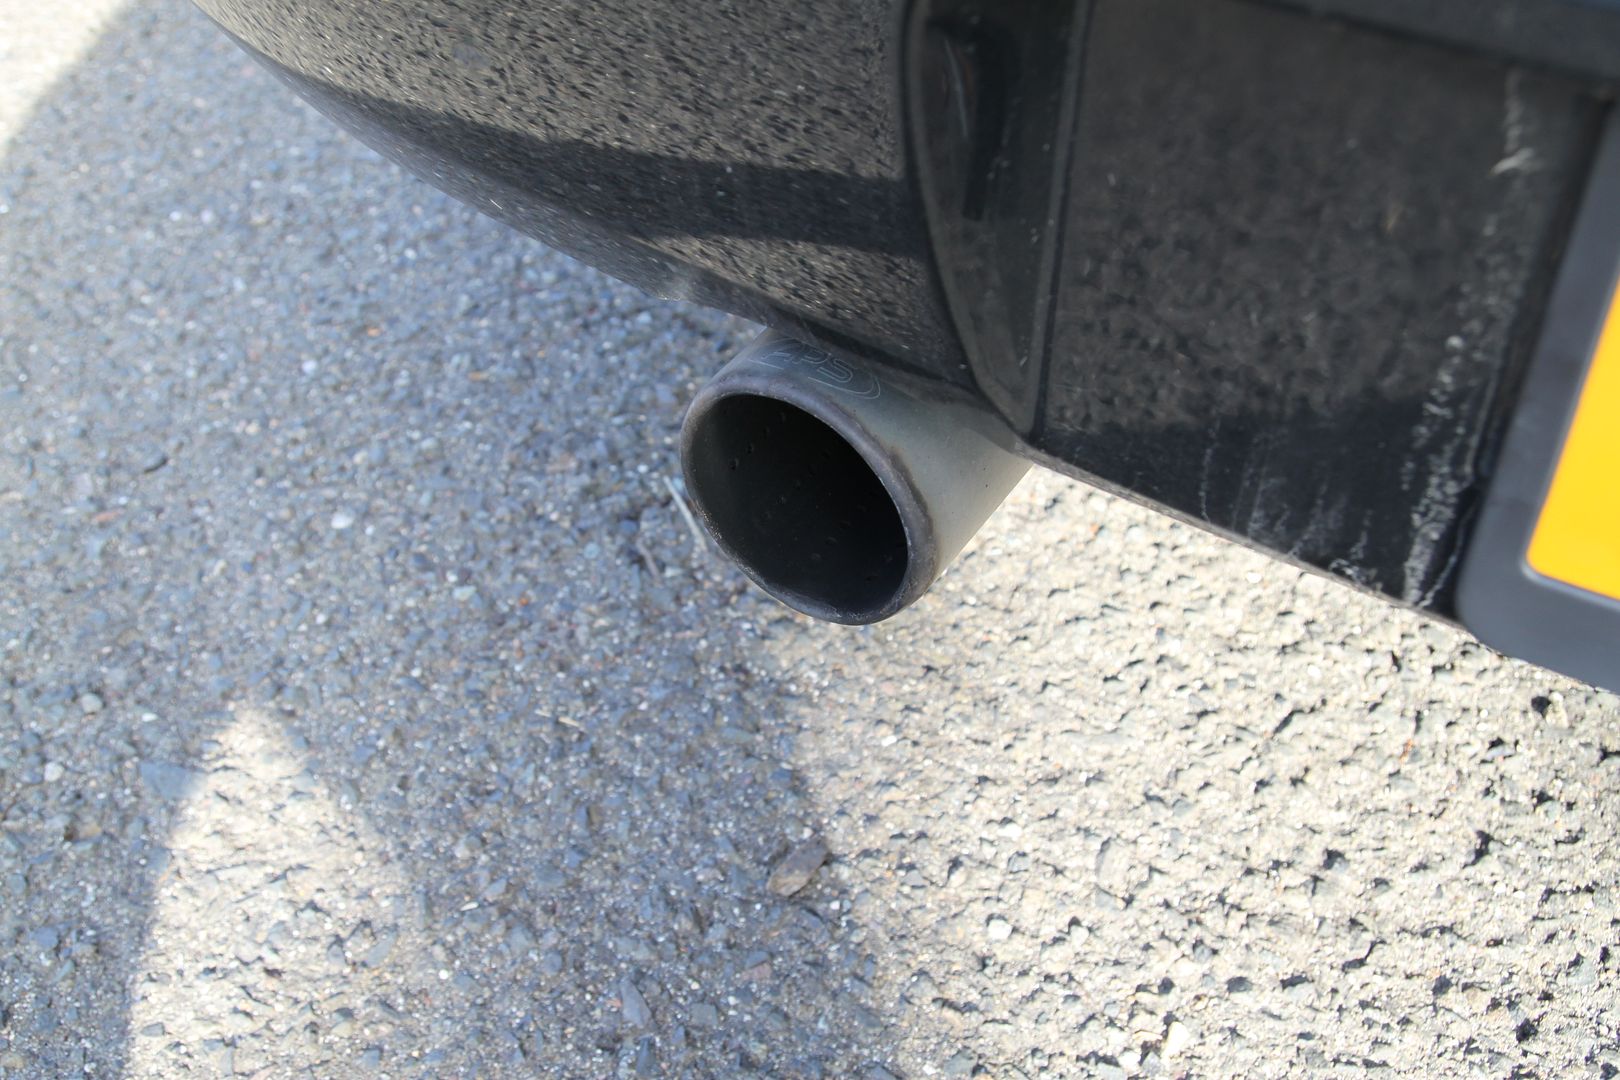
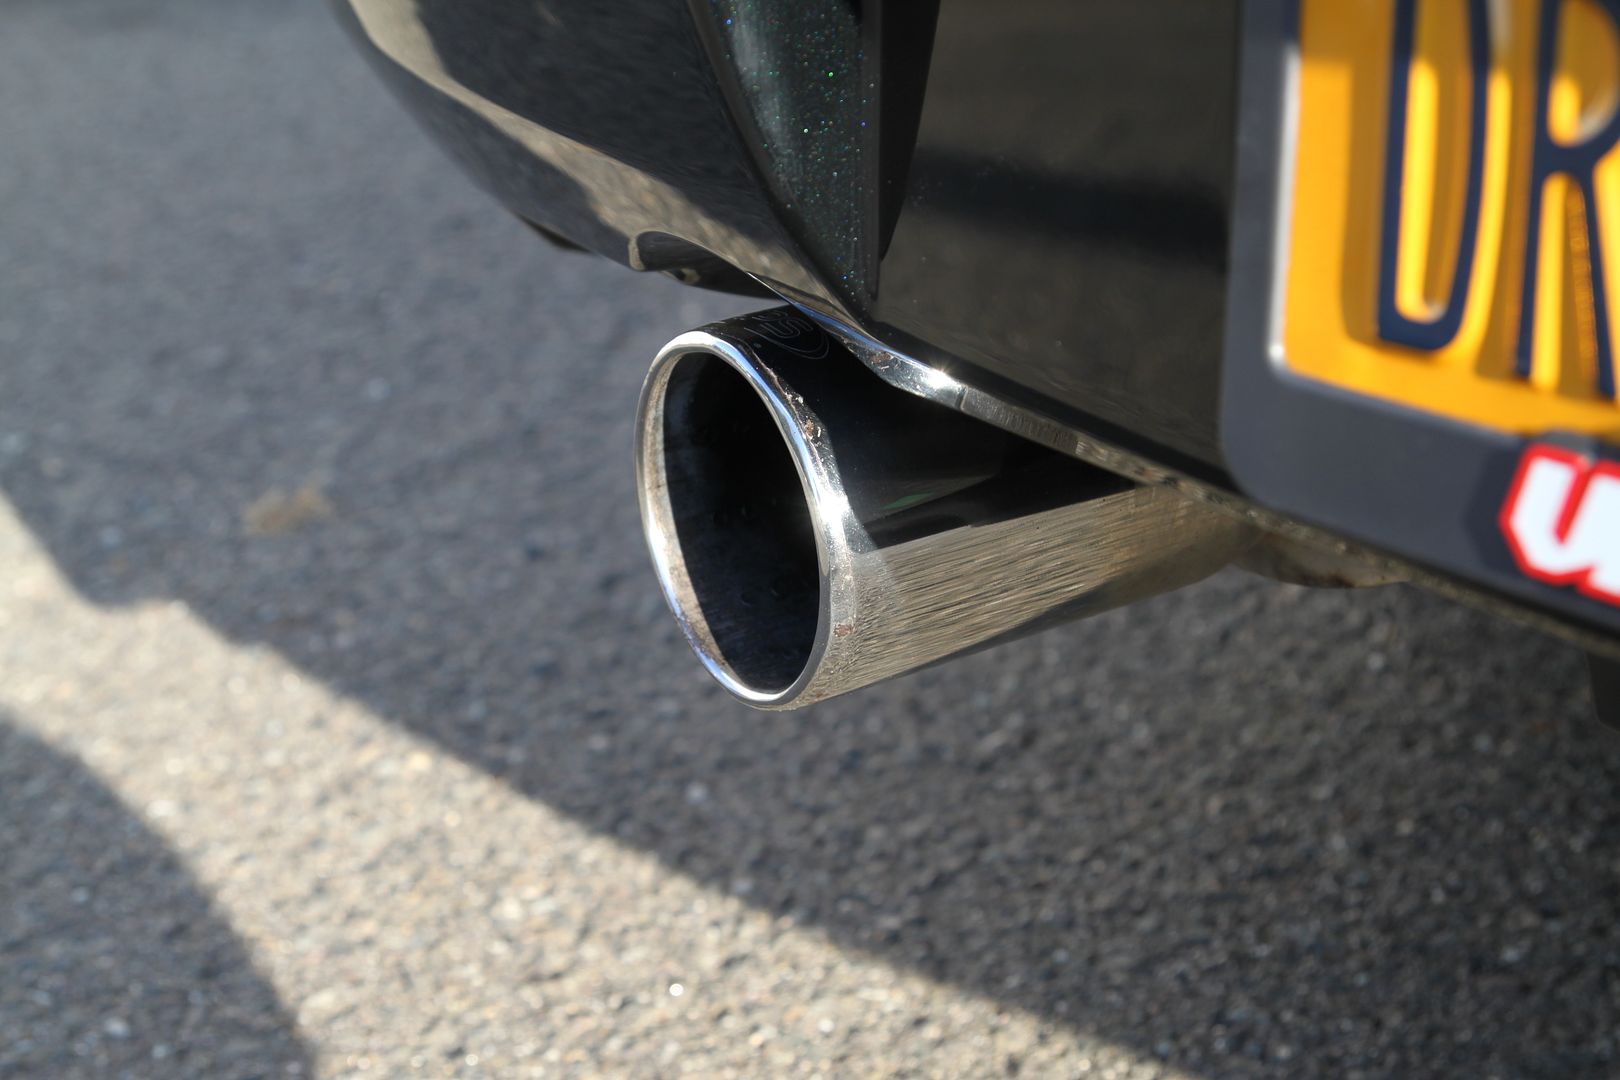
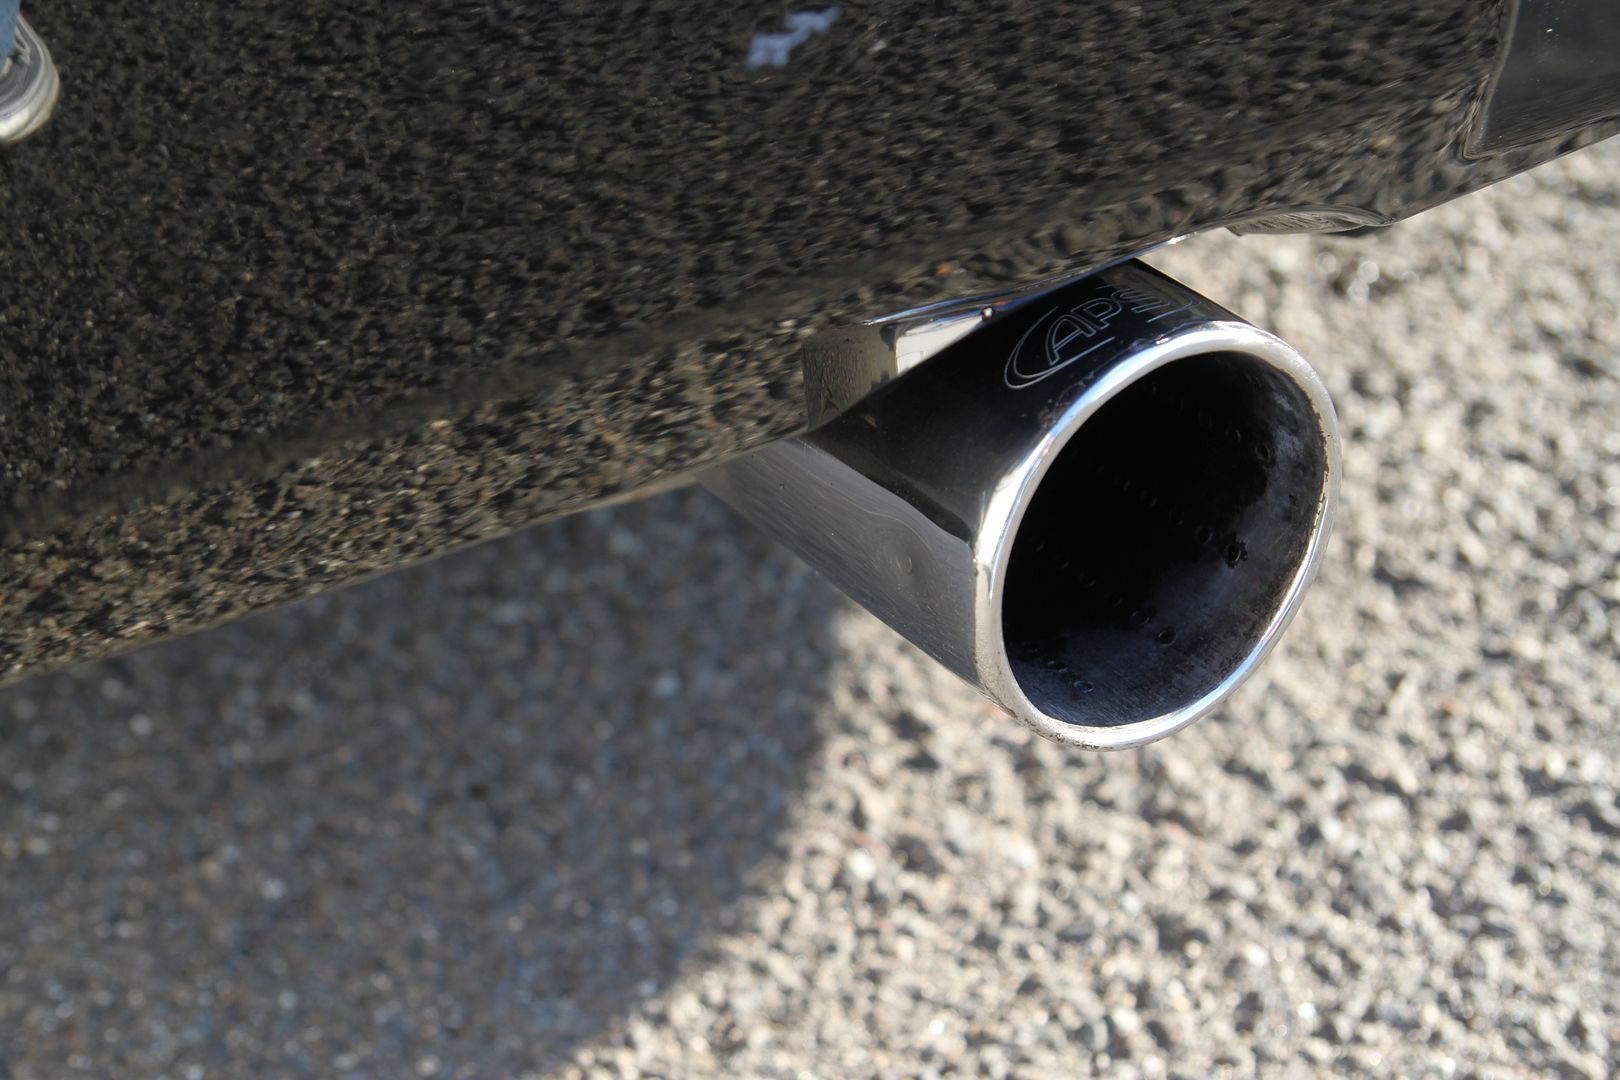
- Exhaust tips cleaned
- Windows were clayed and sealed
Products used:
(feel free to click the link below for more info)
Exterior:
Lusso Auto Bathe
Adam's All Purpose Cleaner
Uber Yellow Wash Sponge
Uber Clay Bar kit with Optimum No Rinse
Einszett Spray Wax
Meg's M105
Menzerna Power Finish
Menzerna Super Finish
Menzerna Power Lock
Lusso Oro
Wheels/Tires
Uber Wheel and Tire Kit
Glass
Adam's Glass Cleaner
Adam's Glass Sealant
Tools:
Infratech 5300
Fenix TK11
Brinkmann
Fenix TK40
Flex 3403
Makita
Metabo
The Uber Foam Pads (5.5inch)
Tons of "Uber" Microfiber Towels
Uber Drying Towels
Brushes
Cam Spray Pressure Wash and Foam Canon Attachment
Before


Sonax Wheel Cleaner in action
Adam's All Purpose was used to strip all the waxes (not much off the paint)
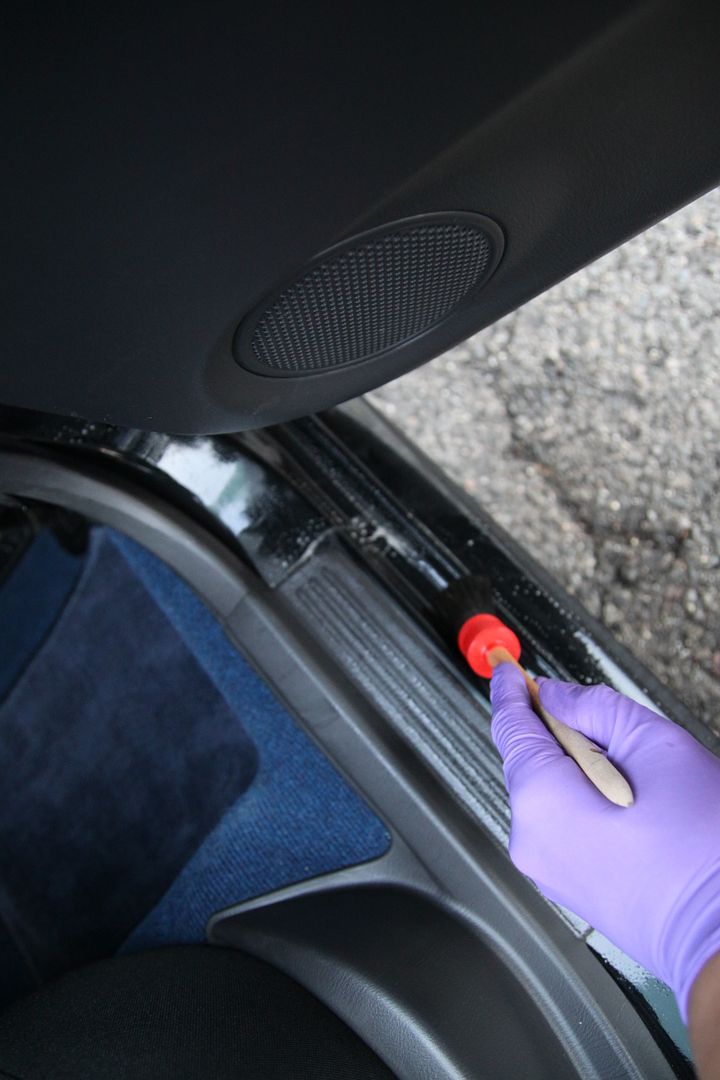
Adam's All Purpose and the SV Brush was used to clean up the door jambs
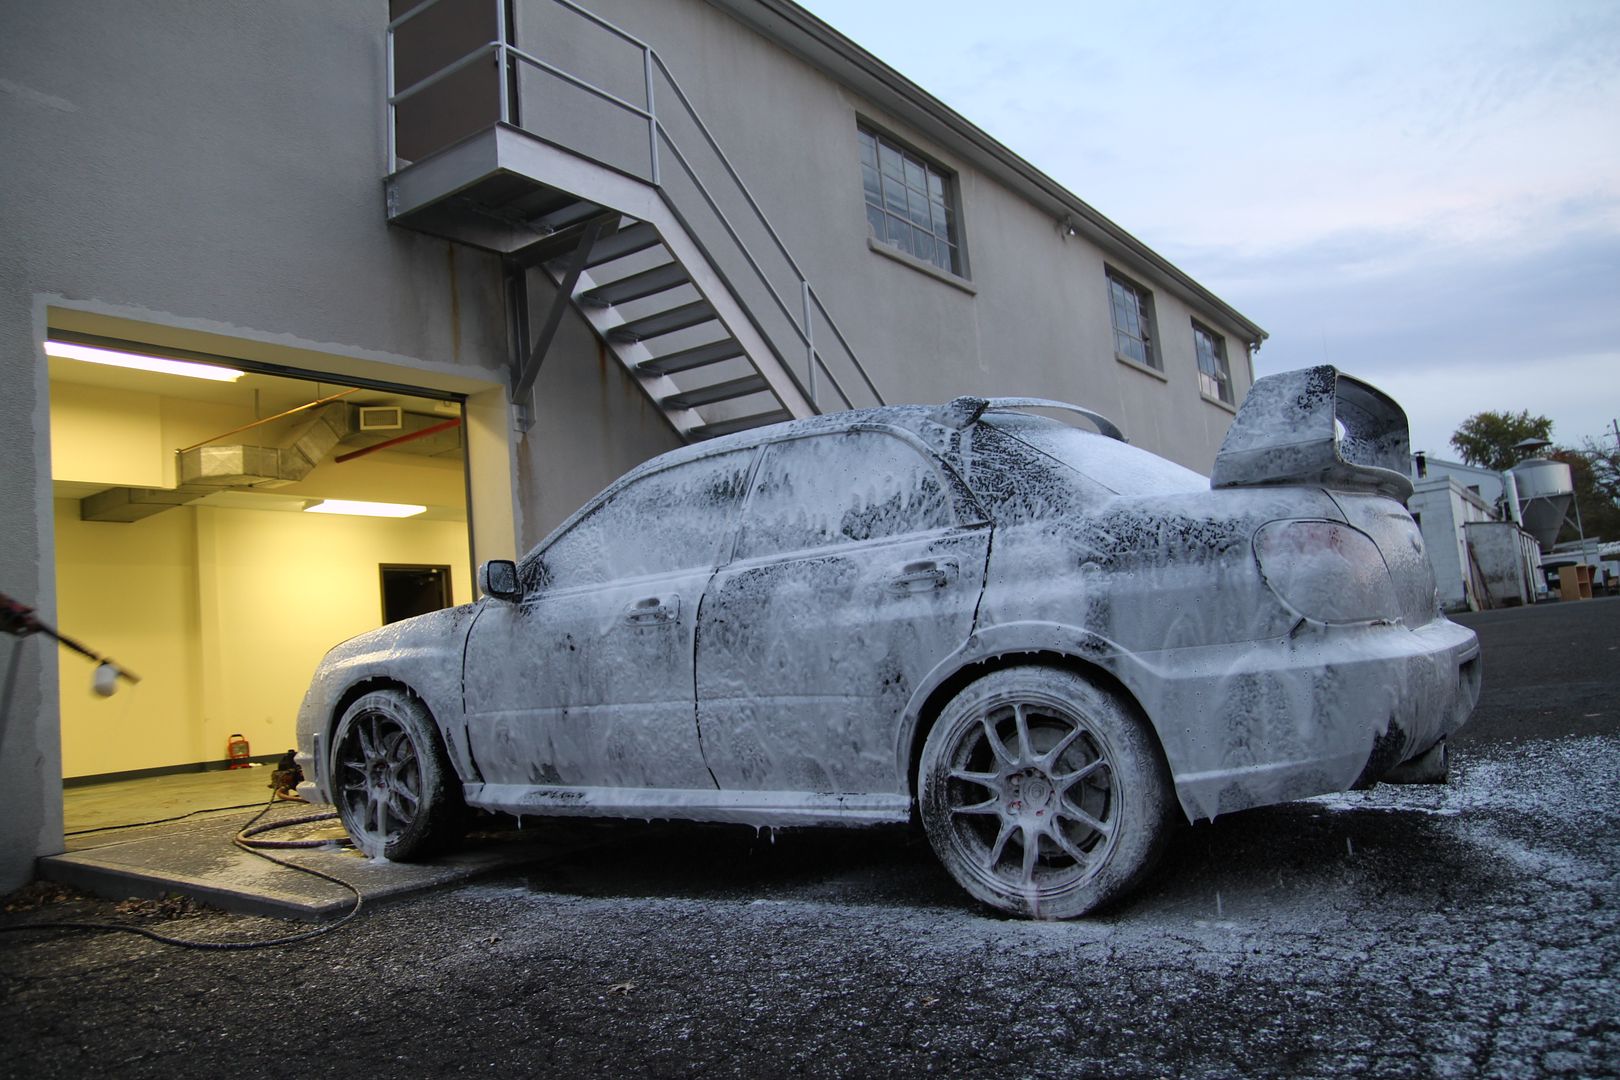
Wash
Rinsed down ready for claying
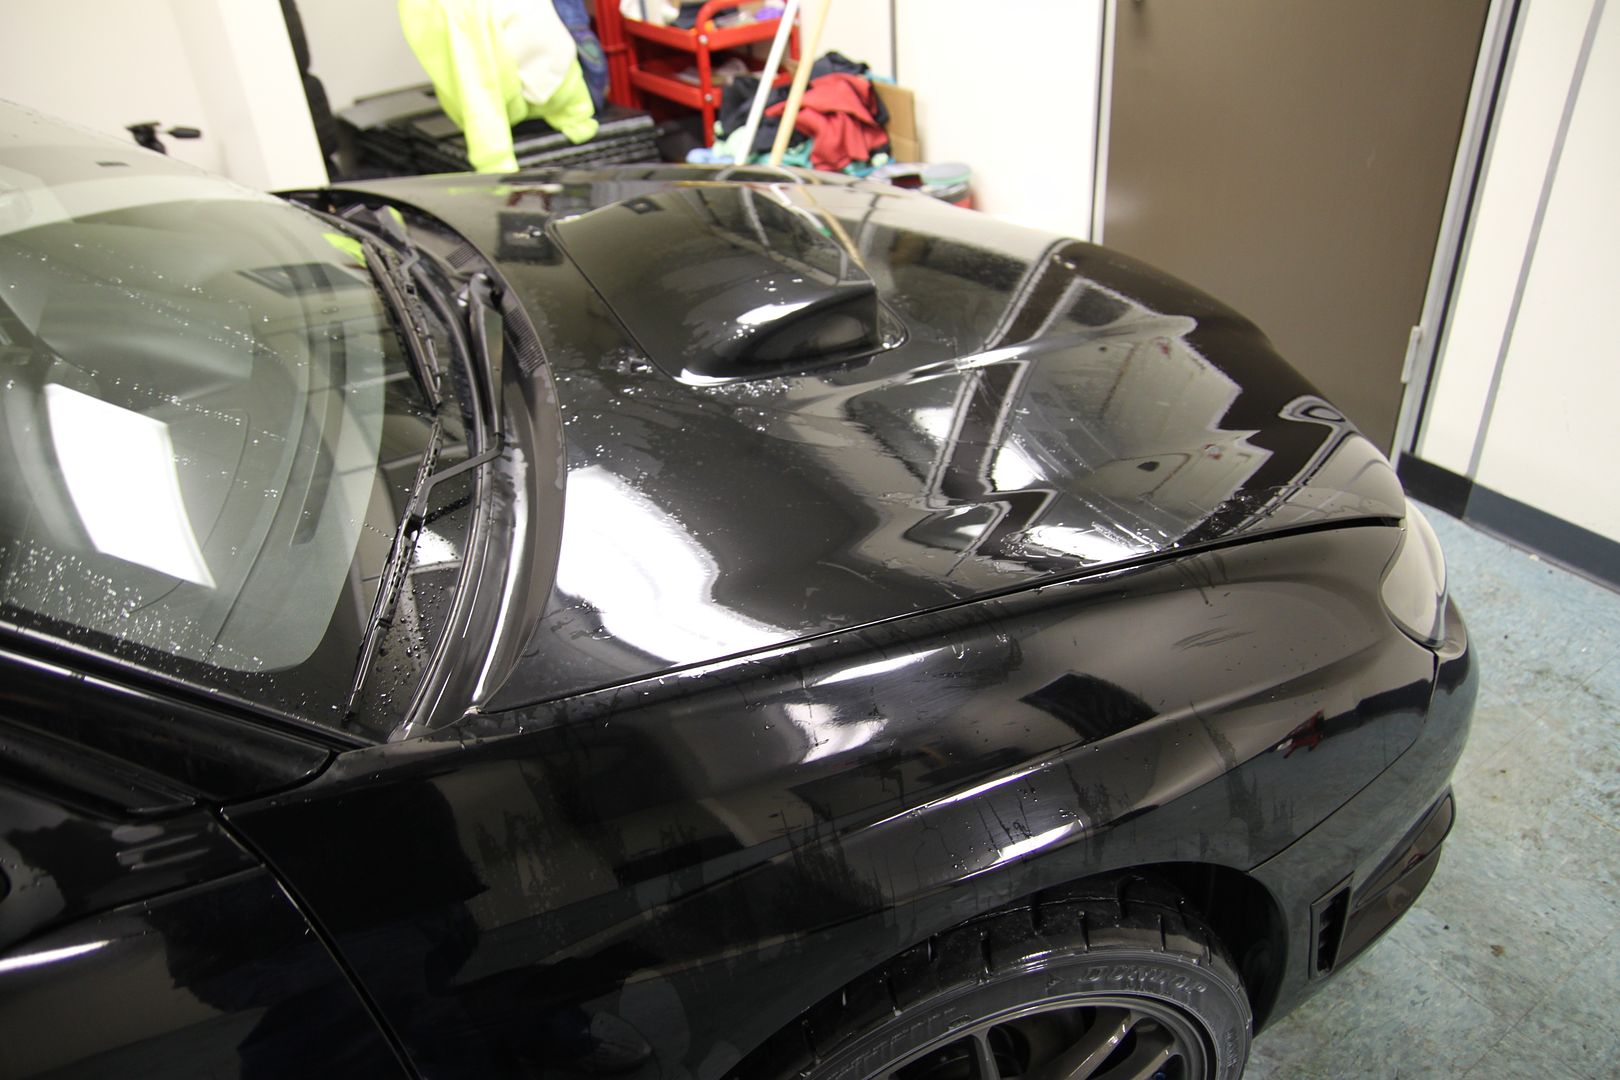
As Dave has said on a few occasions Subies have some major sticky paint! We have done a few of them in WRB/White/Silver but this is one of the first ones (Black) in which we encounter some really STiCKY paint, everything I put on this turn to paste, and each time we wiped off we would mar and put tiny scratches back in the STICKY and super soft paint.
After about 15-18 hours I really lost track of time we finally got it done.
The exterior is all we worked on with this one.
What was done -
Exterior
- Wheels were prepped with Sonax Wheel Cleaner and cleaned up with various brushes
- Tires were spritzed down with Adam's All Purpose Cleaner and washed down
- Wheel wells were cleaned up
- Wash down and rinsed
- Door jambs were cleaned up
- Clayed
- Dried
- Tires dressed
- Masking
- 3 Step Paint correction (Meg's M105, Menzerna Power Finish, Menzerna Super Finish)
- Inspection with Fenix, 3m Sun Gun, Infratech, and natural sunlight
- Last Step - Menzerna Power Lock and Lusso Oro
- Rubber and Plastics Treated
- Exterior windows and mirrors cleaned and sealed
- Exhaust tips cleaned
- Windows were clayed and sealed
Products used:
(feel free to click the link below for more info)
Exterior:
Lusso Auto Bathe
Adam's All Purpose Cleaner
Uber Yellow Wash Sponge
Uber Clay Bar kit with Optimum No Rinse
Einszett Spray Wax
Meg's M105
Menzerna Power Finish
Menzerna Super Finish
Menzerna Power Lock
Lusso Oro
Wheels/Tires
Uber Wheel and Tire Kit
Glass
Adam's Glass Cleaner
Adam's Glass Sealant
Tools:
Infratech 5300
Fenix TK11
Brinkmann
Fenix TK40
Flex 3403
Makita
Metabo
The Uber Foam Pads (5.5inch)
Tons of "Uber" Microfiber Towels
Uber Drying Towels
Brushes
Cam Spray Pressure Wash and Foam Canon Attachment
Before
Sonax Wheel Cleaner in action
Adam's All Purpose was used to strip all the waxes (not much off the paint)
Adam's All Purpose and the SV Brush was used to clean up the door jambs
Wash
Rinsed down ready for claying