Hi, I have been convinced into to doing a build thread for my Subaru Impreza Type R rally car. So hopefully will get lots of advice and comments and encouragement. I am going to try and complete this project myself with my family and hopefully what I dont know I will learn, which to be honest is probably what am looking forward to the most.
Before we jump into this I have to thank my parents for giving up their double garage and driveway for so long with Subaru`s and parts. I must also thank the people who are encouraging me to do this and also the suppliers that want to get involved in this even if its a comment and a well done r a suggestion to do something different it still means a great deal to me and I will try my best to mention everyone, So here goes. Tim from Rallytech lets see how popular this build thread will get, Alyn from ASPerformance for information and supplying parts for the build, Chris and Pauk at Gilesgate Autocare Hexham for getting me OEM subaru Parts and not charging Subaru Prices, Quaife for the supply of a LSD for the front diff. GAZ shocks for the completely top qualty rebuild of my LEDA suspension, John Hardy for the encouragement, The Legend Rob Ostle for the amount of times he replies to texts and phone calls and encourages. Also will thank you all in advance and hope you enjoy the adventure of a weekend spanner warrior taking on a project way to big for him but determined to succeed one way or the other.
So lets outline what the project is about,
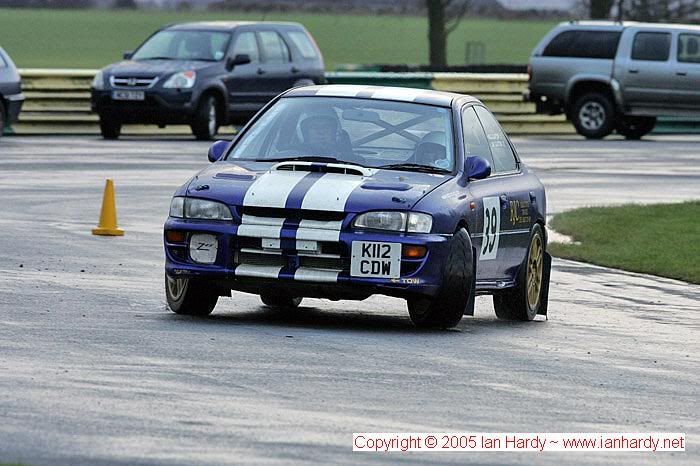
I bought a 4 door 1992/3 Subaru Impreza WRX tarmac spec rallycar and have used it to varying success on mainly the Northeast tarmac Championship, always finished and since owning it have changed it a fair bit mainly upgrading it to a Type R running gear and brakes. I also upgraded the ecu to a gems unit mapped by Dave Bell from Autolink 2000 in Newcastle and to be honest its a quick car.
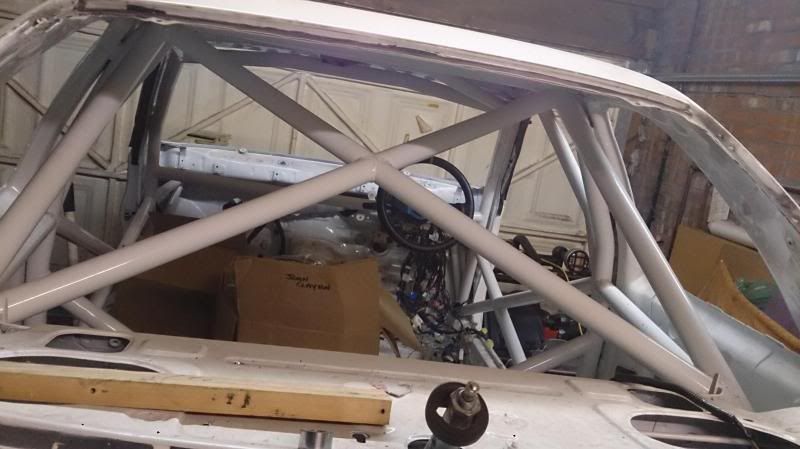
I also bought a mint low mileage Sti ver 6 type R which I then bought a custom cages roll cage and had it professionally fitted and that's where the car sat in my parents garage up on axle stands and waiting for the money and enthusiasm to grow enough to tackle this project.
So 2012 after a slight argument with a small tree stump at the Turnbull Trophy rally in Northumberland decided the time was right to make one phenomenal rally car out of two awesome cars.
The Type R was stripped and raring to go. First purchase a Carbon Kevlar Tank guard, brake pipes and goodridge fittings also a OBP pedal box and hydraulic handbrake. (as you can see no order in what am buying but just buying what I can when I can afford)

So out comes the diff and diff carrier, off comes the tank straps and the corner protectors threw away the corner protectors and refitted the tank straps. Luckily Subaru create the fuel tank with a lip pre-drilled to fit a tank guard or at least I presume they did. Anyway I used them and tank guard fits awesome as per next pic.

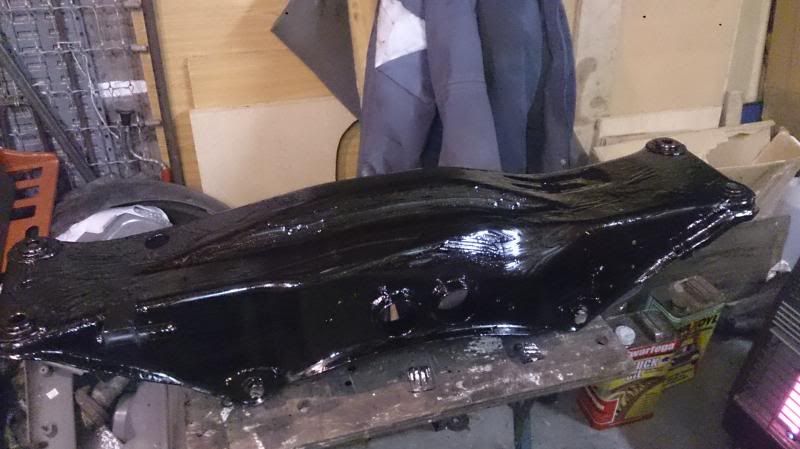
So while the diff carrier is out thought better clean it up wit paint and to protect it from the harsh environment its gonna be facing stuck a fair bit of wax oil on as well as removing the diff bushes with Polybush equivalent. (What a nightmare to get the old bushes out without a press. Yep got the gas burner out and set fire to those rubber puppies.)
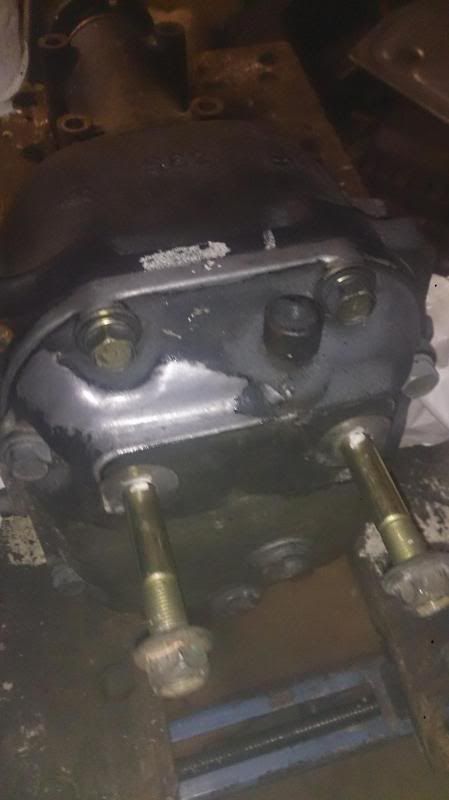
Also thought lets clean the diff up so that's next for the paint and wax oil treatment well apart from the back plate as that looks nice and shiny now.
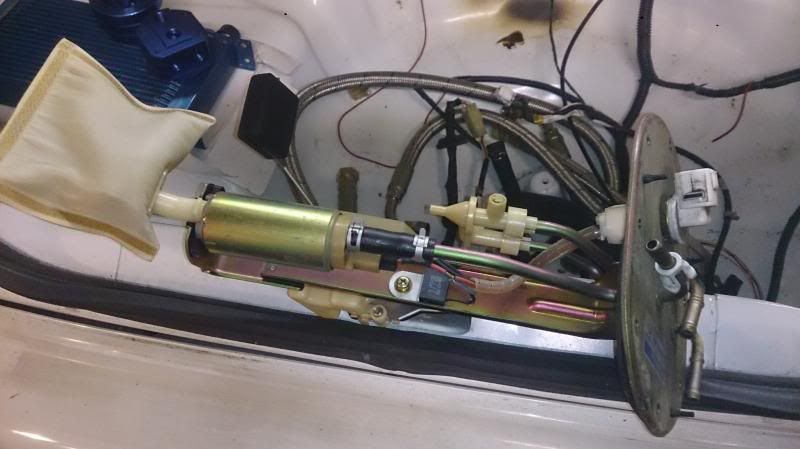
While we are at the tank thought lets remove the fuel pump and replace that with a walbro 255 as it should flow more and the big plan is to route the fuel line goodridge with fittings to a OBP swirl pot then to a Bosch 044 fuel pump to a parallel fuel rail. Suggestions on how to make a Parallel fuel rail please for a sti version 6 sti please.
So fuel pump taken out which can e accessed from the access panel inside the car removing 10 nuts and lifting it clear
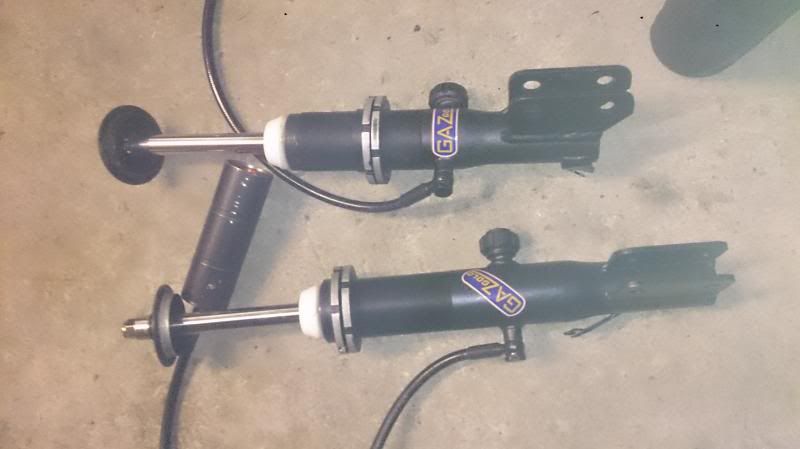
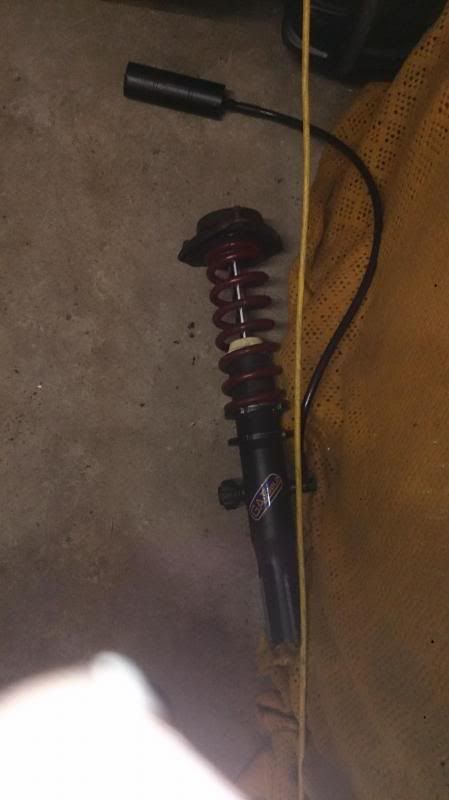
In the mean time The Old Leda coilovers have returned from GAZ Shocks as They do a cracking refurb job on them and for the four only charged ?75 per corner including postage. Which is alot better than what we had been quoted for replacing, money is tight so cant afford Ohlins or Xtc wish we could, when I win the Lottery will def be on the wish list.
These will get fitted in time. Think I need to get some canister covers for RACMSA regulations so if anyone knows where can get some in Carbon Fibre let me know.
Eibachs Fitted struts and standard top mounts back on although not sure whether to upgrade these or use standard (remember this is going to be more tarmac spec rallycar with occasional Forrest Gravel use.) Advice please??
Next as weighting for a fuel neck and breather pipe with protector gromit decided to fit the goodridge brake pipe and fittings to the rear.
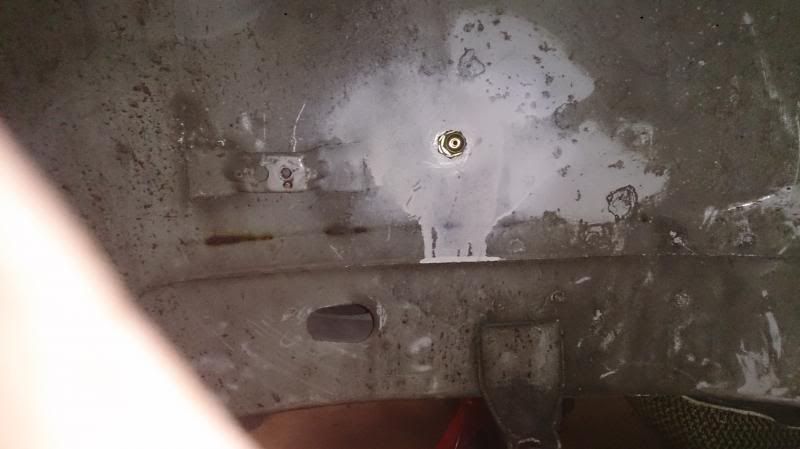
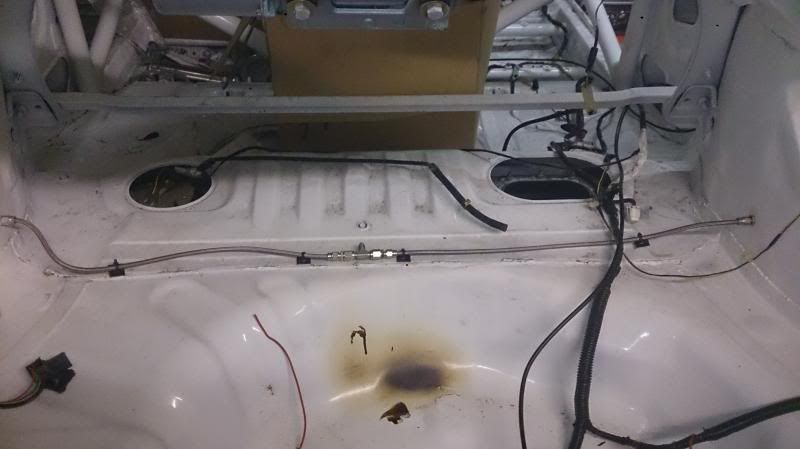
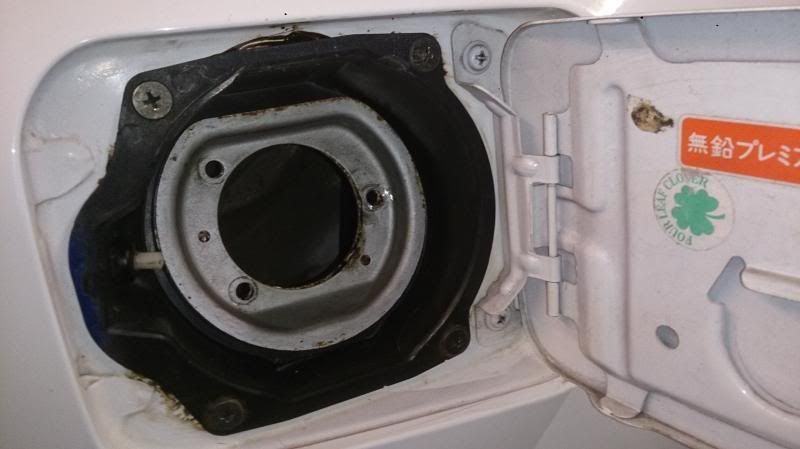
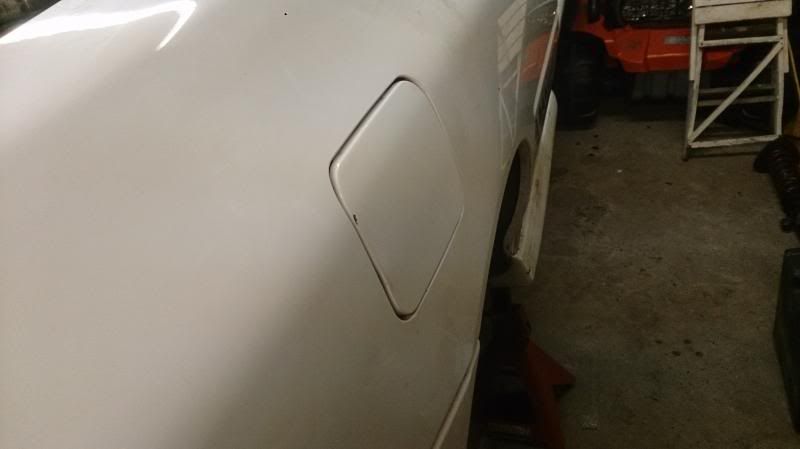
As you can see am concentrating on the rear of the car, Why no idea possibly thought it would be the easier bit to start with. So just to finish off decided to clean fit the fuel filler flap and neck trim all wax oil behind.
Promise last pics for now.
I know this first post seems to ramble on and goes on forever but I only get a chance to work on the car at weekends and do this on a night time so I thought get everything upto date and start updating on a weekly basis. I can only thank you for getting this far and look forward to hearing your comments.
Before we jump into this I have to thank my parents for giving up their double garage and driveway for so long with Subaru`s and parts. I must also thank the people who are encouraging me to do this and also the suppliers that want to get involved in this even if its a comment and a well done r a suggestion to do something different it still means a great deal to me and I will try my best to mention everyone, So here goes. Tim from Rallytech lets see how popular this build thread will get, Alyn from ASPerformance for information and supplying parts for the build, Chris and Pauk at Gilesgate Autocare Hexham for getting me OEM subaru Parts and not charging Subaru Prices, Quaife for the supply of a LSD for the front diff. GAZ shocks for the completely top qualty rebuild of my LEDA suspension, John Hardy for the encouragement, The Legend Rob Ostle for the amount of times he replies to texts and phone calls and encourages. Also will thank you all in advance and hope you enjoy the adventure of a weekend spanner warrior taking on a project way to big for him but determined to succeed one way or the other.
So lets outline what the project is about,
I bought a 4 door 1992/3 Subaru Impreza WRX tarmac spec rallycar and have used it to varying success on mainly the Northeast tarmac Championship, always finished and since owning it have changed it a fair bit mainly upgrading it to a Type R running gear and brakes. I also upgraded the ecu to a gems unit mapped by Dave Bell from Autolink 2000 in Newcastle and to be honest its a quick car.

I also bought a mint low mileage Sti ver 6 type R which I then bought a custom cages roll cage and had it professionally fitted and that's where the car sat in my parents garage up on axle stands and waiting for the money and enthusiasm to grow enough to tackle this project.

So 2012 after a slight argument with a small tree stump at the Turnbull Trophy rally in Northumberland decided the time was right to make one phenomenal rally car out of two awesome cars.
The Type R was stripped and raring to go. First purchase a Carbon Kevlar Tank guard, brake pipes and goodridge fittings also a OBP pedal box and hydraulic handbrake. (as you can see no order in what am buying but just buying what I can when I can afford)

So out comes the diff and diff carrier, off comes the tank straps and the corner protectors threw away the corner protectors and refitted the tank straps. Luckily Subaru create the fuel tank with a lip pre-drilled to fit a tank guard or at least I presume they did. Anyway I used them and tank guard fits awesome as per next pic.

So while the diff carrier is out thought better clean it up wit paint and to protect it from the harsh environment its gonna be facing stuck a fair bit of wax oil on as well as removing the diff bushes with Polybush equivalent. (What a nightmare to get the old bushes out without a press. Yep got the gas burner out and set fire to those rubber puppies.)

Also thought lets clean the diff up so that's next for the paint and wax oil treatment well apart from the back plate as that looks nice and shiny now.

While we are at the tank thought lets remove the fuel pump and replace that with a walbro 255 as it should flow more and the big plan is to route the fuel line goodridge with fittings to a OBP swirl pot then to a Bosch 044 fuel pump to a parallel fuel rail. Suggestions on how to make a Parallel fuel rail please for a sti version 6 sti please.
So fuel pump taken out which can e accessed from the access panel inside the car removing 10 nuts and lifting it clear

In the mean time The Old Leda coilovers have returned from GAZ Shocks as They do a cracking refurb job on them and for the four only charged ?75 per corner including postage. Which is alot better than what we had been quoted for replacing, money is tight so cant afford Ohlins or Xtc wish we could, when I win the Lottery will def be on the wish list.

These will get fitted in time. Think I need to get some canister covers for RACMSA regulations so if anyone knows where can get some in Carbon Fibre let me know.
Eibachs Fitted struts and standard top mounts back on although not sure whether to upgrade these or use standard (remember this is going to be more tarmac spec rallycar with occasional Forrest Gravel use.) Advice please??

Next as weighting for a fuel neck and breather pipe with protector gromit decided to fit the goodridge brake pipe and fittings to the rear.


As you can see am concentrating on the rear of the car, Why no idea possibly thought it would be the easier bit to start with. So just to finish off decided to clean fit the fuel filler flap and neck trim all wax oil behind.


Promise last pics for now.
I know this first post seems to ramble on and goes on forever but I only get a chance to work on the car at weekends and do this on a night time so I thought get everything upto date and start updating on a weekly basis. I can only thank you for getting this far and look forward to hearing your comments.


