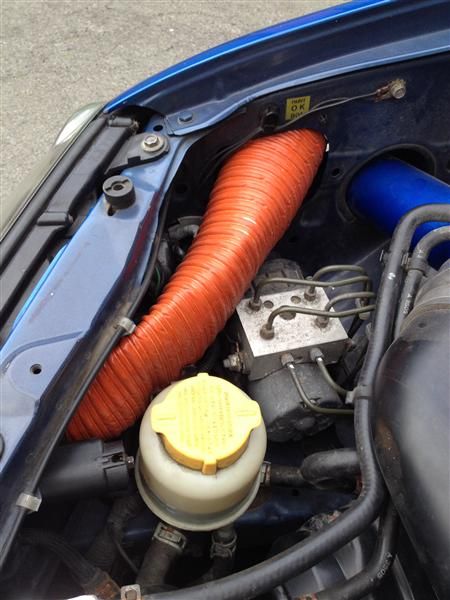
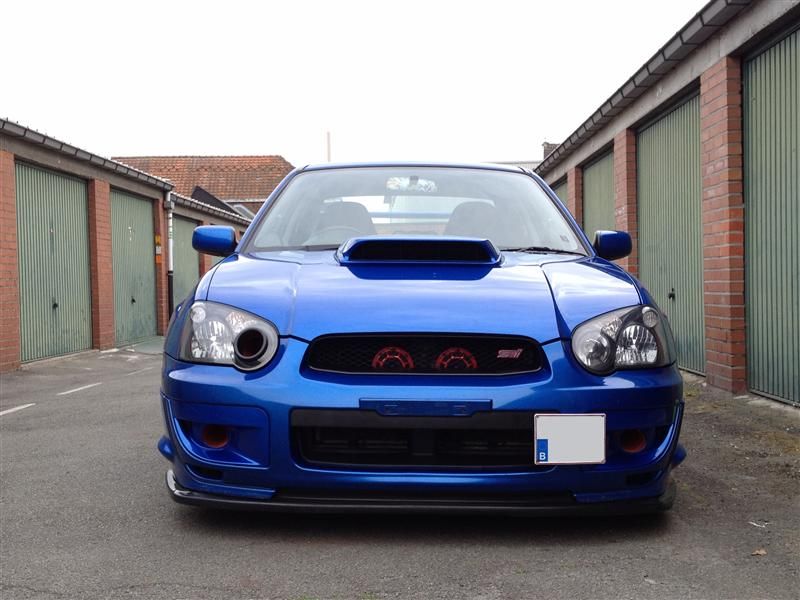
Highlander395
New member
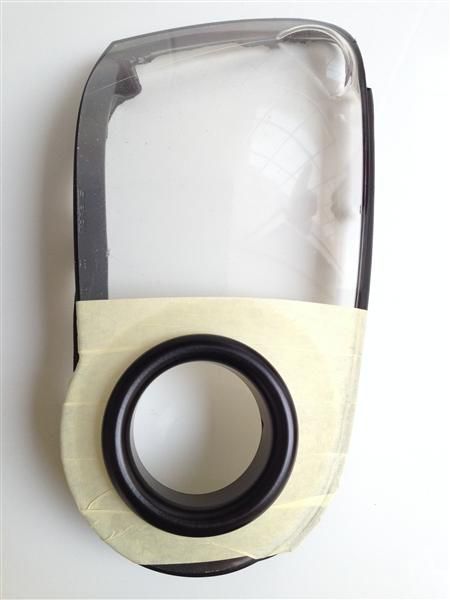
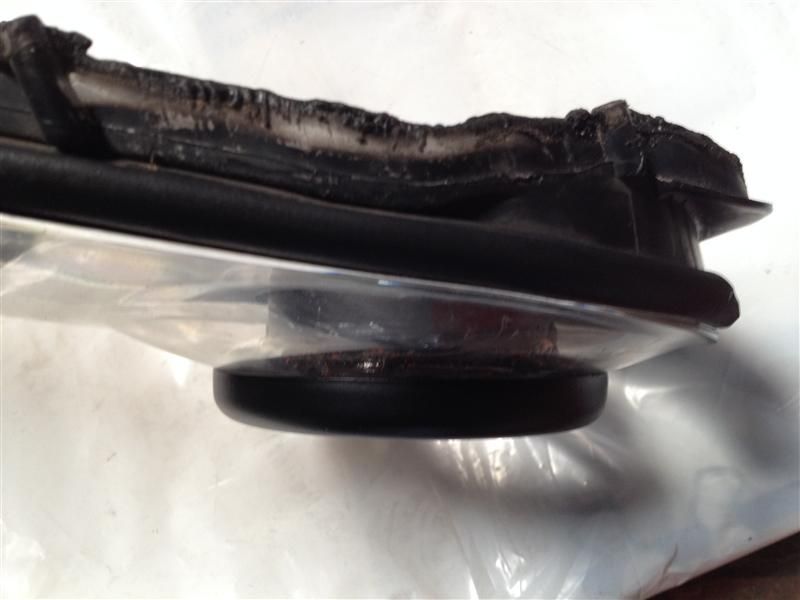
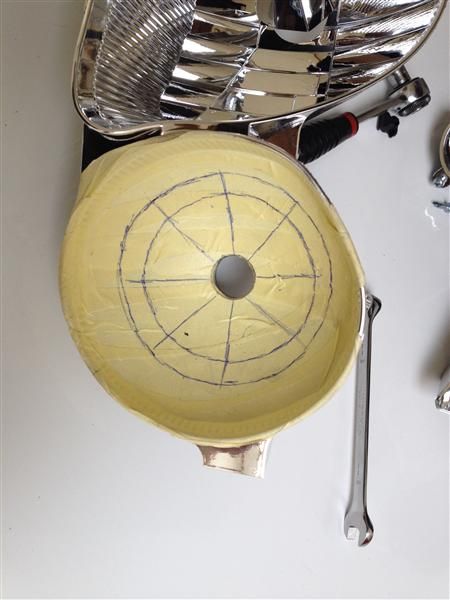
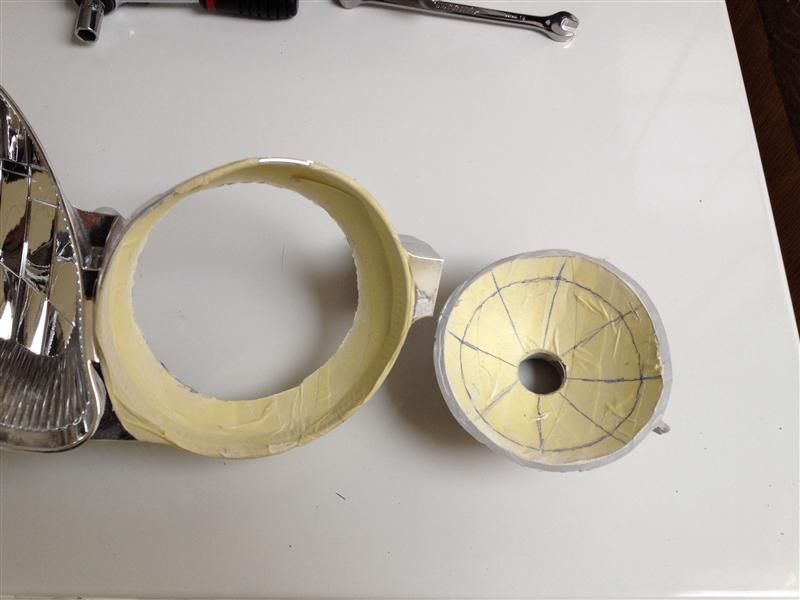
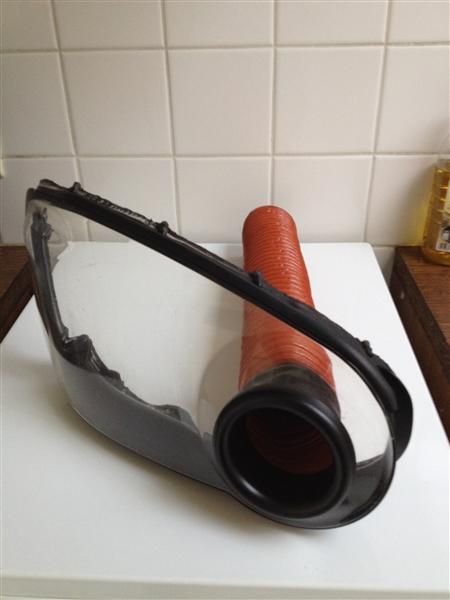
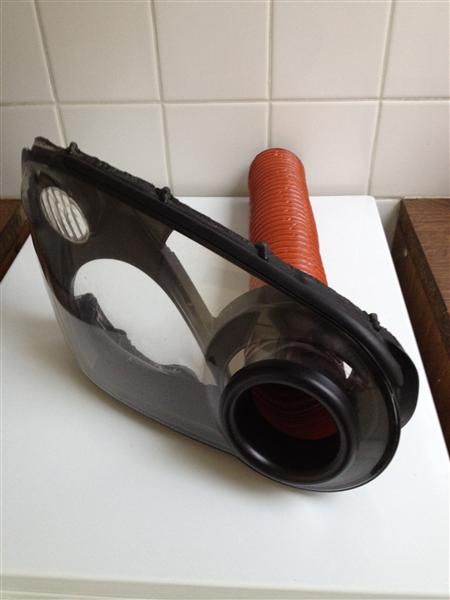
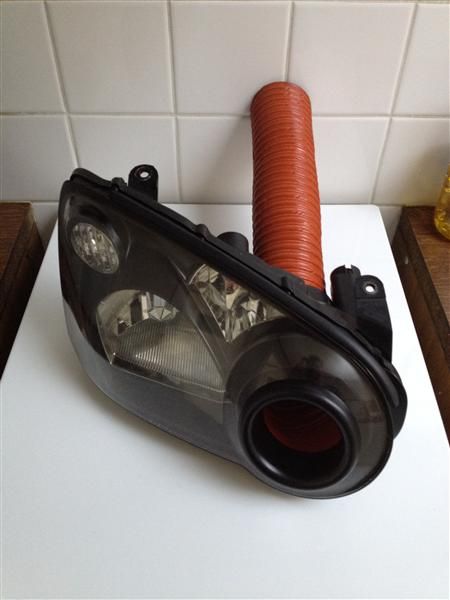
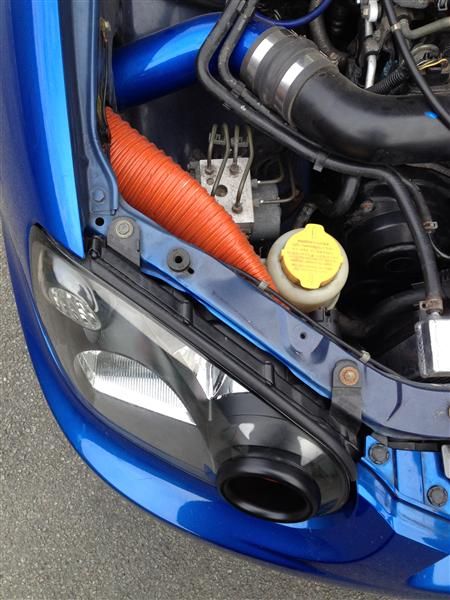
Since I haven't found a how to about this, I thought doing a write up while actually making one would be helpful to others as well 
NOTE 1:
Before we start, this is at your own risk!! If it goes wrong, the headlight will be permanently damaged and become unusable!!! I advise you to get a spare headlight, that way you don't need to touch your original set.
NOTE 2:
It is possible there are other ways to do it, this was mine. Questions can (and will be) answered if necessary, opinions & comments are welcome. I'm a foreigner so if my English isn't always clear, please excuse me All measurements are made iaw the metric system. I will adjust the topic for both metric and imperial later on
NOTE 3:
This procedure is for a blob-eye headlight only, but most of it can be used as a guide for other headlights also. A bit of common sense and 2 right hands will do the rest.
NOTE 4:
This can only be used on cars that don't use the stock air box!! Mine has the air filter in the fender. If u do want this with the stock air box , you?ll have to figure out how to install it by yourself.
NOTE 5:
Keep in mind that the products and parts I used, perhaps aren't available in the US. There will be other similar products available in Home Depot which I don't know the name of
Required:
- spare right headlight
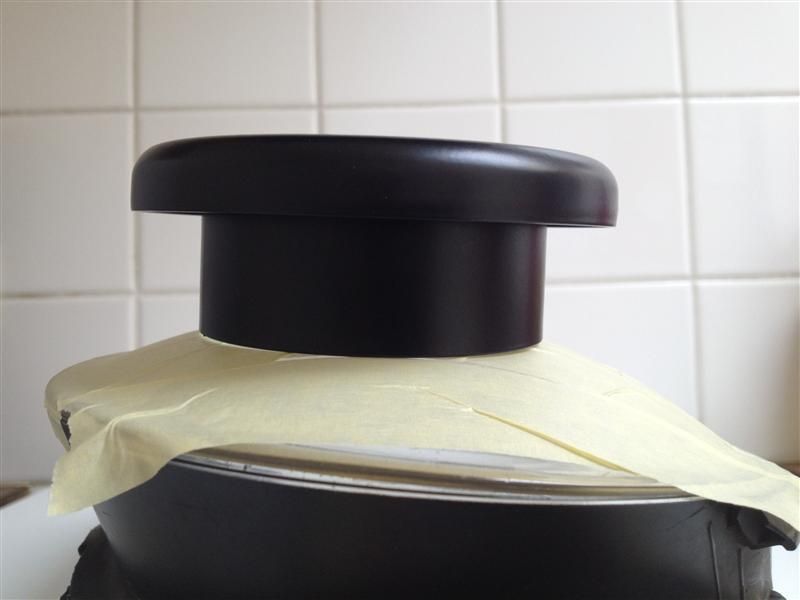
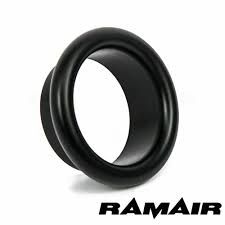
- air funnel (which fit 80mm hose, mine came from RAMAIR UK via Ebay)
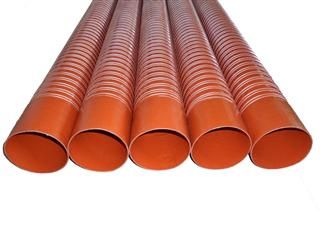
- 76mm (3") air duct hose (depending on where u want it to end, length required will be 250 - 750mm).
- sealing/adhesive (to make the headlight waterproof afterwards)
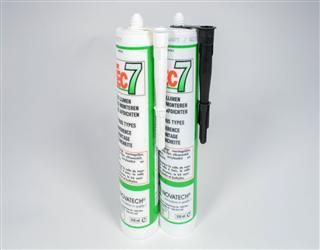
- double bubble epoxy
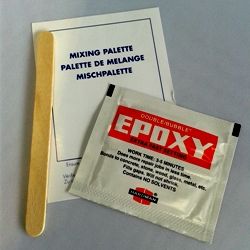
- half a pack of guts
Tools:
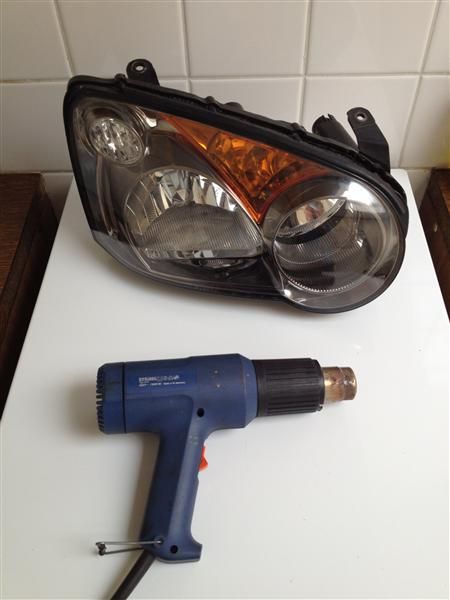
- heat gun
- screwdrivers
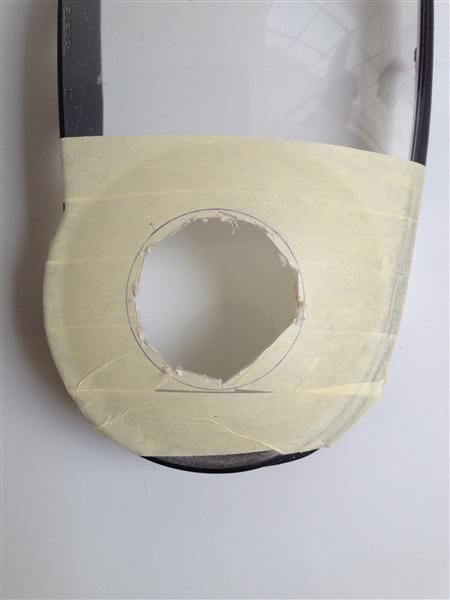
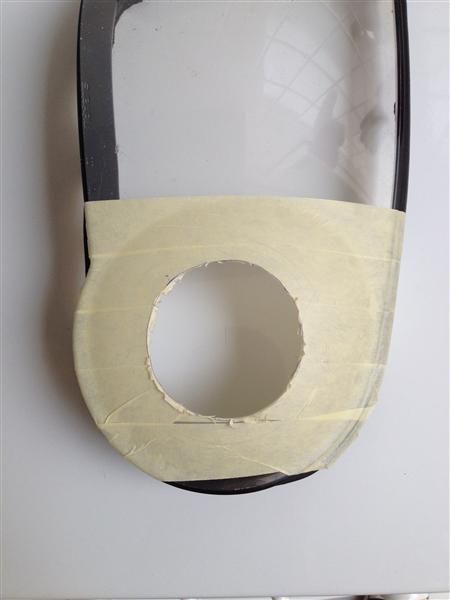
- dremel (cutting & sanding tool)
- sealing gun (or whatever it's called)
- heat shrink (at least 85mm diameter)
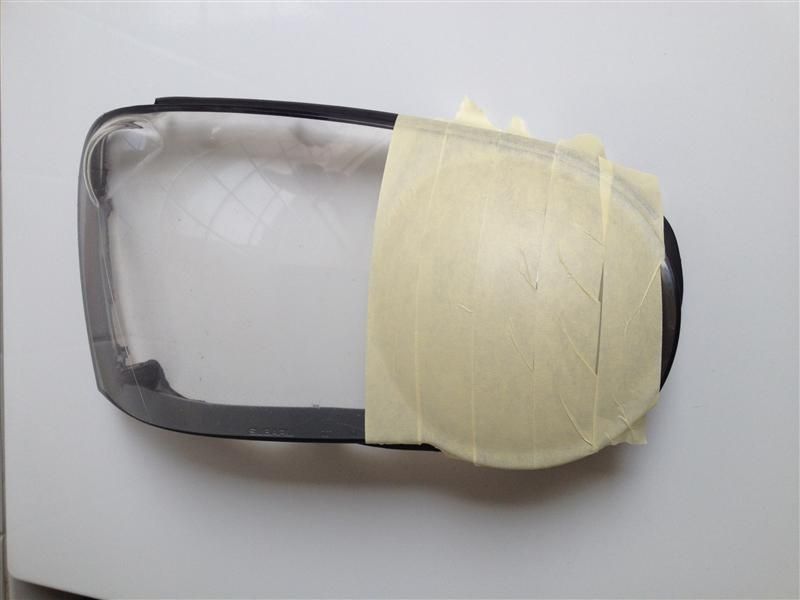
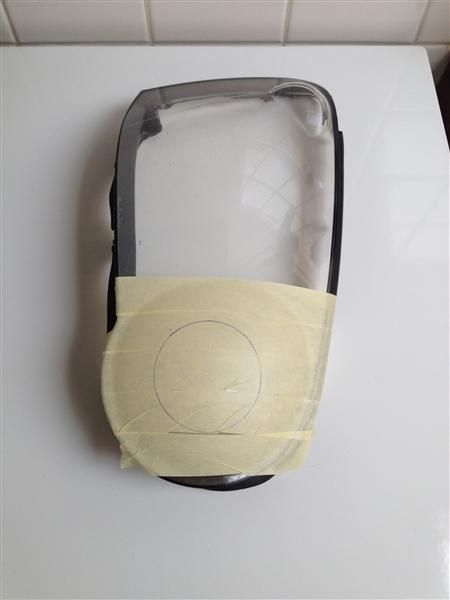
- masking tape
- pencil or something else to write with and chew on during work.
Time:
Depends on your own skills TAKE YOUR TIME IF U WANT A GOOD RESULT!!
IMPORTANT NOTE:
I'm not going to repeat every step that u have to testfit, adjust, trim, cut, testfit, adjust, trim, cut,.... After every step or after each time u adjust something, fit the hose and try to assemble the headlight!! This will make it obvious where U need to trim or adjust some more!! There will be things I forgot to mention, so don?t be a no brainer that follows my lead without knowing what you?re doing
NOTE 1:
Before we start, this is at your own risk!! If it goes wrong, the headlight will be permanently damaged and become unusable!!! I advise you to get a spare headlight, that way you don't need to touch your original set.
NOTE 2:
It is possible there are other ways to do it, this was mine. Questions can (and will be) answered if necessary, opinions & comments are welcome. I'm a foreigner so if my English isn't always clear, please excuse me
NOTE 3:
This procedure is for a blob-eye headlight only, but most of it can be used as a guide for other headlights also. A bit of common sense and 2 right hands will do the rest.
NOTE 4:
This can only be used on cars that don't use the stock air box!! Mine has the air filter in the fender. If u do want this with the stock air box , you?ll have to figure out how to install it by yourself.
NOTE 5:
Keep in mind that the products and parts I used, perhaps aren't available in the US. There will be other similar products available in Home Depot which I don't know the name of
Required:
- spare right headlight
- air funnel (which fit 80mm hose, mine came from RAMAIR UK via Ebay)

- 76mm (3") air duct hose (depending on where u want it to end, length required will be 250 - 750mm).

- sealing/adhesive (to make the headlight waterproof afterwards)

- double bubble epoxy

- half a pack of guts
Tools:
- heat gun
- screwdrivers
- dremel (cutting & sanding tool)
- sealing gun (or whatever it's called)
- heat shrink (at least 85mm diameter)
- masking tape
- pencil or something else to write with and chew on during work.
Time:
Depends on your own skills
IMPORTANT NOTE:
I'm not going to repeat every step that u have to testfit, adjust, trim, cut, testfit, adjust, trim, cut,.... After every step or after each time u adjust something, fit the hose and try to assemble the headlight!! This will make it obvious where U need to trim or adjust some more!! There will be things I forgot to mention, so don?t be a no brainer that follows my lead without knowing what you?re doing

