SeRiousWRX
New member
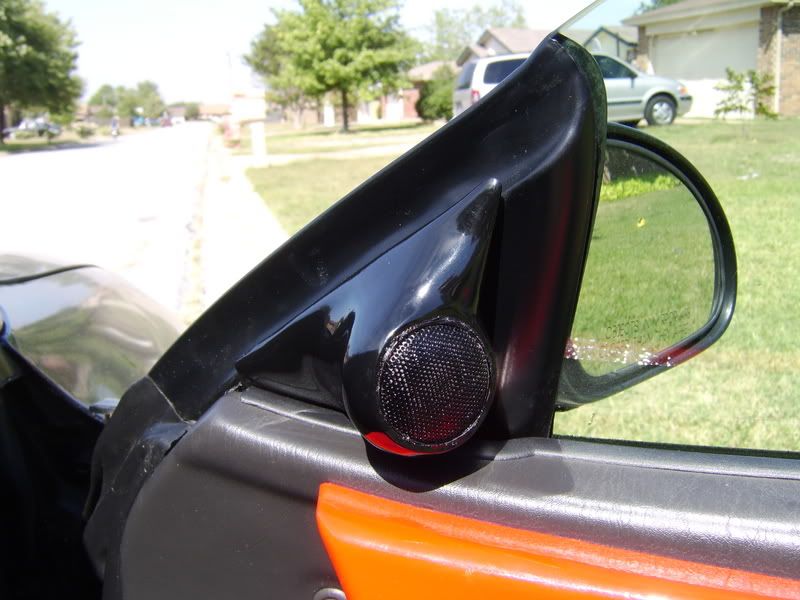
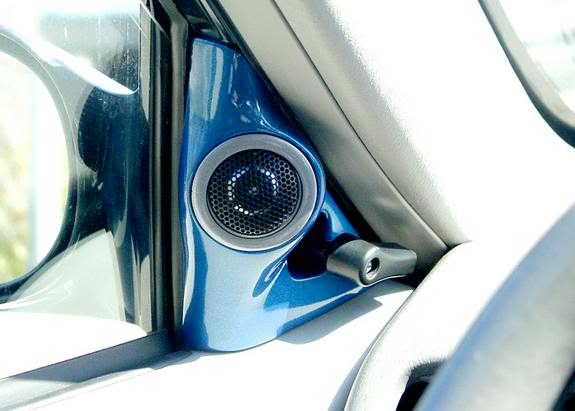
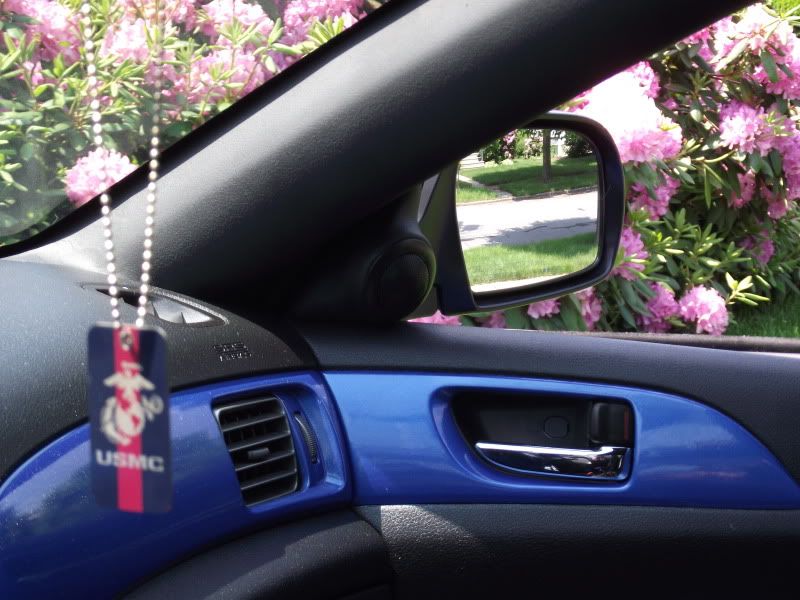
This is a very generic and easy process. Even though this is for a different car, you can use the same process for any car. This particular walk-through is for tweeters that don't have a surface mount option. For those, the process is a little different. For Subaru WRX/STi twetter pods, look at the last few pics.
Custom Sail Panel Tweeter Pod How-To
This is a very fast way to make a set of custom sail paneltweeter pods. These take no longer than a full day, with 23 hours of that dayfor drying. Take what you learn here and apply it to all sorts of differentvehicles.
Yes, there are dozens of different ways to make these and Ihave used several methods. Some take longer than others. This is just a veryraw, do it at home, beginner method. I will post more advanced methods as timegoes by.
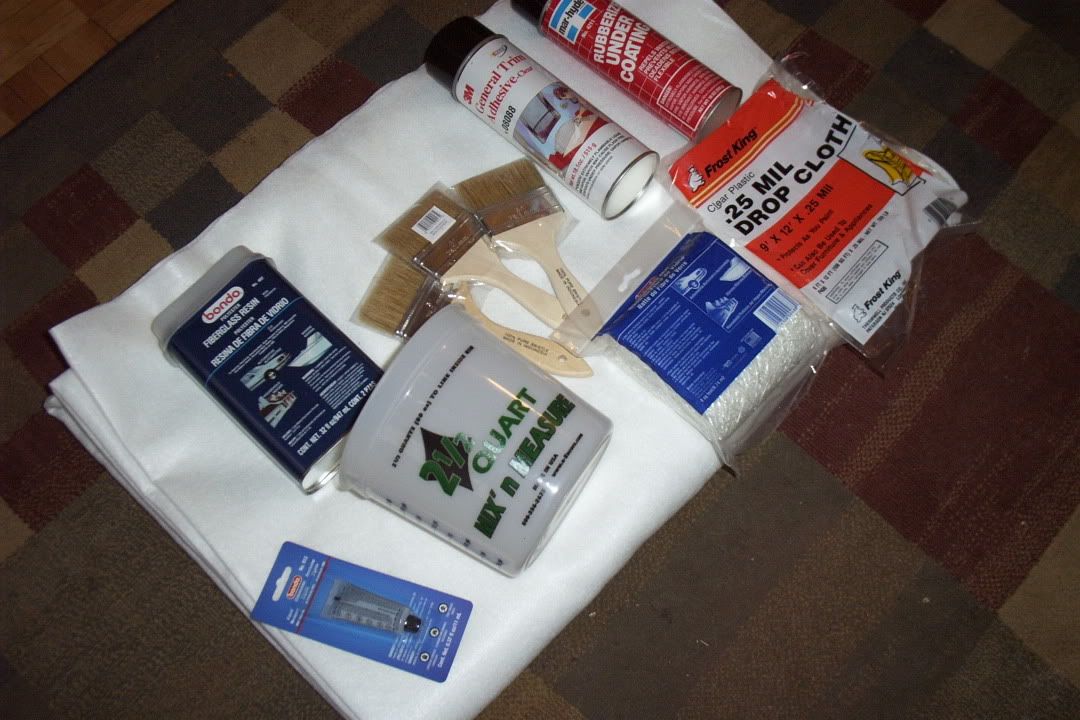
First you need to gather the material that you will be usingin this project. Here is a general list that is needed to complete thisproject. Most of these items can be found at the Dollar Store:
(1) Plastic Drop Cloth for speedy clean up: $2.00
(2) Disposable paint brushes (NOT the sponge type): $.50each
(1) Disposable gloves: $1.00
(1) Fiberglass Resin Kit (hardener, bucket, mattingincluded): $8.00
(1) Yard of fleece material (color does not matter): $2.00
(1) Assortment pack of sandpaper: $5.00
(1) Tube of Bondo Spot Putty: $2.00
(1) Can of High Build Sandable Primer: $4.00
(1) Can of spray adhesive: $5.00
(1) Scissors: $1.00
(1) Bottle of cleaner/degreaser: $4.00
(1) Roll of paper towels: $1.00
(1) Roll of aluminum foil: $1.00
(1) Roll of painter's tape: $1.50
(1) Piece of paper
(1) Sharpie Marker
(2) Tubes of Super Glue Gel: $2.00
Some extra tools that are good to have that will make theprocess faster and easier are:
Dremel
Cutoff wheels for Dremel
Sanding drums for Dremel (60 grit #440 or #408 and 120grit #444 or #432)
High-Speed Cutters (#115 and #199)
Razor Blade
Old clothes
Heres a pic of some of the material that will be needed.Instead of buying the mat and resin separate, Wal Mart sells a kit that haseverything in it for around $8.00.
Once you gather all your material, its time to get started.The first thing you need to do is go out to the car with the Sharpie, paper,and scissors. Look and see how much bigger you want your sail panel. Cut out alarge triangle from the paper. Now hold it against the sail panel location andstart trimming it until you get the size you want. Now take it and the actualsail panel with you back to your work area.
Next you will want to trace that cut out onto the weavedfiberglass matting. Like in this picture.
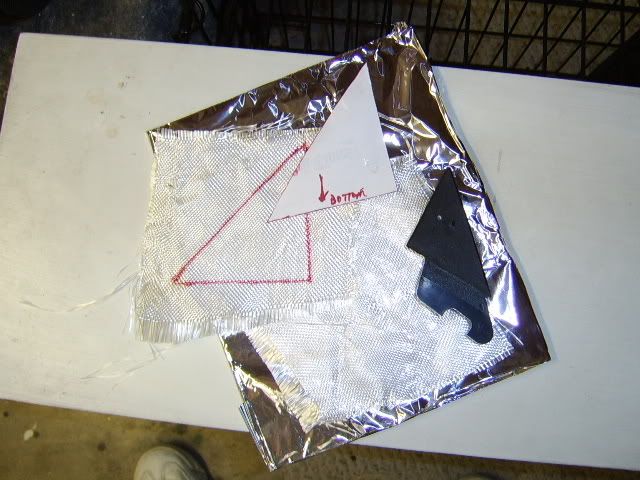
Now if you noticed, I have 2 pieces of the mat cut out. Youwill only need to trace the design onto one. I also went ahead and wrapped asmall flat piece if wood in aluminum foil.
Next, you will want to take the Super Glue and cover thearea of the sail panel that is to be seen. NOT the section that hides behindthe door panel. Then place it face down onto the mat that had the pattern drawnpressing firmly. Make sure it doesn't glue to anything else. Then lay it tothe side face up.
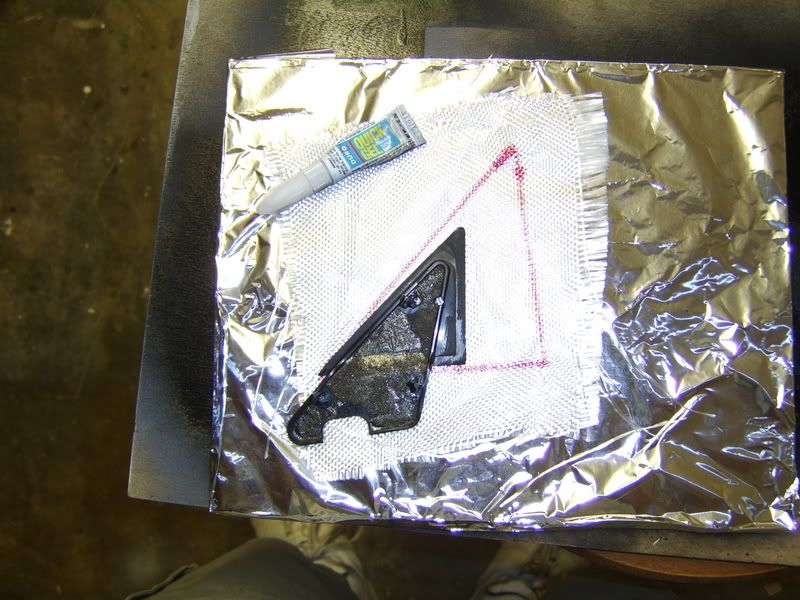
If you noticed, I had messed up on my angle so I correctedit.
NOTE: From here on out, PLEASE make sure you are in awell-vented area! Fiberglass resin fumes can be very dangerous. Hint: Raise thedoor in the garage before you start.
Next, go ahead and mix up a small batch of resin andhardener as directed on box. Make sure you have everything you need in front ofyou. Grab the other piece of mat without the pattern on it and lat it on thefoil. Grab your brush and begin to cover it with the resin.
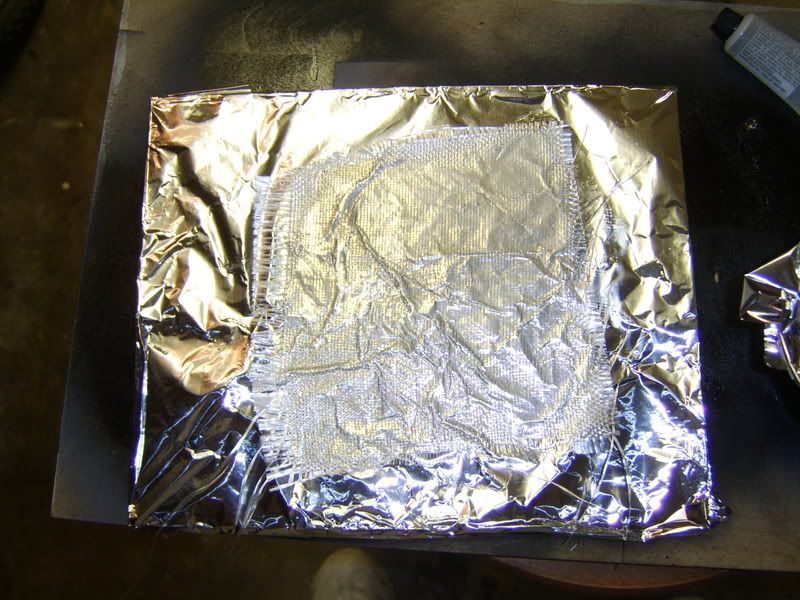
Next, quickly grab the super glued sail panel/mat. Whileholding it, apply resin on the mat side where it was glued and then place it ontop of the freshly resined mat. Now, go back over it applying more resin. Imake sure the resin actually covers the lip of the sail panel too.
Now let that dry for several hours.
Once it is dry, pull it up from the foil. The foil will peeloff of it very easily. If you notice in this picture I also decided to changethe size of my sail panel.
Next, grab your Dremel and cut-off wheel and begin to cut itout. Should end up with something similar to this.
Once that is done, grab you tweeter cup, Sharpie, and newsail panel and head back to the car. Go ahead put it back on (with the doorpanel installed too) to make sure that it doesn't hit anything and fits ok.Next, while its in, start deciding how you want the angle tweeter cup to sit.Once you got it, mark it with the Sharpie and head back to the work area.
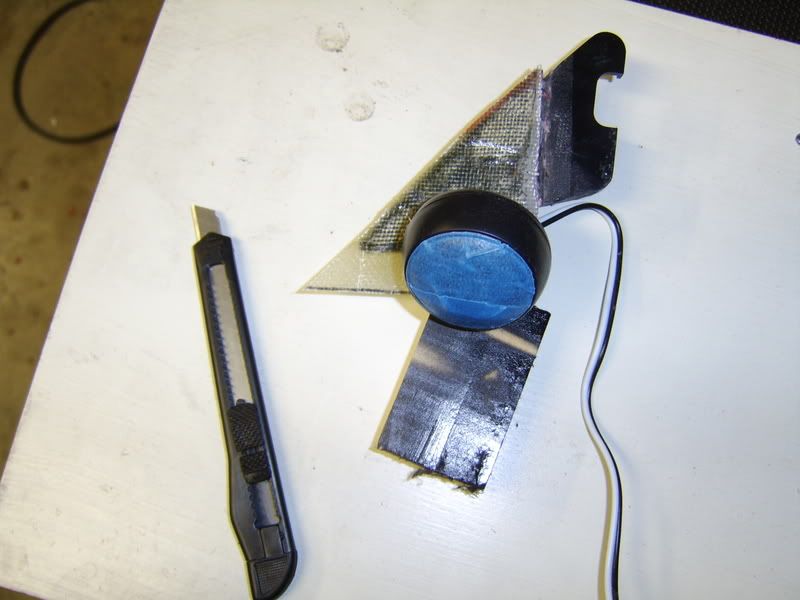
Now you grab the Super Glue again and glue the tweeter anglecup to the new sail panel.
Next you need to go ahead and drill a small hole where thespeaker wire will run through. Now get your tweeter and top cup and assemblethe pod running the speaker wire through the pre-drilled hole. Now grab thepainter's tape and cover the actually tweeter. I used a razor blade to tracearound it. I also take the Super Glue and permanently attach the two tweeterpods together.
Now its time to get your spray adhesive, fleece, andscissors. Go ahead and cut out a piece of fleece that about 1' x 1'. Shouldbe big enough. This is the spray adhesive that I used for this project. It ischeaper than the 3M and worked just as well.
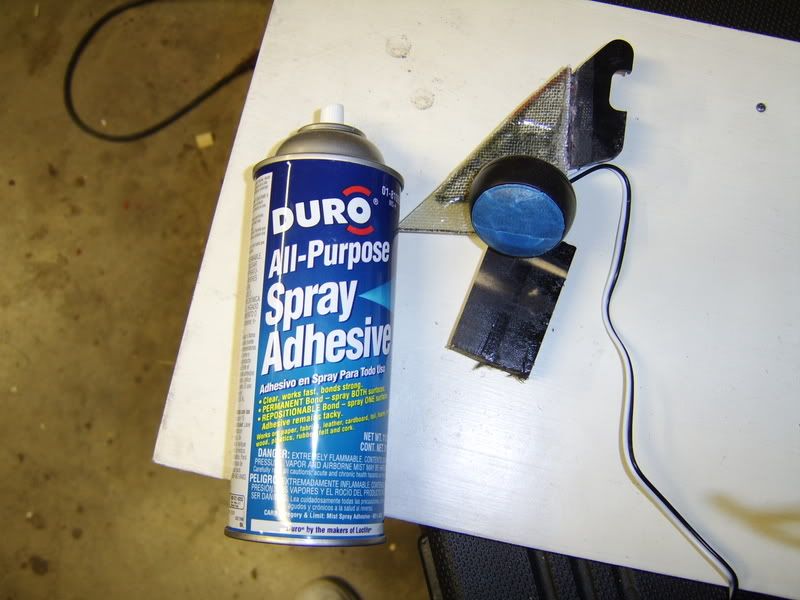
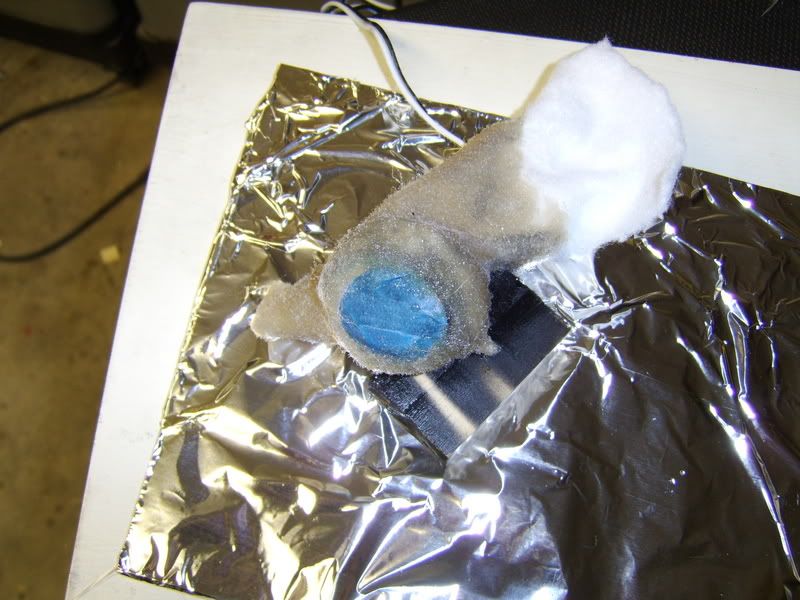
Now spray the entire thing EXCEPT the front of the tweeter(where the painters tape is). Now I know that some will get sprayed on it. Justdon't purposely spray it. Also be sure to spray the back of the piece for thefabric to grab to. Work slowly around it pulling out all or as many as possiblewrinkles. If you can't get rid of all of them, don't fret. Just get them assmall as possible. They can be filled with body filler later. You should end upwith a piece similar to this.

I also went a head and removed the section of fleece overthe tweeter. This is not necessary. Just make sure you don't cover it inresin or you will have a headache.
Next, go ahead and mix up a batch of resin and hardner andapply it to the fleece.

Let this dry for a good day (24 hrs). Once its dry, pull outyour Dremel and tools because its time to get dirty.
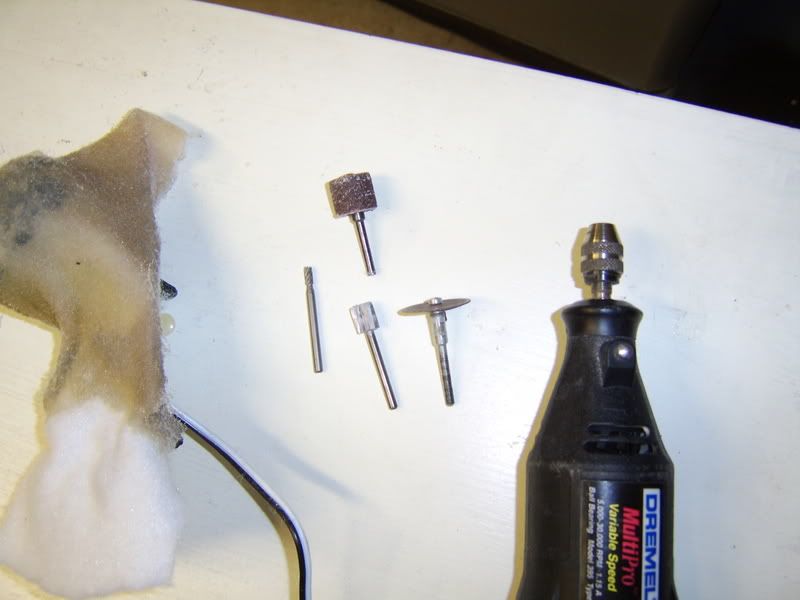
You will be able to tell where you need and what you need tocut off and trim. I trimmed mine to where my tweeter was still able to move inthe cup. That isn't necessary especially since you worked out the angle backin the beginning. Once that's good and cleaned up its time for the rest. Ihighly recommend using a Dremel for this part. Sanding by hand sucks and takesa lot longer. Start of with the 60 grit sanding drums and sand the entirecubby. The idea here is to start off working with the 60 grit course drums andfinish with the finer 120 grit ones. You will want to use a slow speed and keepa very light pressure for a more effective sanding. For those doing it by hand,keep working your way down to the finer sandpaper.
If you notice, while you're sanding, there are sandinglines or grooves in the fiberglass. Its ok. You don't have to keep sandinguntil those are gone. Once you have it to a point where it's somewhat smooth,use the cleaner/degreaser and clean it.
Now take the High Build spray primer and spray 2 coats ontoit. Let it dry for about 30-45 minutes. Once that is done you will notice thatthe primer got rid of some of the light scratches. Here is the time to mix up asmall amount of EverCoat (Bondo) Body Filler and fill in any creases/folds. Youcan also use it to cover the entire pod instead of the spot putty. If this iswhat you had to do, let it dry and then proceed to the sanding.
If you didn't have major creases/folds, you will need theBondo spot putty. Knead it as directed and apply it to the entire fiberglassedarea. Applying slight pressure and a thin coat. You will need to let this dryfor about an hour. I usually place it in the sun to speed up the process.
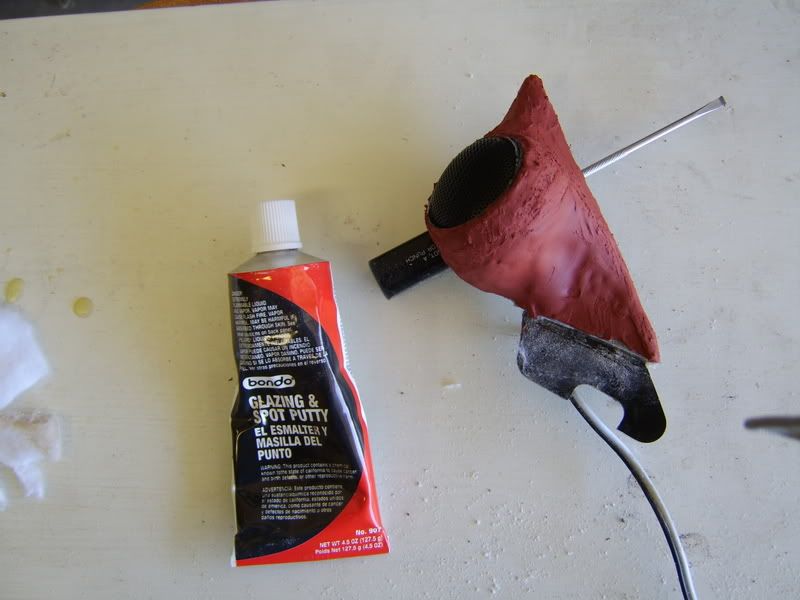
After the first spot putty layer is dry, take a 220 gritsand paper and begin to smooth it out. Don't be afraid to use slightpressure. What the spot putty did was fill in any pinholes and deep scratches.Once you think that you have it smooth, clean it again using thecleaner/degreaser. Now spray another 2 coats of the High build primer. Once itis dry examine it for any other scratches, ridges, unsmoothed areas, pinholes,ect. If you find any, use the spot putty to fill the scratches and pinholes anda 400-grit sandpaper to smooth out the ridges and such. Repeat this processuntil completely smooth.
From here, I would go ahead and add 2-3 more coats ofprimer, let dry, and then sand with a 600-800 grit sandpaper. It should beready for paint.
(Sorry for these next few crappy pics! I have better onescoming)
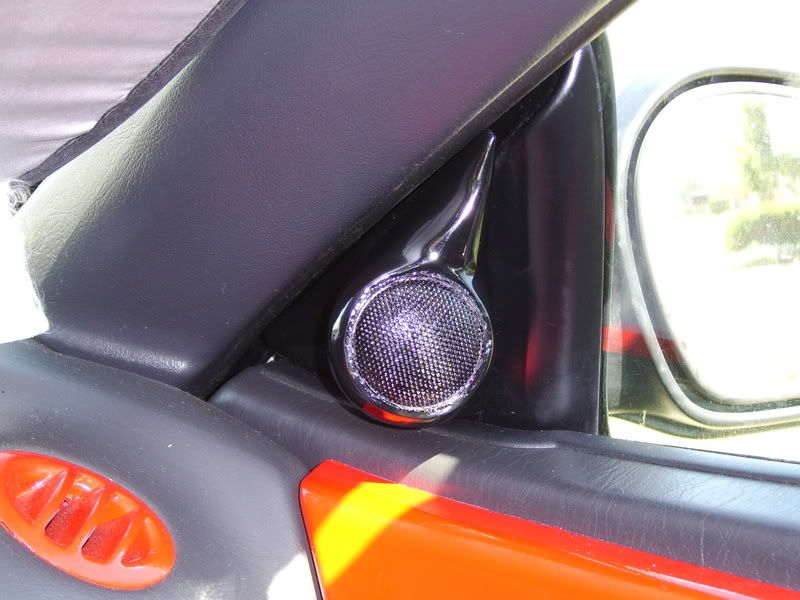
Once you reach this point, I would go ahead and test fit itinto the car and make sure you don't need to trim or sand any more areasdown.
If everything fits just right, then clean it, paint it, and enjoy!!!!!!!!


Custom Sail Panel Tweeter Pod How-To
This is a very fast way to make a set of custom sail paneltweeter pods. These take no longer than a full day, with 23 hours of that dayfor drying. Take what you learn here and apply it to all sorts of differentvehicles.
Yes, there are dozens of different ways to make these and Ihave used several methods. Some take longer than others. This is just a veryraw, do it at home, beginner method. I will post more advanced methods as timegoes by.
First you need to gather the material that you will be usingin this project. Here is a general list that is needed to complete thisproject. Most of these items can be found at the Dollar Store:
(1) Plastic Drop Cloth for speedy clean up: $2.00
(2) Disposable paint brushes (NOT the sponge type): $.50each
(1) Disposable gloves: $1.00
(1) Fiberglass Resin Kit (hardener, bucket, mattingincluded): $8.00
(1) Yard of fleece material (color does not matter): $2.00
(1) Assortment pack of sandpaper: $5.00
(1) Tube of Bondo Spot Putty: $2.00
(1) Can of High Build Sandable Primer: $4.00
(1) Can of spray adhesive: $5.00
(1) Scissors: $1.00
(1) Bottle of cleaner/degreaser: $4.00
(1) Roll of paper towels: $1.00
(1) Roll of aluminum foil: $1.00
(1) Roll of painter's tape: $1.50
(1) Piece of paper
(1) Sharpie Marker
(2) Tubes of Super Glue Gel: $2.00
Some extra tools that are good to have that will make theprocess faster and easier are:
Dremel
Cutoff wheels for Dremel
Sanding drums for Dremel (60 grit #440 or #408 and 120grit #444 or #432)
High-Speed Cutters (#115 and #199)
Razor Blade
Old clothes
Heres a pic of some of the material that will be needed.Instead of buying the mat and resin separate, Wal Mart sells a kit that haseverything in it for around $8.00.
Once you gather all your material, its time to get started.The first thing you need to do is go out to the car with the Sharpie, paper,and scissors. Look and see how much bigger you want your sail panel. Cut out alarge triangle from the paper. Now hold it against the sail panel location andstart trimming it until you get the size you want. Now take it and the actualsail panel with you back to your work area.
Next you will want to trace that cut out onto the weavedfiberglass matting. Like in this picture.
Now if you noticed, I have 2 pieces of the mat cut out. Youwill only need to trace the design onto one. I also went ahead and wrapped asmall flat piece if wood in aluminum foil.
Next, you will want to take the Super Glue and cover thearea of the sail panel that is to be seen. NOT the section that hides behindthe door panel. Then place it face down onto the mat that had the pattern drawnpressing firmly. Make sure it doesn't glue to anything else. Then lay it tothe side face up.
If you noticed, I had messed up on my angle so I correctedit.
NOTE: From here on out, PLEASE make sure you are in awell-vented area! Fiberglass resin fumes can be very dangerous. Hint: Raise thedoor in the garage before you start.
Next, go ahead and mix up a small batch of resin andhardener as directed on box. Make sure you have everything you need in front ofyou. Grab the other piece of mat without the pattern on it and lat it on thefoil. Grab your brush and begin to cover it with the resin.
Next, quickly grab the super glued sail panel/mat. Whileholding it, apply resin on the mat side where it was glued and then place it ontop of the freshly resined mat. Now, go back over it applying more resin. Imake sure the resin actually covers the lip of the sail panel too.
Now let that dry for several hours.
Once it is dry, pull it up from the foil. The foil will peeloff of it very easily. If you notice in this picture I also decided to changethe size of my sail panel.
Next, grab your Dremel and cut-off wheel and begin to cut itout. Should end up with something similar to this.
Once that is done, grab you tweeter cup, Sharpie, and newsail panel and head back to the car. Go ahead put it back on (with the doorpanel installed too) to make sure that it doesn't hit anything and fits ok.Next, while its in, start deciding how you want the angle tweeter cup to sit.Once you got it, mark it with the Sharpie and head back to the work area.
Now you grab the Super Glue again and glue the tweeter anglecup to the new sail panel.
Next you need to go ahead and drill a small hole where thespeaker wire will run through. Now get your tweeter and top cup and assemblethe pod running the speaker wire through the pre-drilled hole. Now grab thepainter's tape and cover the actually tweeter. I used a razor blade to tracearound it. I also take the Super Glue and permanently attach the two tweeterpods together.
Now its time to get your spray adhesive, fleece, andscissors. Go ahead and cut out a piece of fleece that about 1' x 1'. Shouldbe big enough. This is the spray adhesive that I used for this project. It ischeaper than the 3M and worked just as well.
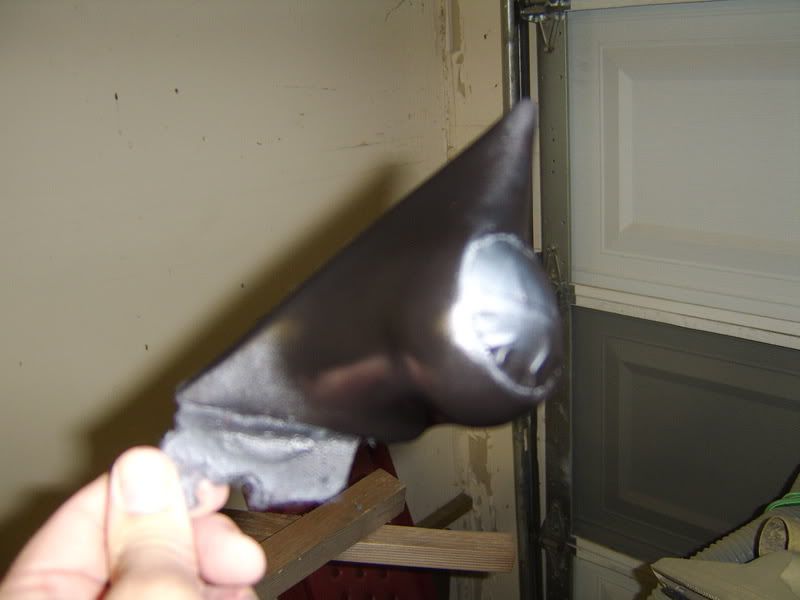
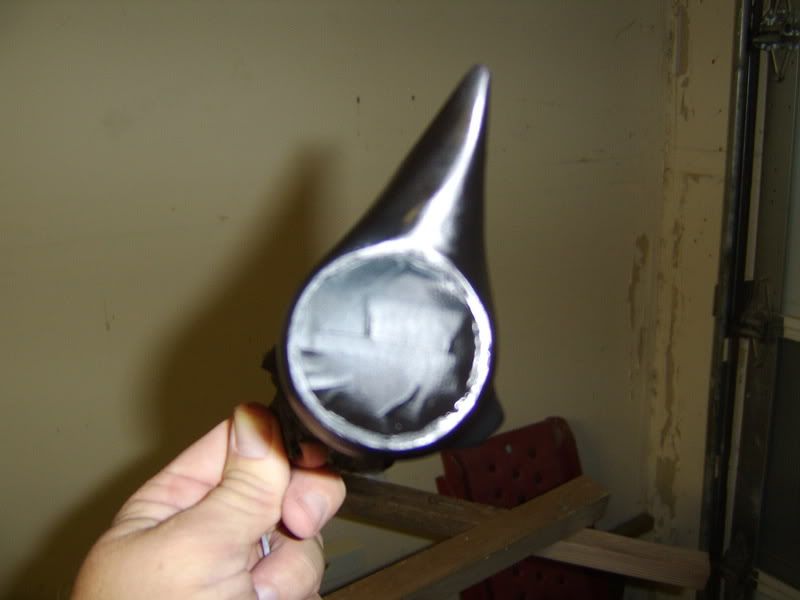
Now spray the entire thing EXCEPT the front of the tweeter(where the painters tape is). Now I know that some will get sprayed on it. Justdon't purposely spray it. Also be sure to spray the back of the piece for thefabric to grab to. Work slowly around it pulling out all or as many as possiblewrinkles. If you can't get rid of all of them, don't fret. Just get them assmall as possible. They can be filled with body filler later. You should end upwith a piece similar to this.
I also went a head and removed the section of fleece overthe tweeter. This is not necessary. Just make sure you don't cover it inresin or you will have a headache.
Next, go ahead and mix up a batch of resin and hardner andapply it to the fleece.
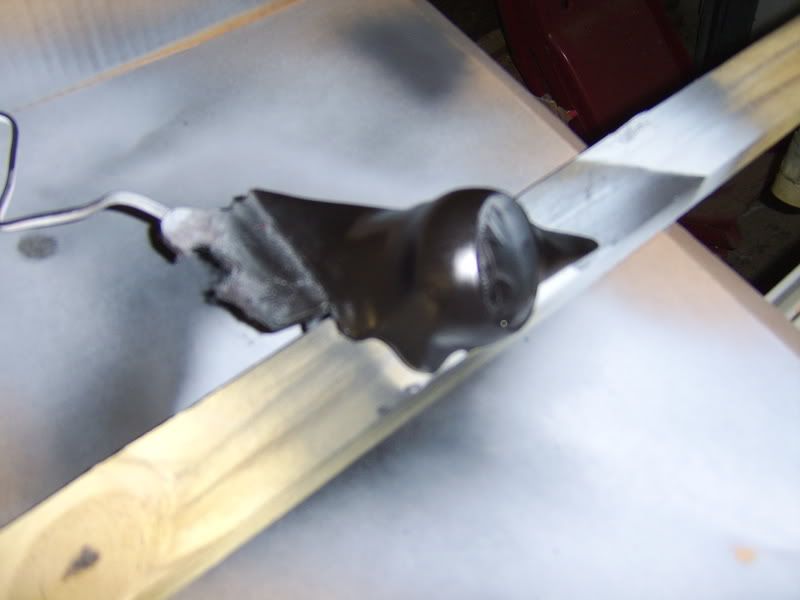
Let this dry for a good day (24 hrs). Once its dry, pull outyour Dremel and tools because its time to get dirty.
You will be able to tell where you need and what you need tocut off and trim. I trimmed mine to where my tweeter was still able to move inthe cup. That isn't necessary especially since you worked out the angle backin the beginning. Once that's good and cleaned up its time for the rest. Ihighly recommend using a Dremel for this part. Sanding by hand sucks and takesa lot longer. Start of with the 60 grit sanding drums and sand the entirecubby. The idea here is to start off working with the 60 grit course drums andfinish with the finer 120 grit ones. You will want to use a slow speed and keepa very light pressure for a more effective sanding. For those doing it by hand,keep working your way down to the finer sandpaper.
If you notice, while you're sanding, there are sandinglines or grooves in the fiberglass. Its ok. You don't have to keep sandinguntil those are gone. Once you have it to a point where it's somewhat smooth,use the cleaner/degreaser and clean it.
Now take the High Build spray primer and spray 2 coats ontoit. Let it dry for about 30-45 minutes. Once that is done you will notice thatthe primer got rid of some of the light scratches. Here is the time to mix up asmall amount of EverCoat (Bondo) Body Filler and fill in any creases/folds. Youcan also use it to cover the entire pod instead of the spot putty. If this iswhat you had to do, let it dry and then proceed to the sanding.
If you didn't have major creases/folds, you will need theBondo spot putty. Knead it as directed and apply it to the entire fiberglassedarea. Applying slight pressure and a thin coat. You will need to let this dryfor about an hour. I usually place it in the sun to speed up the process.
After the first spot putty layer is dry, take a 220 gritsand paper and begin to smooth it out. Don't be afraid to use slightpressure. What the spot putty did was fill in any pinholes and deep scratches.Once you think that you have it smooth, clean it again using thecleaner/degreaser. Now spray another 2 coats of the High build primer. Once itis dry examine it for any other scratches, ridges, unsmoothed areas, pinholes,ect. If you find any, use the spot putty to fill the scratches and pinholes anda 400-grit sandpaper to smooth out the ridges and such. Repeat this processuntil completely smooth.
From here, I would go ahead and add 2-3 more coats ofprimer, let dry, and then sand with a 600-800 grit sandpaper. It should beready for paint.
(Sorry for these next few crappy pics! I have better onescoming)
Once you reach this point, I would go ahead and test fit itinto the car and make sure you don't need to trim or sand any more areasdown.
If everything fits just right, then clean it, paint it, and enjoy!!!!!!!!
Last edited: