Over Engineering Forester Build

Over Engineering

Basic Member
Freaking awesome. I need to talk to Ryan about header pipes for my STi and get it on the dyno. I really need to stop down and get them all on the site. We need to also do a picture shoot. :)

We will all be at the Quaker Steak and Lube meet tonight! We are meeting at the Moore Performance shop at 6:15 for a bit first.
 

Over Engineering

Basic Member
I will be doing a full writeup this week about the install and results but for now you guys can look at some more pics!

Here are some install day photos:
DSC_9844.JPG


DSC_9883.JPG


DSC_9891.JPG


DSC_9914.JPG

A little trim of the subframe to make sure the header wasnt too close when we lowered the motor back down.
Probably didn't need it but better safe than sorry.


DSC_9925.JPG

The turbo and the uppipe both have a perfect gasket match!
Most uppipes and turbos have bad steps and restrictions in this area that kill flow.


DSC_9930.JPG

Installed!!!!!!!!!!!!
 

Over Engineering

Basic Member
What thermal coating did you use on the topmount and did you guys do it or did you send it off? Been looking around for thermal dispersants, only one I have so far was used on the coldside of my turbo, but I'm not wanting to ship every part for thermal disperant coating to UT. Also, what yeargroup did you pull the TMIC from? I know I'm hounding you right off the bat, but I'm interested! :tard:

Sorry this has taken so long!!!!!! I keep meaning to post the info in here but I kept forgetting.

The shop that did all the porting and coating is here: http://www.engaged-performance.com/

They are basically the go to shops for Subaru parts! Not a big shop but EVERYTHING I have seen them do is just fantastic! They are really helpful as well. I have even seen him on Nasioc giving helpful tips to guys doing it DIY.
 

Over Engineering

Basic Member
Here is the dyno graph. This was on a Mustang Dyno. The turbo feels laggy but I think its a combination of two things, the stock STi catback and the wastegate actuator not being stong enough to keep it closed.

Baseline%252520vs%252520Tuned.JPG
 

Over Engineering

Basic Member
Yeah the car definitely moves! I will be getting it back on the dyno with a few tweaks early next week. Should be able to move the torque curve to the left at least 500rpm.
 

Over Engineering

Basic Member
I finally got the LCD Multigauge 99% of the way installed!

P1040662.JPG


P1040666.JPG


P1040665.JPG

You can see here that it reads: Oil Temp, Exhaust Gas Temp, Boost Pressure, Oil Pressure, and Air to Fuel Ratio from my LC-1 Wideband
(don't worry about the numbers its showing, the only sensors that are setup correctly at this point are the EGT and AFR because I finished the install at 11:30 last night!)


Over Engineering

Basic Member
Just a little update

Here is a project I worked on over the summer. It is a trunk bracing system for the Forester that is easily removable. The rods are all pin release but are opposite threaded at each end so they can be tensioned after they are pinned in place.


DSC_1051.JPG


DSC_1057.JPG


DSC_1061.JPG


DSC_1066.JPG
 

IGOTASTi

System Operator
Staff member
Now I see how that all goes together. Very nice. Can you feel the difference when its hooked up?
 

Over Engineering

Basic Member
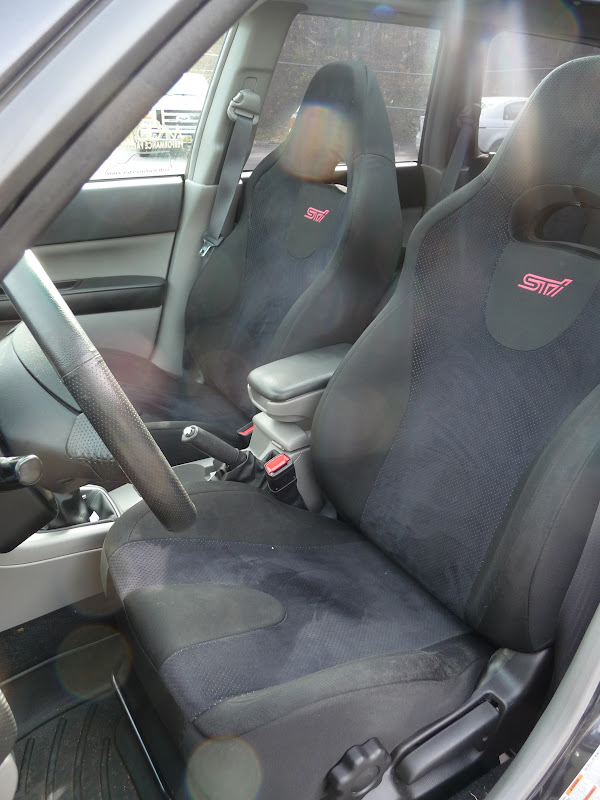
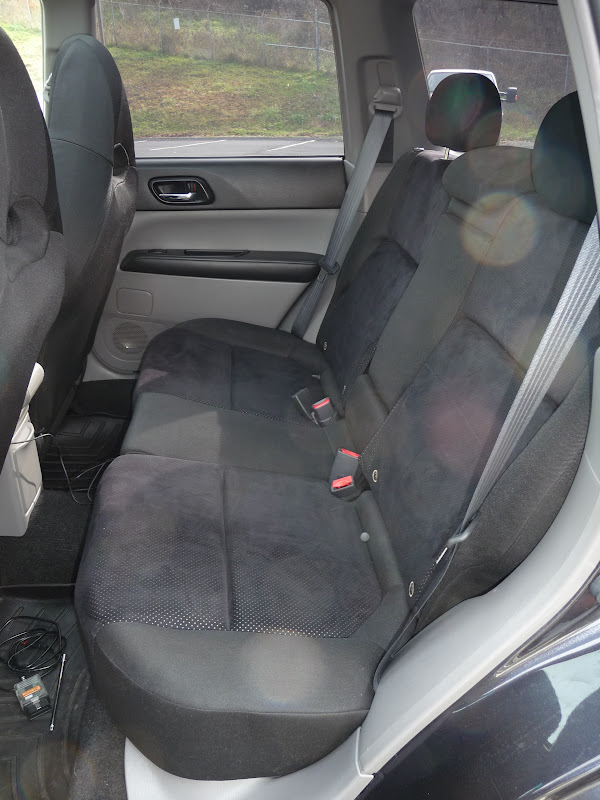
Last night I installed the JDM Forester Seats in my car, both front and rear.

For the driver front I swapped the USDM drivers seat base onto the JDM seat for height adjustment and seat location for the airbag system. The passenger one got the passenger occupation system swapped onto the JDM base, now both seats have height adjustment!

The rears are a different story, they are bolted in but only by about half of the required bolts.

The rear tops go right in and all mounting locations are the same. The bottoms are a different story. These rear seats recline. They do this by using rails under the bases so the base slides forward and is attached to the backs.

About half of the mounting locations were perfect. There are 3 mounting locations that will need custom brackets and 4 locations that have holes and mount points in the body but no threads. I have some M8 clip nuts and will probably be using rivet nuts one some of them too.

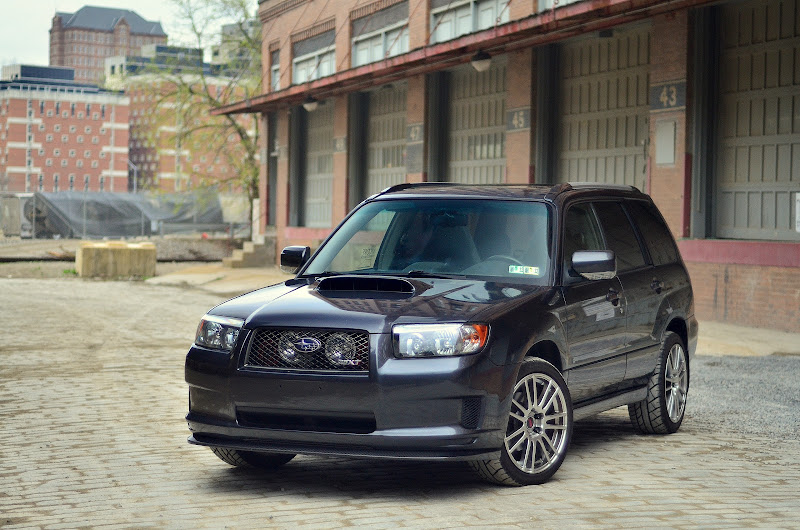
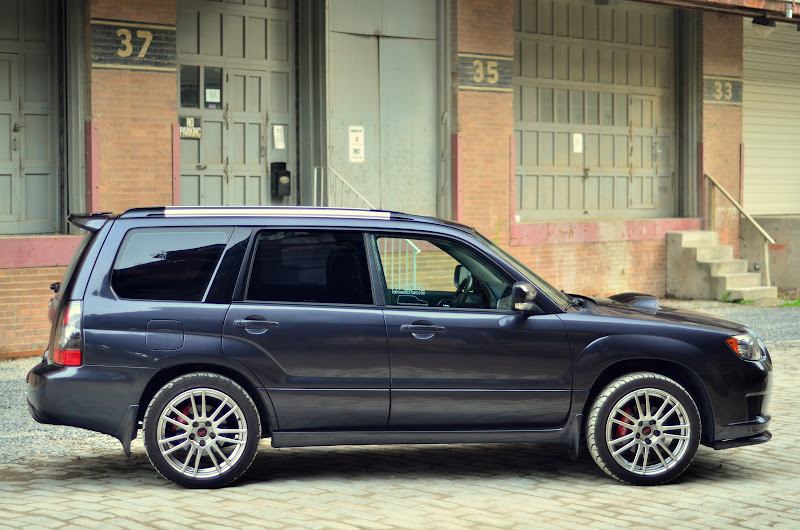
Here are pics of the seats I took real quick. Ignore the sun glare, trust me these seats are mint!

P1040982.JPG
P1040984.JPG


I will post better pics and will do a full writeup when I finish properly mounting the rear base rails.
 

IGOTASTi

System Operator
Staff member
Very very nice.
 

Over Engineering

Basic Member
So I have been sitting on this project for a while and I finally got around to making some progress! I am working on a new turbo setup with Moore Performance. They are doing the header and I am doing the downpipe (with their help as well). Here are some mid project money shots of what I got done tonight!

The turbine exit will be slightly ported to match the CNC'd taper on the DP flange. It will be 100% divorced until about 24" down.

DSC_4978.JPG


DSC_4984.JPG


DSC_4982.JPG
 

Over Engineering

Basic Member
Looking good on the flange. Flaring out to a large diameter downpipe?

Yeah it is flared out and pocketed for a 3" downpipe. Most downpipes have a nasty step that creates a lot of turbulence. This one continues the turbine exit taper all the way to 3". Once its ported the taper will be smooth the whole way.
 
Top