You are using an out of date browser. It may not display this or other websites correctly.
You should upgrade or use an alternative browser.
You should upgrade or use an alternative browser.
GD Joey's mistress: MSI rear subframe & 04-06 STI lower control arms
- Thread starter joey.lisano
- Start date
joey.lisano
New member
Gotta say I love it so far! The headers are beautiful. Keep on trucking.
Thanks!I <3 RPF1's")
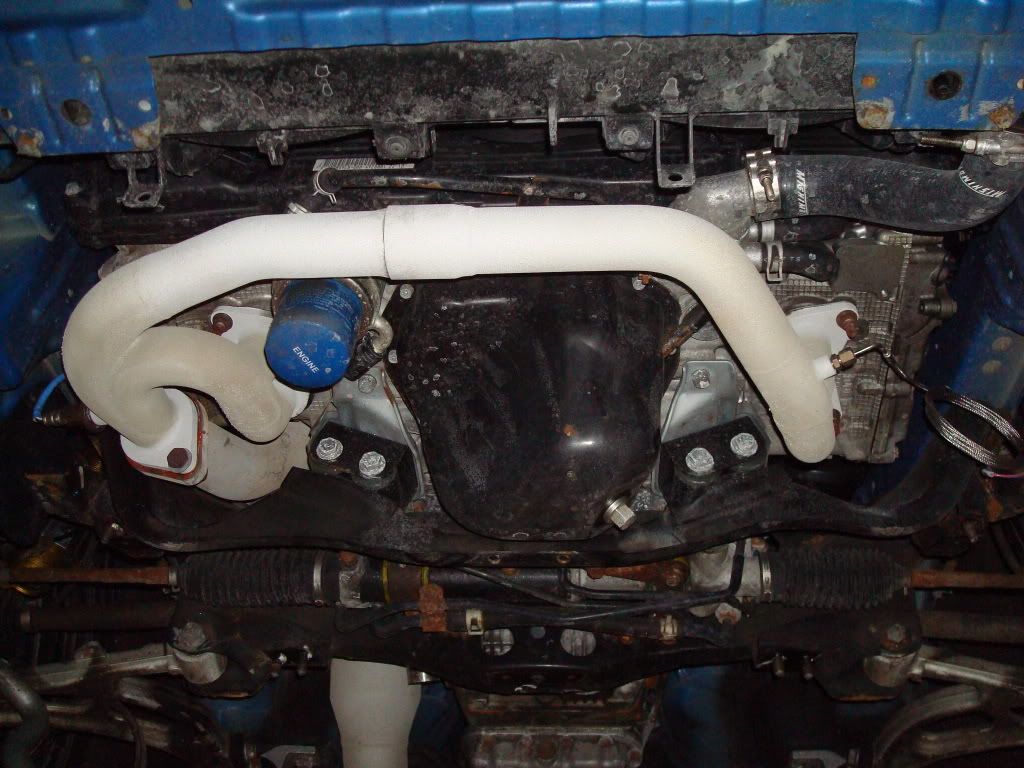
Nope, the tech who installed it between dyno runs said fitment was perfect. It is actually two pieces with a slip joint so it can adjust for thermal expansion and any tolerance in the distance between the studs. Also, the slip joint is a tight fit, so it doesn't rattle or leak. Litespeed designed the header, but it is fabricated in-house by an American company that has been making exhaust products for years. The two tuners at my shop had asked who made the header, but they had no clue who Litespeed was. I guess Adam @ Litespeed got an email the other day, just out of the blue from one of the tuners. He said, "Fitment was great. The car was able to run more boost with out an issue. Honestly I was impressed with the results."Did you have any fitment problem with the Litespeed header? It seemed to make a lot of power on your car.
embarrassingly rusty and dirty
Last edited:
joey.lisano
New member
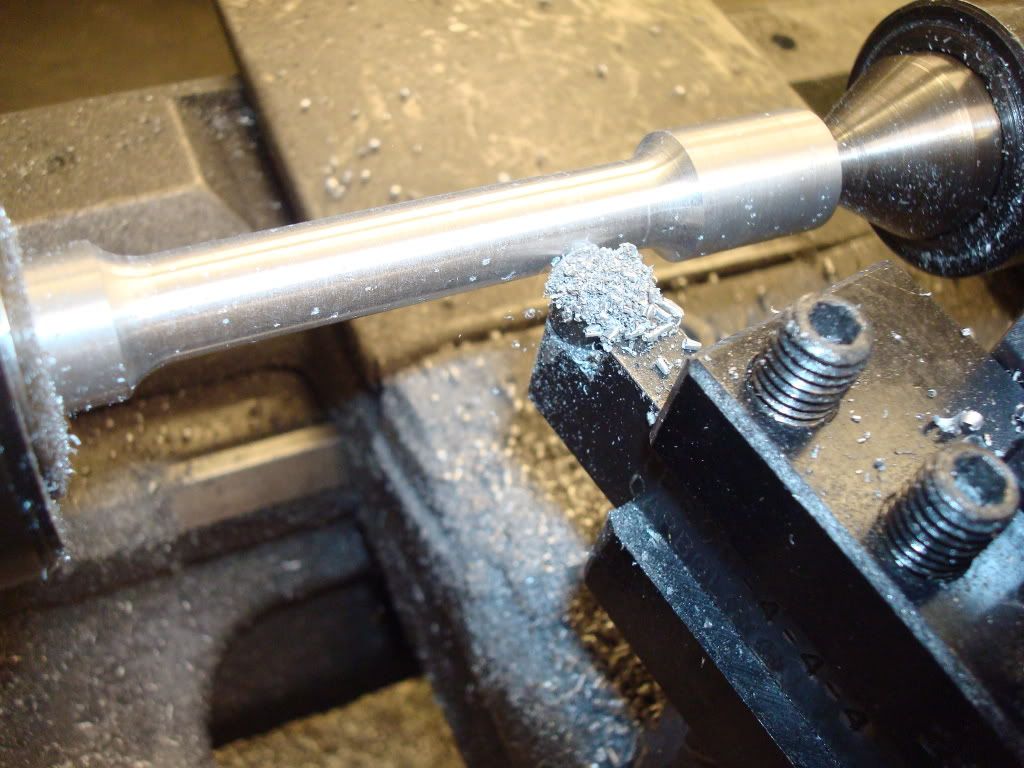
Cars are money pits, but this thing has been my time pit. The part is a bracket, but it is a very complex and important bracket. The goal was to reduce the cost of the current production part; when combined with mass production, it has the potential for seven-figure savings. The current production bracket is two pieces of stamped steel with four pressed in studs, then welded together. We wanted to make it a one step process by casting bolts into aluminum. Professional prototyping was too expensive and too slow, so we went with Plan B.
Action shot, making the final pass. The lathe is older than me as well as my father.
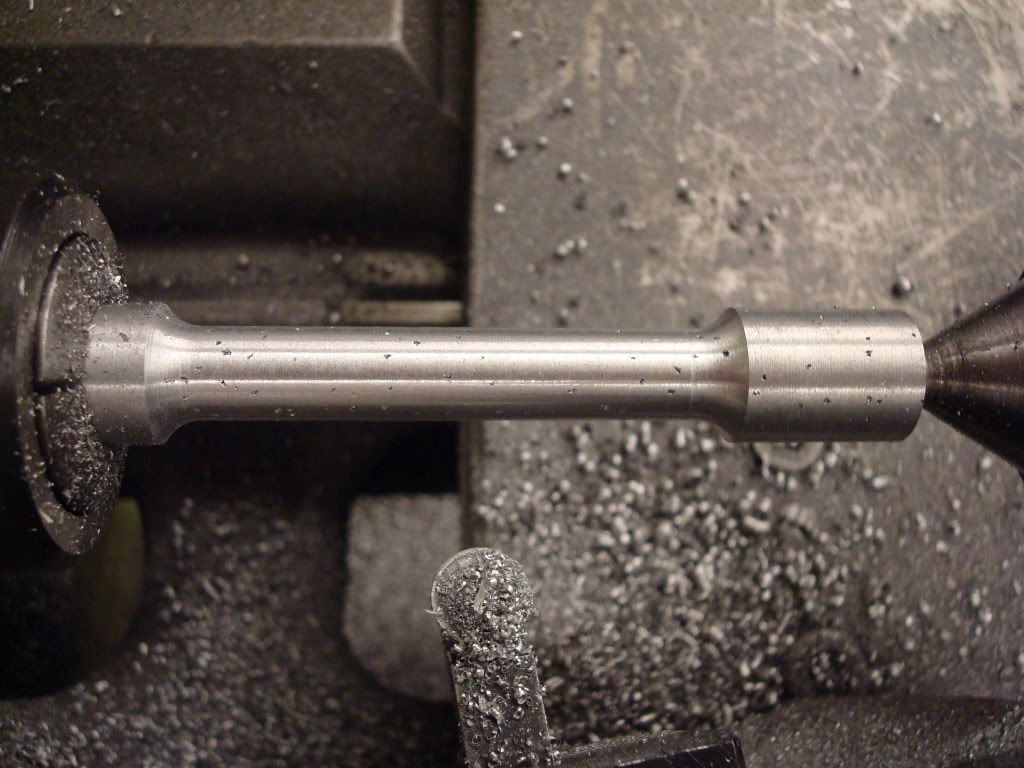
Finished, one tensile test dog bone for material testing. I had enough time to make two dog bones; a third crumbled to pieces on the lathe.
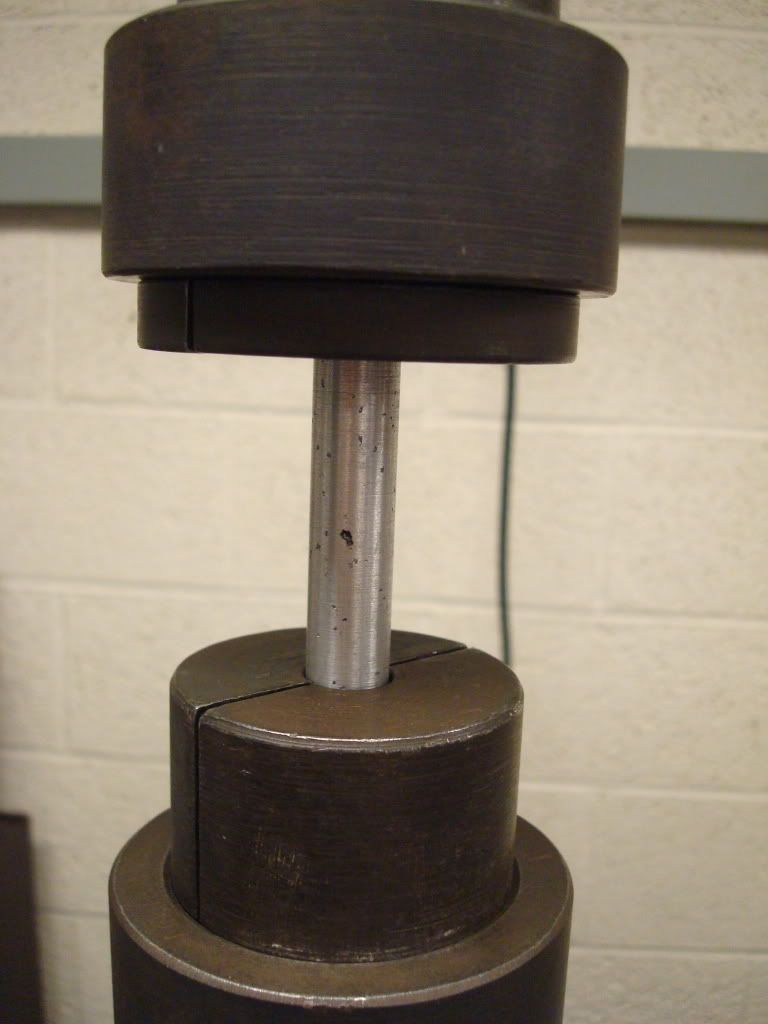
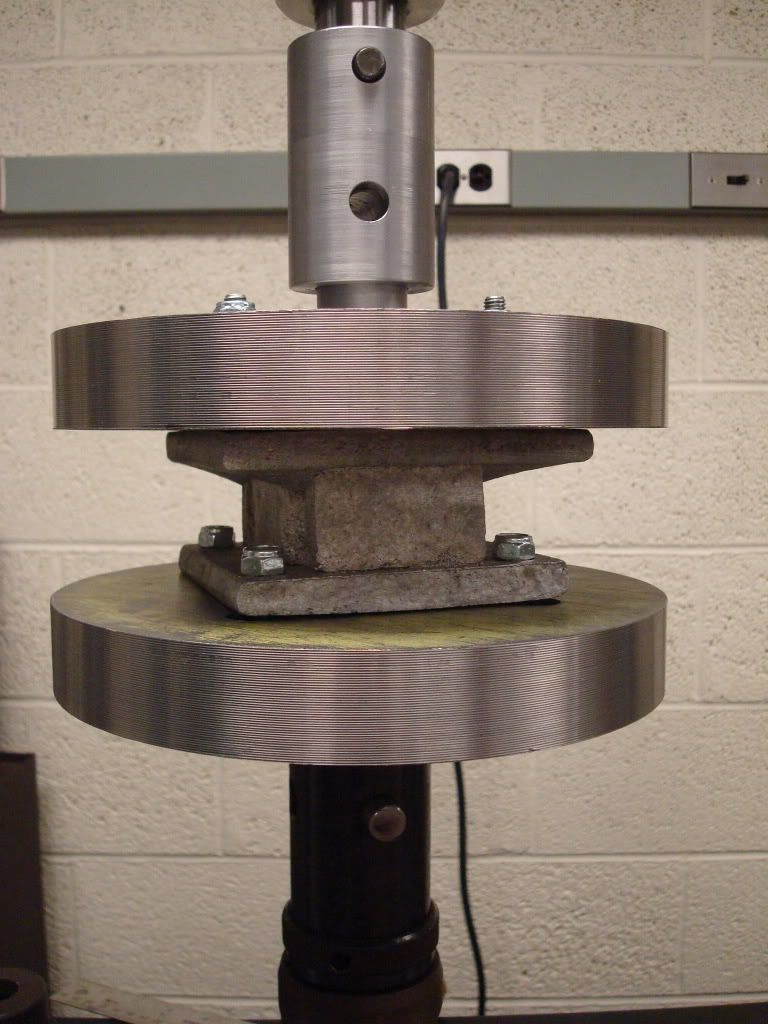
In the Instron machine for a tensile test. Of course it broke at that huge void.
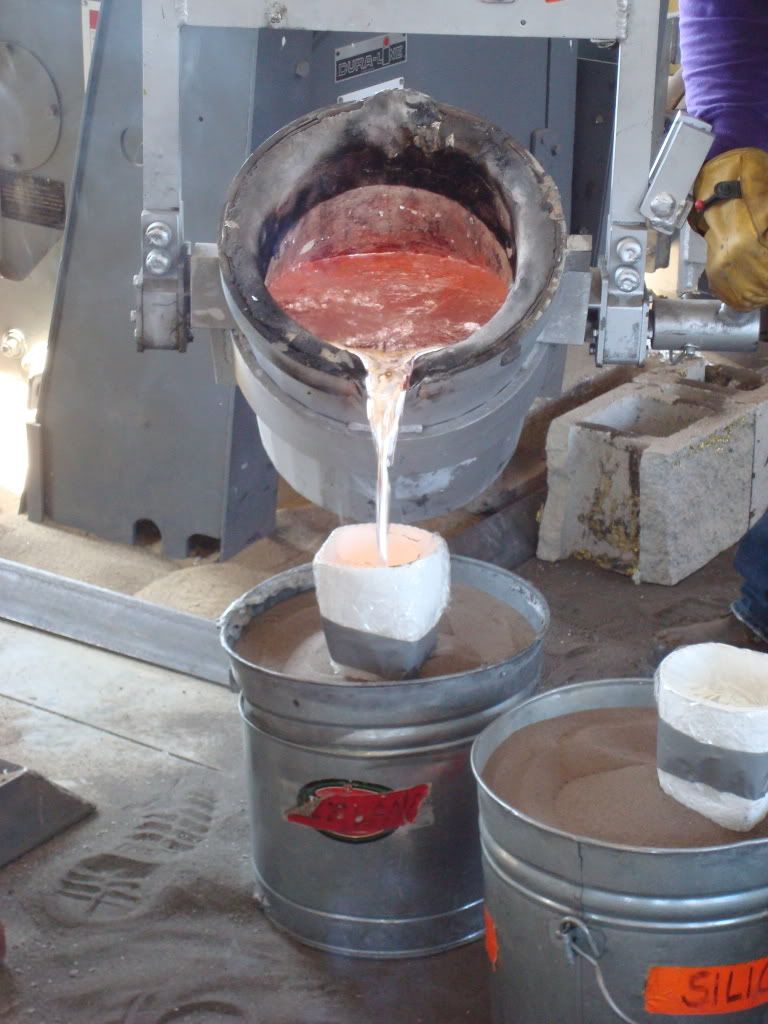
Why are there so many voids? Because we cast our own alloy - 319 aluminum, a "lost foam" investment casting in a bucket of sand. The molten aluminum is ~1600*F.
Here's the cast part with some fabricated brackets to interface with the Instron machine. It's a rough approximation, to say the least.
The price quotes from casting suppliers are pending. It'll be a high pressure die cast with bolt inserted into the die, so it'll be geared toward mass production, be twice as strong, have no voids, and have much better tolerances.
Action shot, making the final pass. The lathe is older than me as well as my father.
Finished, one tensile test dog bone for material testing. I had enough time to make two dog bones; a third crumbled to pieces on the lathe.
In the Instron machine for a tensile test. Of course it broke at that huge void.
Why are there so many voids? Because we cast our own alloy - 319 aluminum, a "lost foam" investment casting in a bucket of sand. The molten aluminum is ~1600*F.
Here's the cast part with some fabricated brackets to interface with the Instron machine. It's a rough approximation, to say the least.
The price quotes from casting suppliers are pending. It'll be a high pressure die cast with bolt inserted into the die, so it'll be geared toward mass production, be twice as strong, have no voids, and have much better tolerances.
Last edited:
joey.lisano
New member
No problemo. It's a bracket that attaches the brake booster to the firewall.What is it?
Much thanks for the clarification on the endlinks Joey!
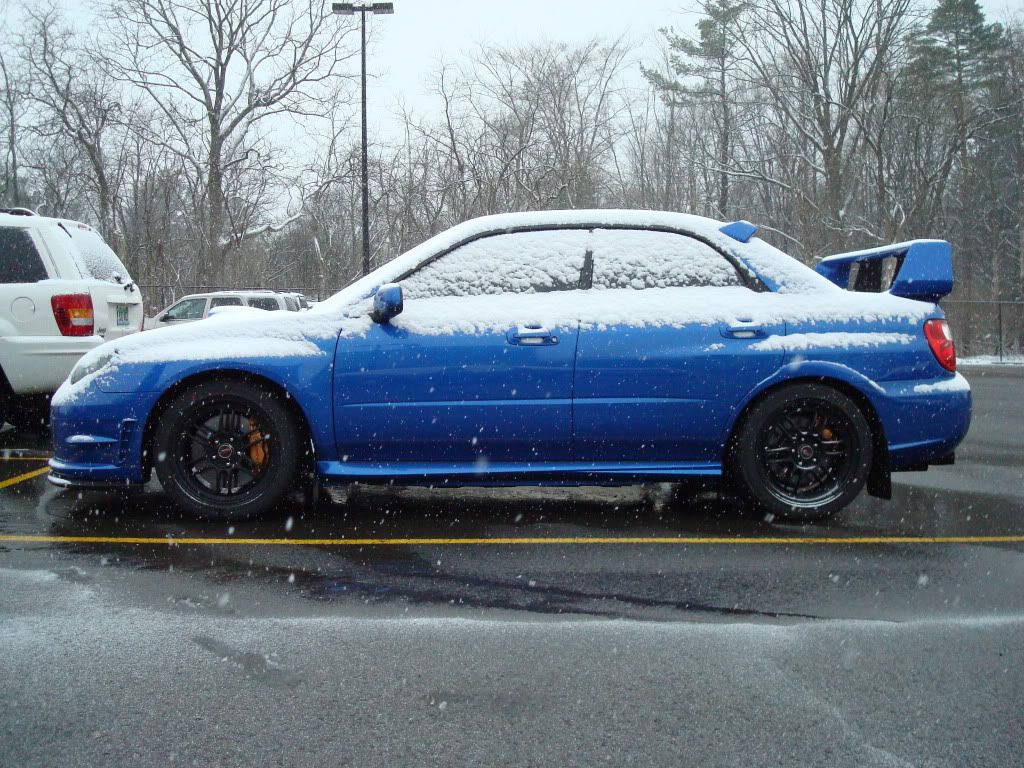
MIA for awhile, but I'm back now. We had some really nice weather, followed by the typical lake effect snow when you least expect it, but it's nice again.
I rechecked the ride height. 13.5" front and rear. Hmm, I missed my mark. This bushing stiction gets to my perfectionist attitude. It's still enough ride height to clear speed bumps, but I occasionally hear the plastic lip hit driveways. Oh well.
I took the car on the twistiest road I could find. It stuck like glue. The steering and transient response was amazing. I caught up to a 911 Carrera S who was going quite fast, which means I plead the fifth, but in my defense the car has bigger balls than me. It takes whatever I throw at it. I should get the MSI trailing arms installed soon. Then I'll repeat that route to see how they affect turn in.
joey.lisano
New member
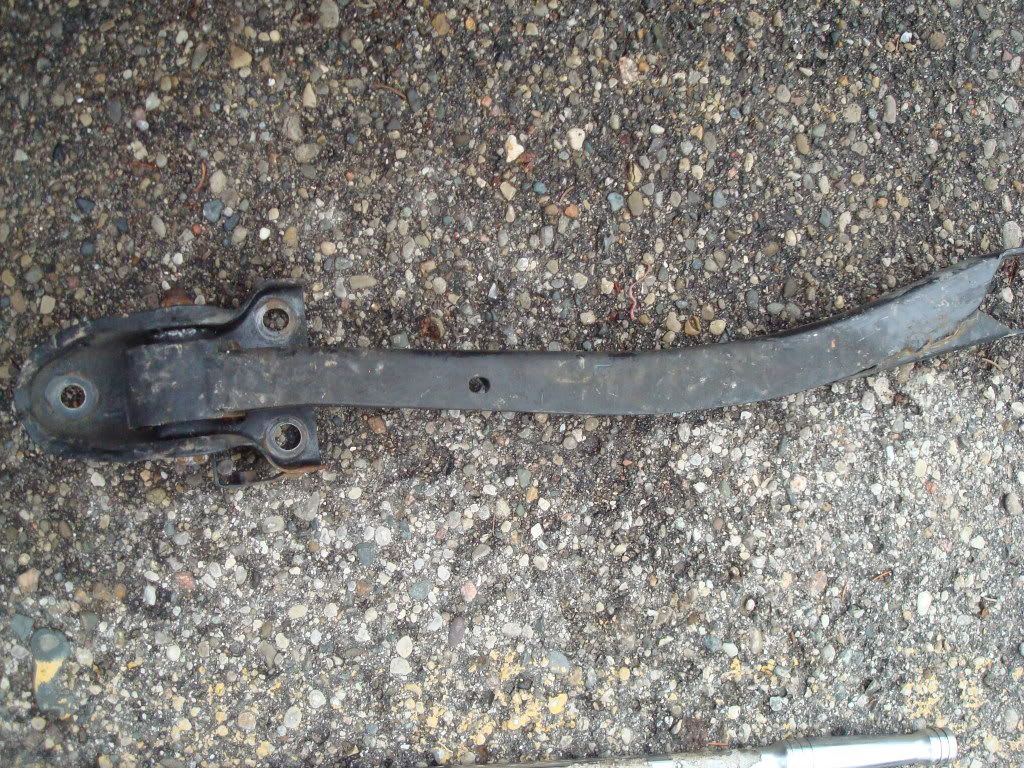
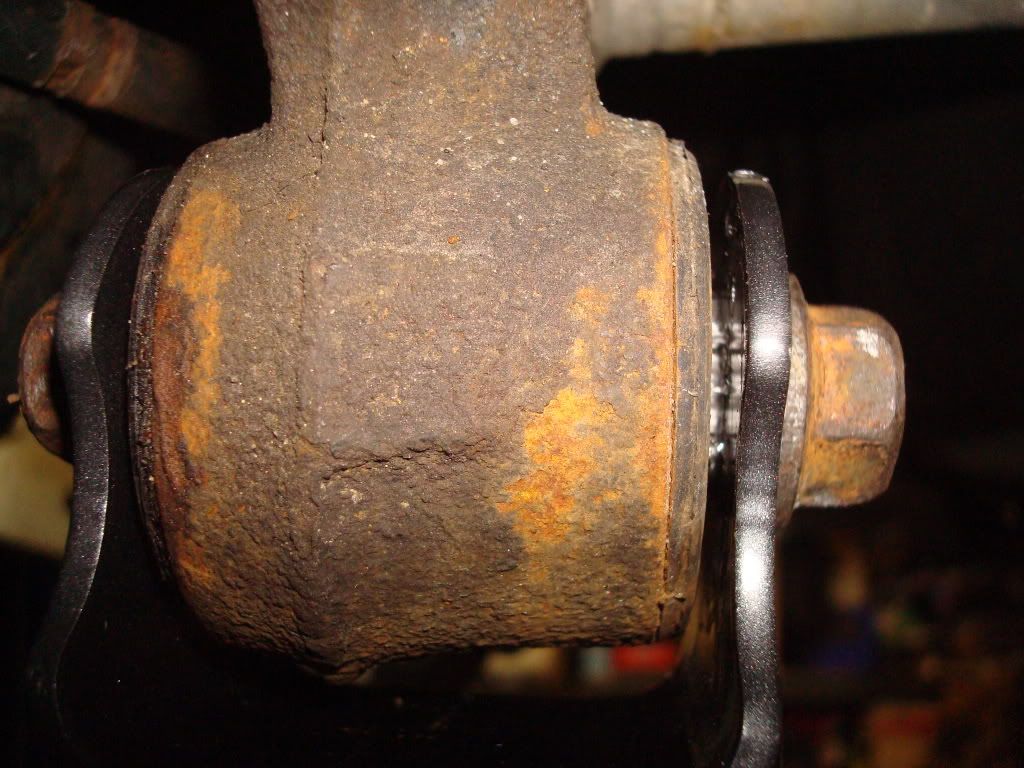
There was a break in the weather so I set out to install the MSI trailing arms. I knew the only hang-up would be the fastener on the forward bushing and sure enough
 . TiC wasn't kidding when they say it's torqued by a monster. I cleaned the exposed threads with a die and hit it with every penetrating oil I have but the breaker bar and electrical corded impact had nothin'. This is my punishment for snickering at the guy who bought new brackets and fasteners to make his life easier.
To the Shop!
Ahh, the right tools make all the difference. 3 seconds of air tools to pop off that nut and a bench vice to help hold everything steady while torquing it down. I couldn't have done it without da Shop. And then there's the lift so you're not crawling around a wet parking lot with pebbles in your hair.
driver's side
passenger's side
driver's side
Speaking of tools, here are some alignment toys at da Shop.
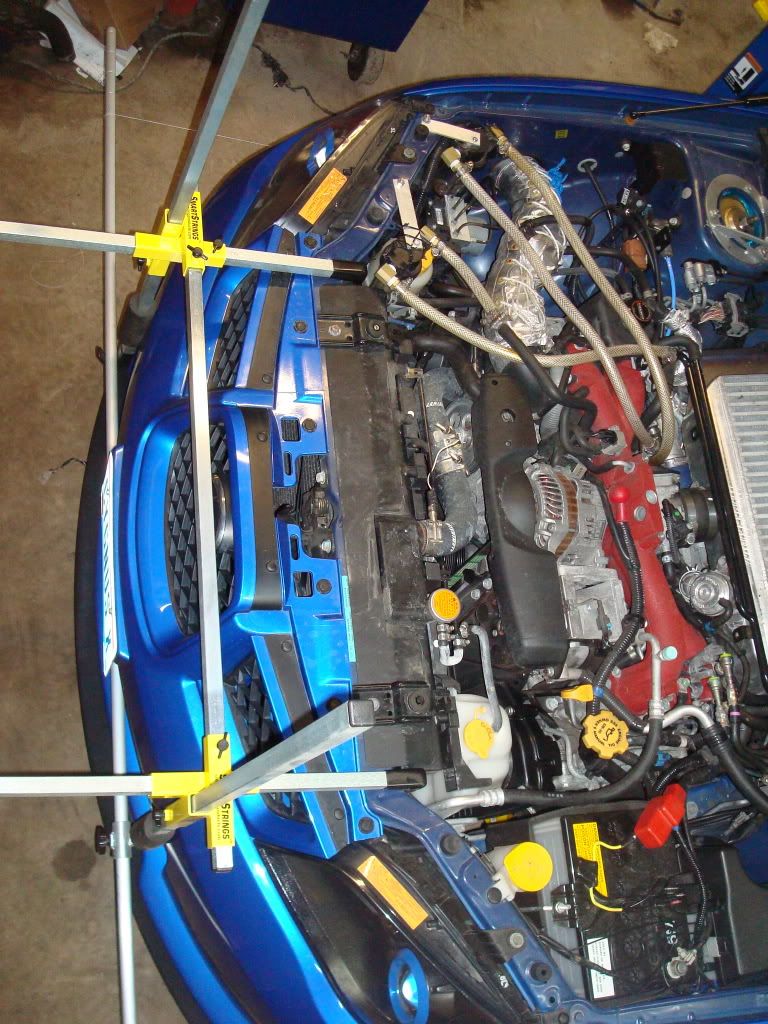
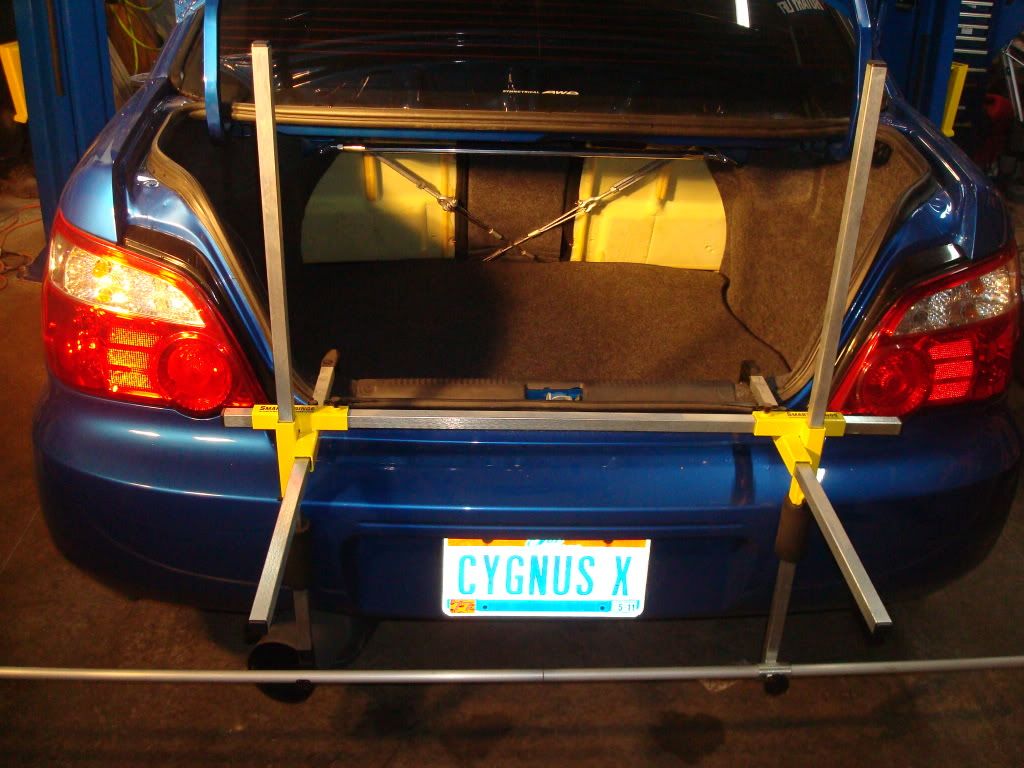
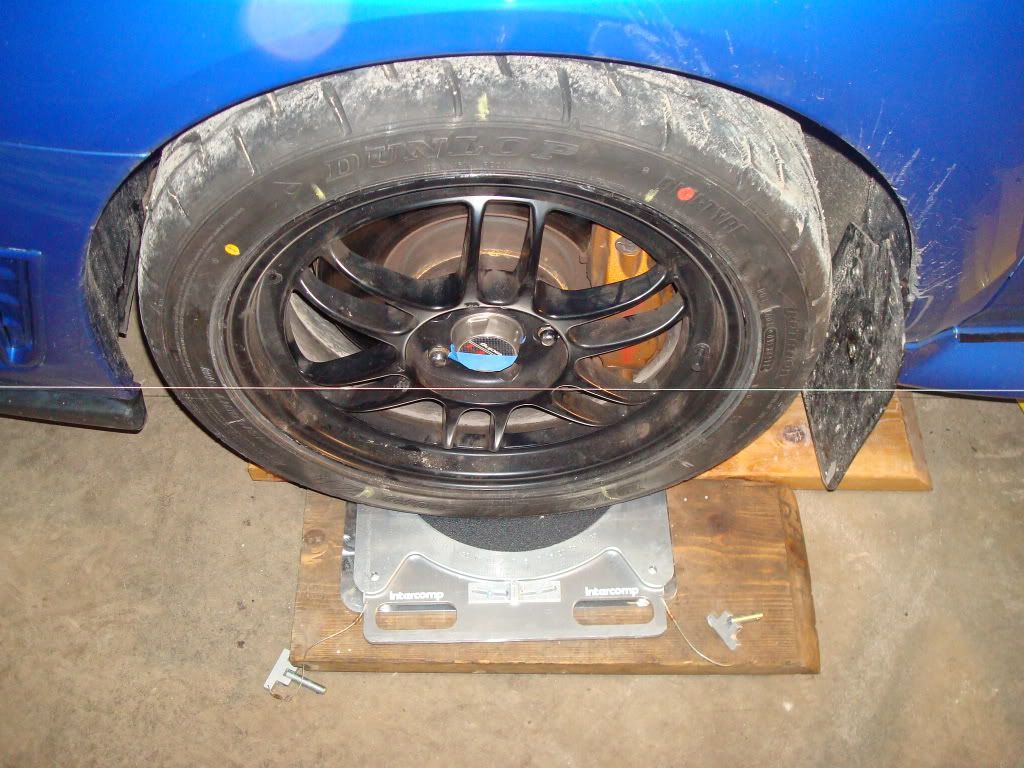
After installing the coilovers a few weeks ago, it was late at night, and we were exhausted from a weekend of wrenching. We just eyeballed the camber and set toe to 0 in order to save time. After installing the MSI trailing arms, we set camber to -2.1*F / -1.6*R and toe to 0. My alignment has never felt better. The steering wheel is spot on and the car drives straight for quite awhile.
To the Shop!
Ahh, the right tools make all the difference. 3 seconds of air tools to pop off that nut and a bench vice to help hold everything steady while torquing it down. I couldn't have done it without da Shop. And then there's the lift so you're not crawling around a wet parking lot with pebbles in your hair.
driver's side
passenger's side
driver's side
Speaking of tools, here are some alignment toys at da Shop.
After installing the coilovers a few weeks ago, it was late at night, and we were exhausted from a weekend of wrenching. We just eyeballed the camber and set toe to 0 in order to save time. After installing the MSI trailing arms, we set camber to -2.1*F / -1.6*R and toe to 0. My alignment has never felt better. The steering wheel is spot on and the car drives straight for quite awhile.
joey.lisano
New member
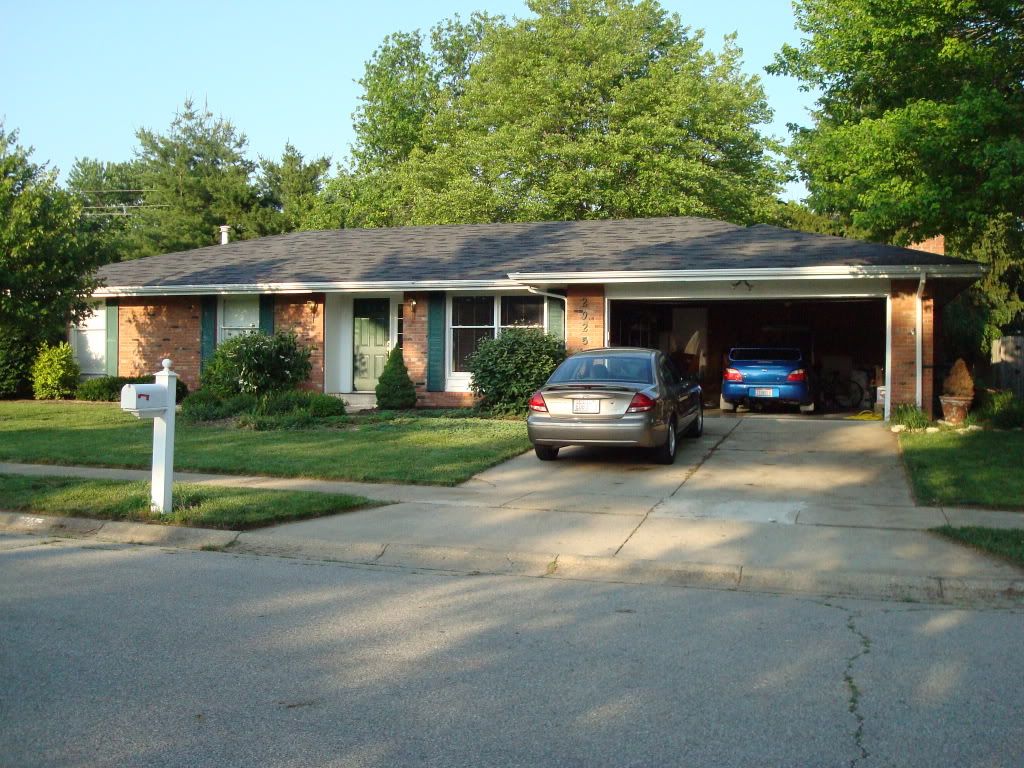
I am slowly retreating south. I moved out of Michigan and back to Ohio. (I miss the Shop already.) I'm currently packing everything up and going to Indiana. It's about the same latitude as TiC, just 2 hours west. The roads are nice, and the weather will be like a permanent vacation.
I looks like it rained grenades in the Cleveland area. The bumps are big enough to rip off every hellaflush bumper and diffuser. Ohio has two seasons: winter and construction. The little lady just loves road construction and railroad tracks with the 600/500 springs. I adjusted the compression dampening to full soft, which took the edge off the harshness of the springs; however, there's still no hiding it. She didn't mind the solid engine mounts but has no interest in ever hearing the EWG.
Right before the oil change - after a double session on the dyno, road tuning, playing with the EWG, a Got2Boostit2 test drive, and more fun with the EWG - I measured the oil level right on the money. No blow by; that's comforting. On the other hand, with the 245/40 tires, my speedometer reads a little low, which does not help my cause since I seem to drive slower than everyone. I prefer to cruise around and restrict fun time to when I have plenty of open road.
I had the opportunity and extreme pleasure of riding in and driving Got2Boostit2's car. I ought to call it the torque monster. Doug @ Topspeed worked some AVCS magic because it hits hard with 411 wtq around 2800 rpm with a simple stage 2 setup. In addition, the Performance Friction PF01 pads were awesome and gave me new-found confidence. When I got back into my car and drove home, there was no mountain of torque, and my brakes felt like Swiss cheese by comparison. Thanks again for the ride!
I'll be ordering a few parts over the next week or two. Nothing too special, I just want to take care of a few small concerns to round out the car.
joey.lisano
New member
This bugger is taking up all my time. I was going to attend an autox event, but I've been busy around the clock trying to take care of everything. I'll make the next one, especially since one of my coworkers is a big autox fan. I got some Hawk HP+ pads from Geoff @ Cygnus since I could use the extra stopping power.
I also got metal outrigger bushings to replace the Whiteline polyurethane ones.

More updates to come this weekend when I have time to do some installs and write ups.
joey.lisano
New member
I want to hold off on the impressions for a few more days. I'm still testing them out - mainly seeing how the noise sounds at various speeds with the windows up or down.
I broke a worm gear clamp on the TMIC to throttle body coupler. The screw came off the band, and it just wasn't the same after I tried bending back the metal. Poor guy couldn't handle 1.3 bar anymore. I bought T-bolt clamps a year ago, but I sized them according to the piping diameter instead of the hose diameter. Doh. I ordered some new ones now.
After that incident, I installed the Hawk HP+ pads. Messy job. Good thing I installed them because I was invited to go for a drive on Sunday. I now understand the subtle difference between a drive and a cruise. The twisties here are the real deal. I was getting nauseous and burping. (There go my hopes of being really fast someday.) At least there's more car than driver so I didn't find the limits. I have to believe the C6 Z06 was just putt-putting along. 505 bhp on the straight-aways put him a zip code ahead of me. (I know BAD STI is drooling.) It was so exhilarating that I took a nap afterwards.
joey.lisano
New member
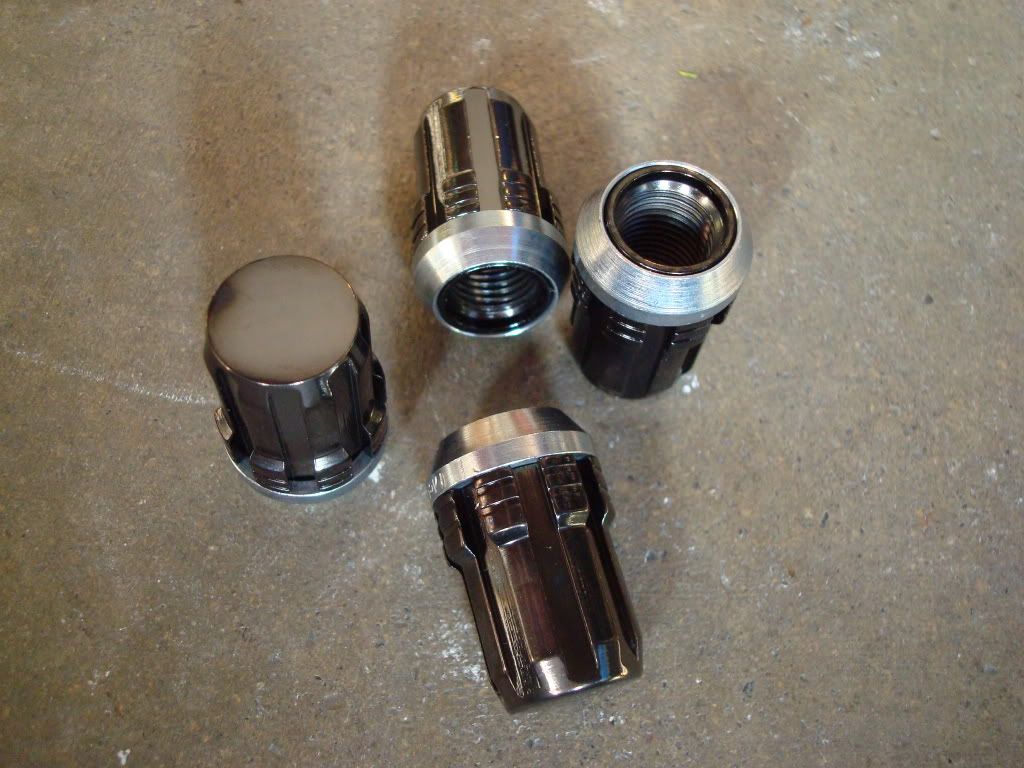
McGard lug nuts to replace the free, rusty-chrome lugs that came with the wheels. Why didn't anyone tell me that the mating surface was independent of the threads?! They feel so nice when torquing them down.
joey.lisano
New member
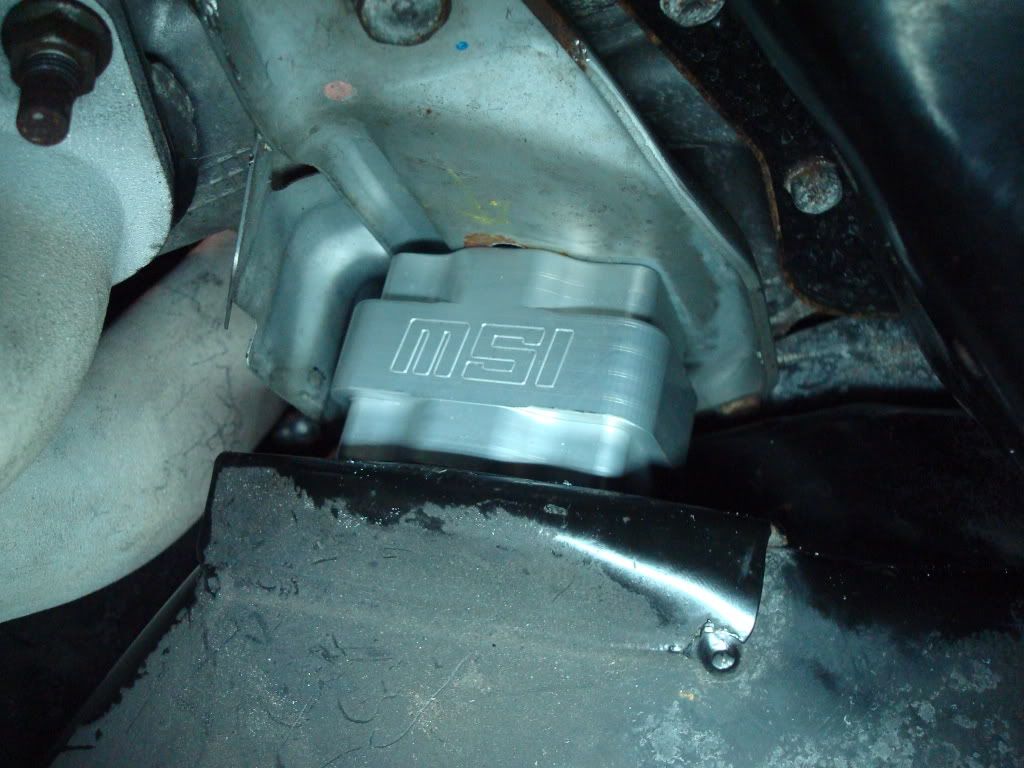
MSI solid engine mounts
The install
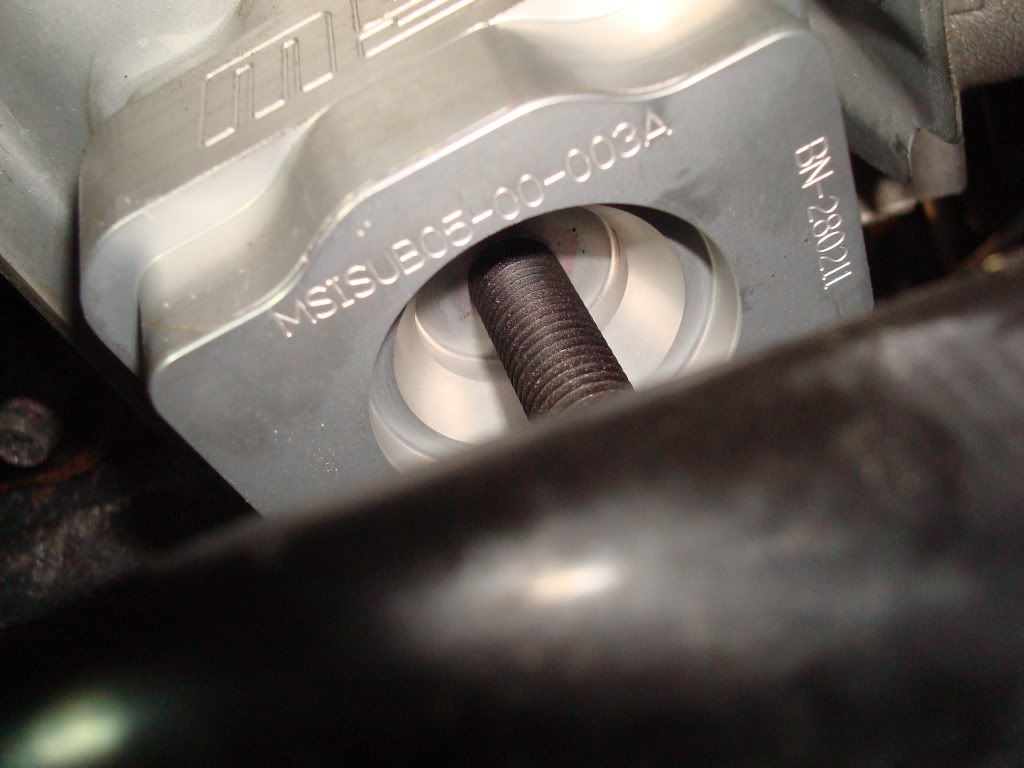
Installs just like my Beatrush ones, seen here. On this install, I had the pleasure of working in the Shop with my car on the lift ? not to mention tools galore. I tend to forget my ?righty tighty, lefty loosey? when standing under a car. As we dropped the engine down, it appeared to stop where the stock position height is. Got2Boostit2 put his weight on the engine, and that dropped it down some. When tightening the nuts on the lower studs, the engine was pulled downward until the engine mounts hit the front crossmember. Also, the mounts do have an orientation, so if they don't appear to fit as you're dropping the engine drop, rotate the mount 180* reletive to the steel top plate.
The review
I bought these bad boys because it lowers the engine by 8 mm. That?s a lower center of gravity and a shorter roll couple. That was the excuse in my mind to justify the time and cost to switch out the Beatrush mounts. It?s too bad that I installed these with coilovers, camber plates, and the Whiteline roll center kit (extended ball joints and tie rods). As a result, I can?t comment on how noticeable the effect was lowering the engine helped. That's the punch line, and I got nothin'.
These are a step up in the NVH department over the Beatrush mounts. Spinning the engine below 2000 rpm, especially at 1500 rpm, results in strong vibrations. On the highway, I can feel the vibrations in the seat belt clip, dashboard, floor board, etc. It's not for everyone, but I got used to after a week. There?s more engine noise, as expected. Drown out the tire noise on the highway with some engine noise.
They?re machined from 6061-T6 aluminum. As such, they are incredibly lightweight. In addition to the shorter height, they even have a smaller cross sectional area. The end result is a few pounds of weight reduction - for those who keep track.
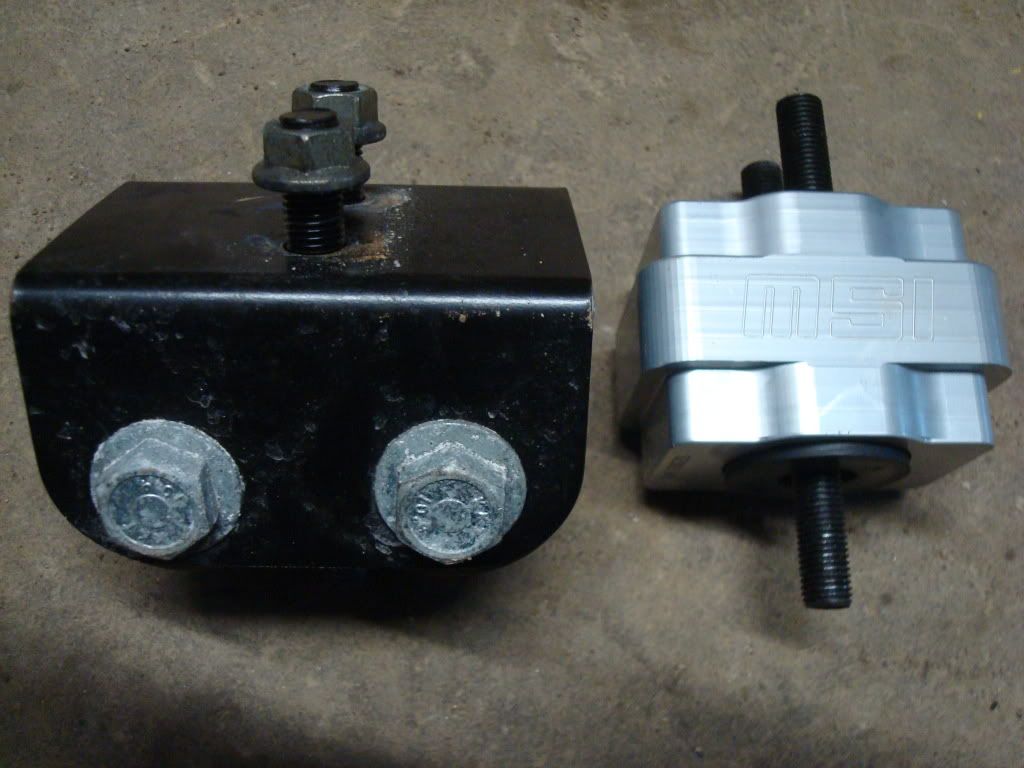
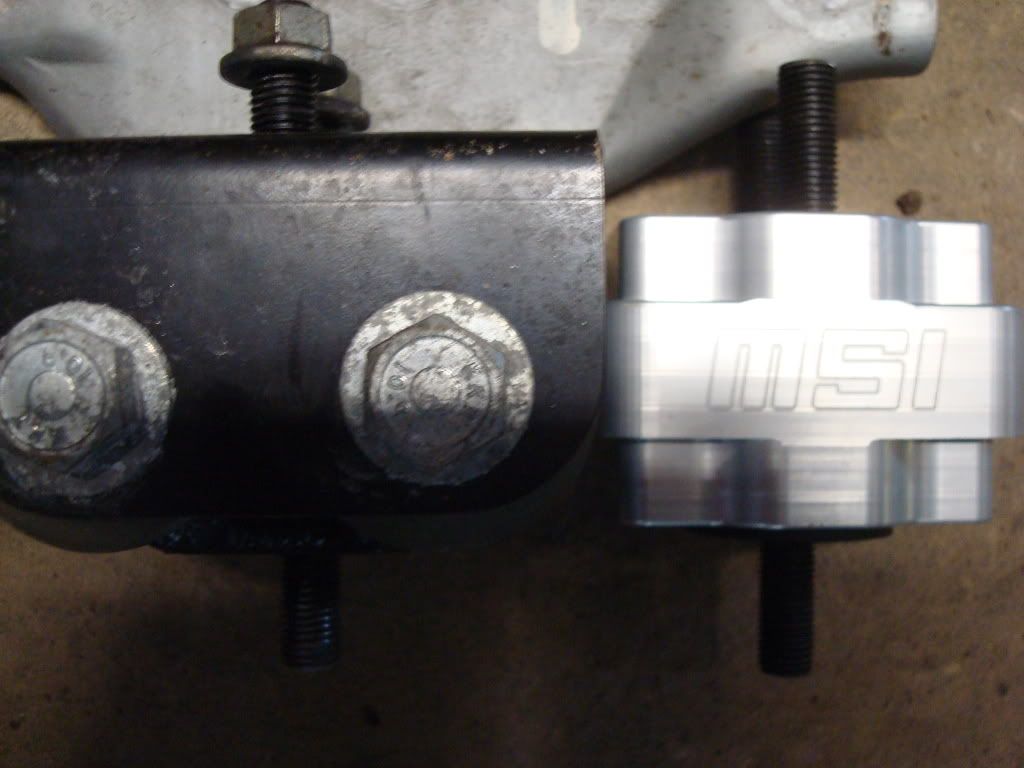

There's a void for a polyurethane damper (which temporarily fell out during the picture), but the stud connects the engine mount to the front crossmember, so the polyurethane effectly does nothing to reduce vibrations.
driver's side
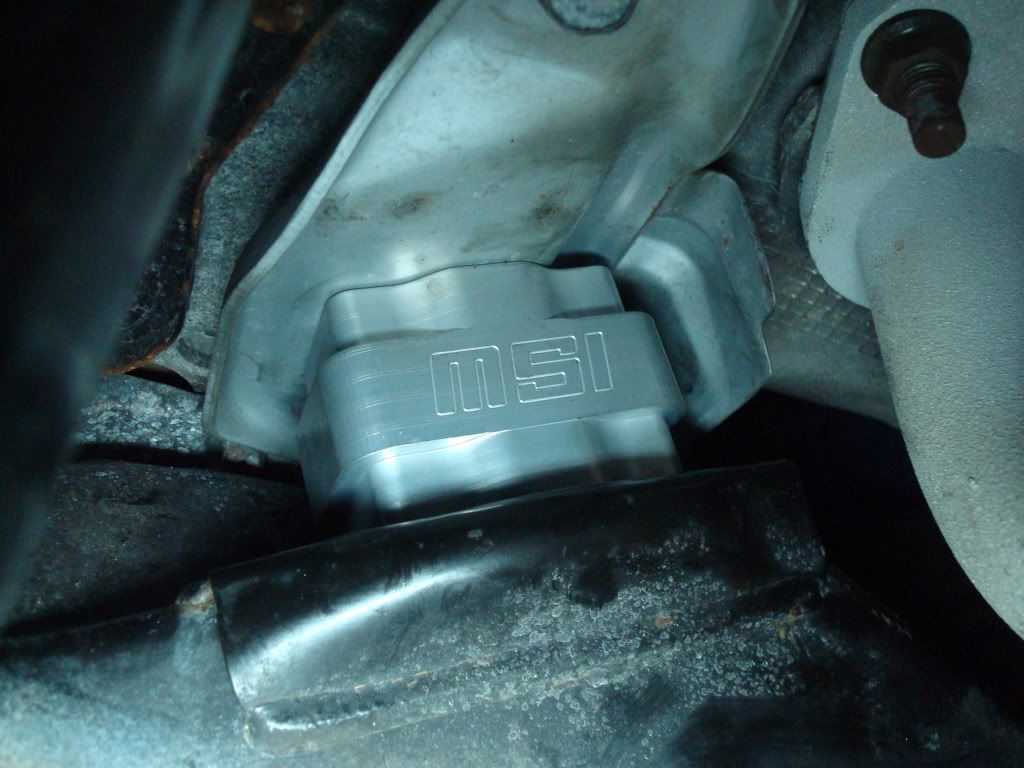
passenger's side
The install
Installs just like my Beatrush ones, seen here. On this install, I had the pleasure of working in the Shop with my car on the lift ? not to mention tools galore. I tend to forget my ?righty tighty, lefty loosey? when standing under a car. As we dropped the engine down, it appeared to stop where the stock position height is. Got2Boostit2 put his weight on the engine, and that dropped it down some. When tightening the nuts on the lower studs, the engine was pulled downward until the engine mounts hit the front crossmember. Also, the mounts do have an orientation, so if they don't appear to fit as you're dropping the engine drop, rotate the mount 180* reletive to the steel top plate.
The review
I bought these bad boys because it lowers the engine by 8 mm. That?s a lower center of gravity and a shorter roll couple. That was the excuse in my mind to justify the time and cost to switch out the Beatrush mounts. It?s too bad that I installed these with coilovers, camber plates, and the Whiteline roll center kit (extended ball joints and tie rods). As a result, I can?t comment on how noticeable the effect was lowering the engine helped. That's the punch line, and I got nothin'.
These are a step up in the NVH department over the Beatrush mounts. Spinning the engine below 2000 rpm, especially at 1500 rpm, results in strong vibrations. On the highway, I can feel the vibrations in the seat belt clip, dashboard, floor board, etc. It's not for everyone, but I got used to after a week. There?s more engine noise, as expected. Drown out the tire noise on the highway with some engine noise.
They?re machined from 6061-T6 aluminum. As such, they are incredibly lightweight. In addition to the shorter height, they even have a smaller cross sectional area. The end result is a few pounds of weight reduction - for those who keep track.
There's a void for a polyurethane damper (which temporarily fell out during the picture), but the stud connects the engine mount to the front crossmember, so the polyurethane effectly does nothing to reduce vibrations.
driver's side
passenger's side
joey.lisano
New member
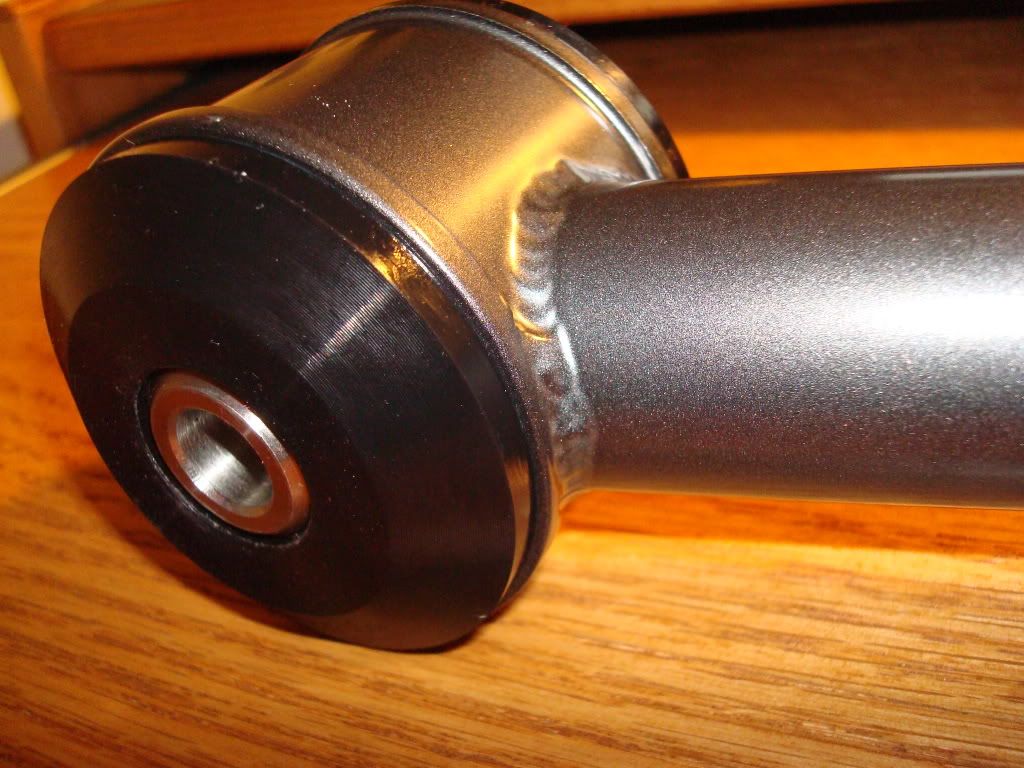
MSI trailing arms
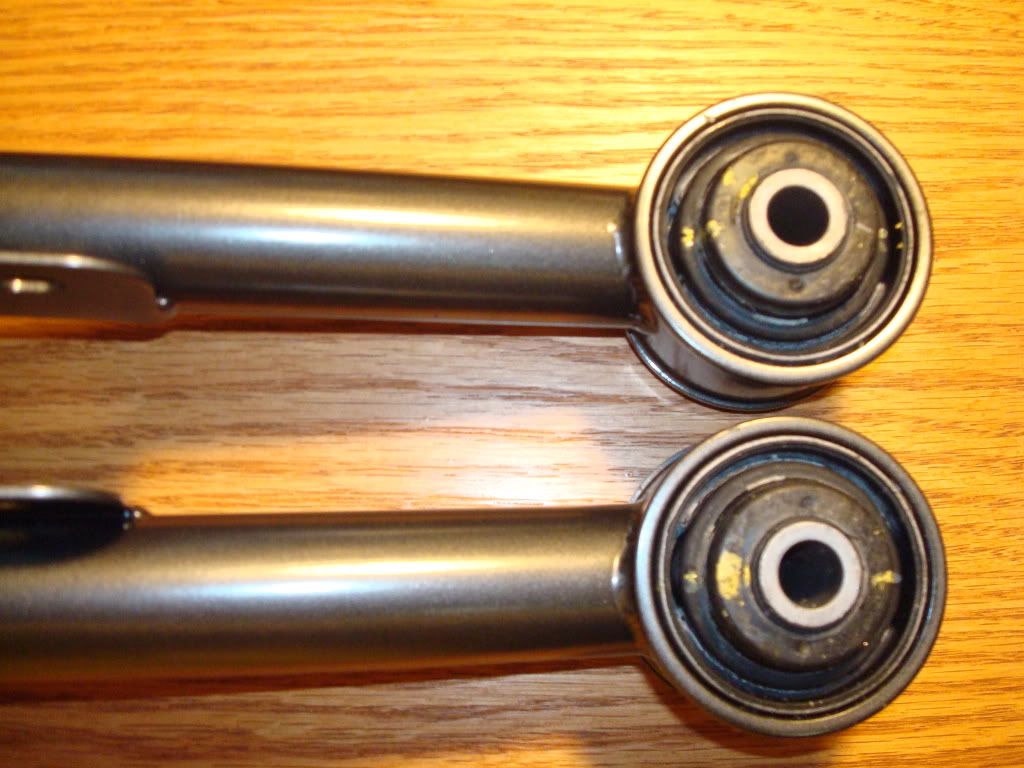
Group N front trailing arm bushings
The install
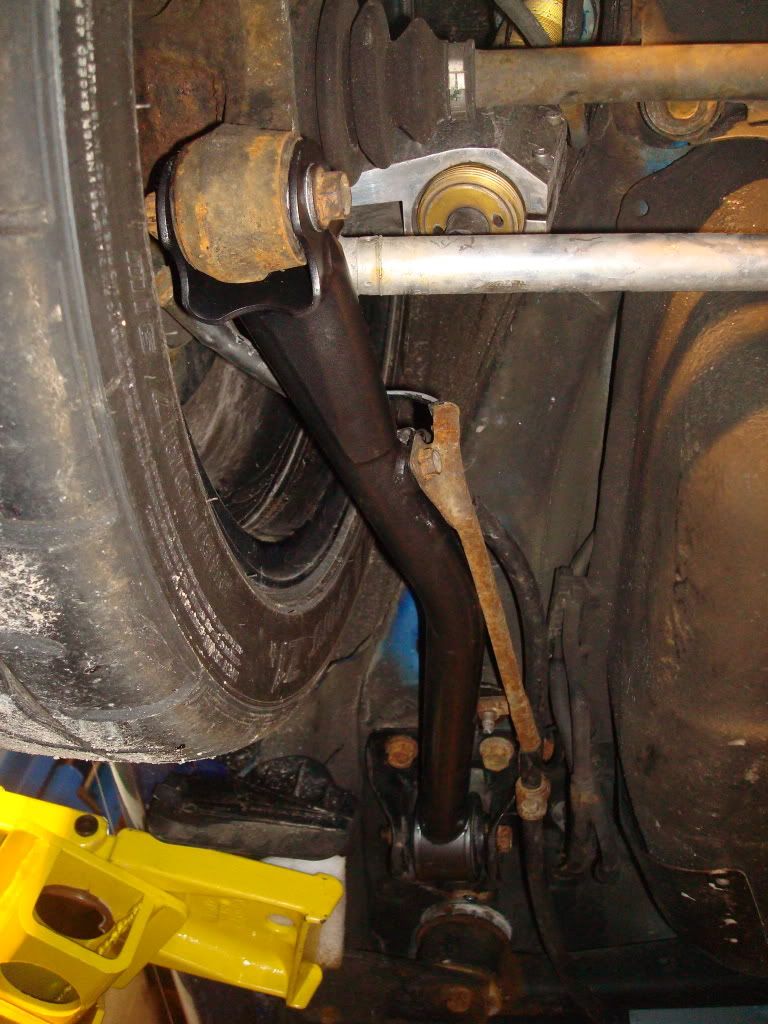
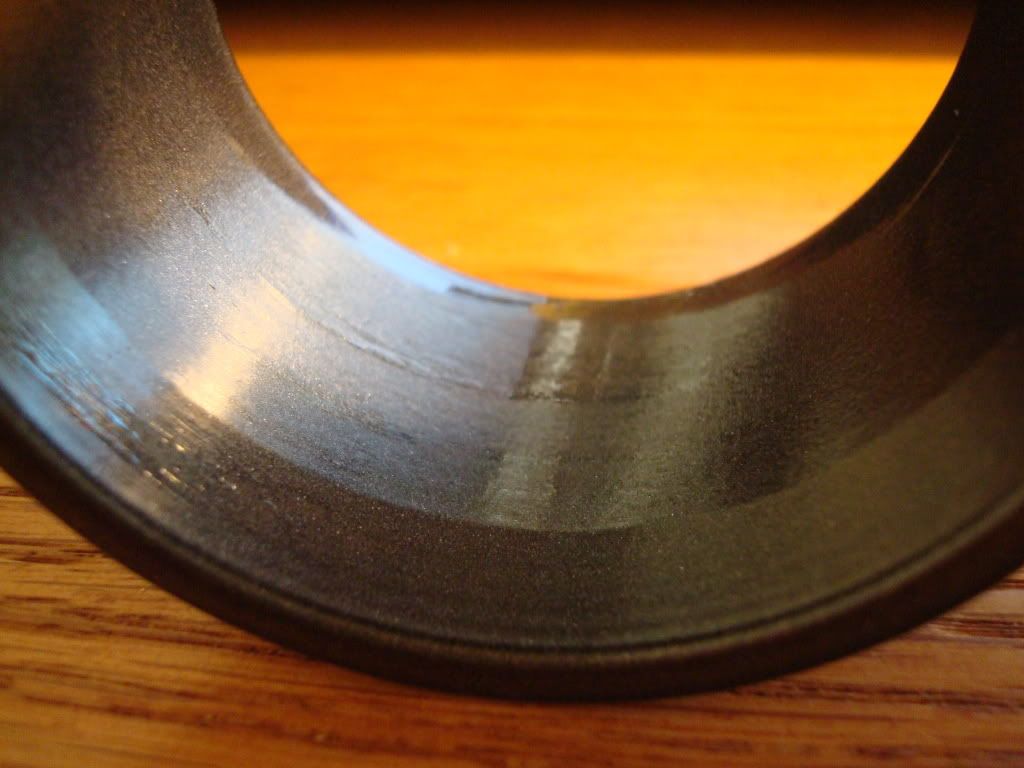
I fancy rubber bushings for suspension links, so I removed the TiC bushings and had BigSky press in the Group N bushings. It requires a 20 ton press, which I did/do not have. They went in without a problem since the MSI trailing arms use the stock inner diameter so you can use whatever bushing you want.
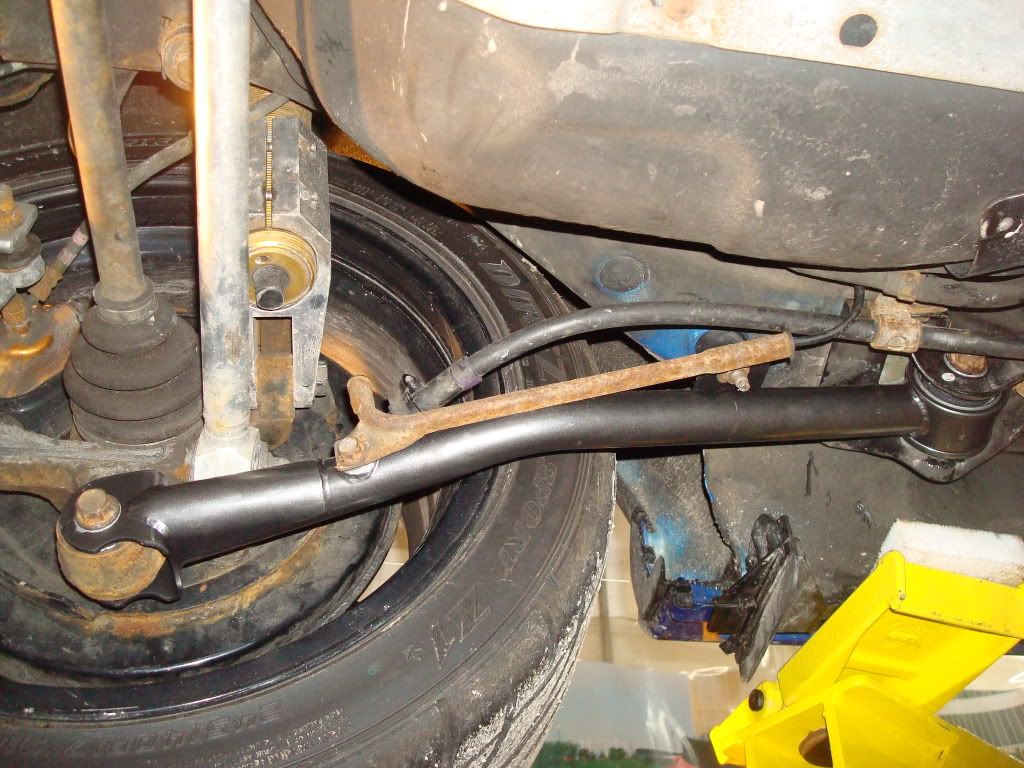
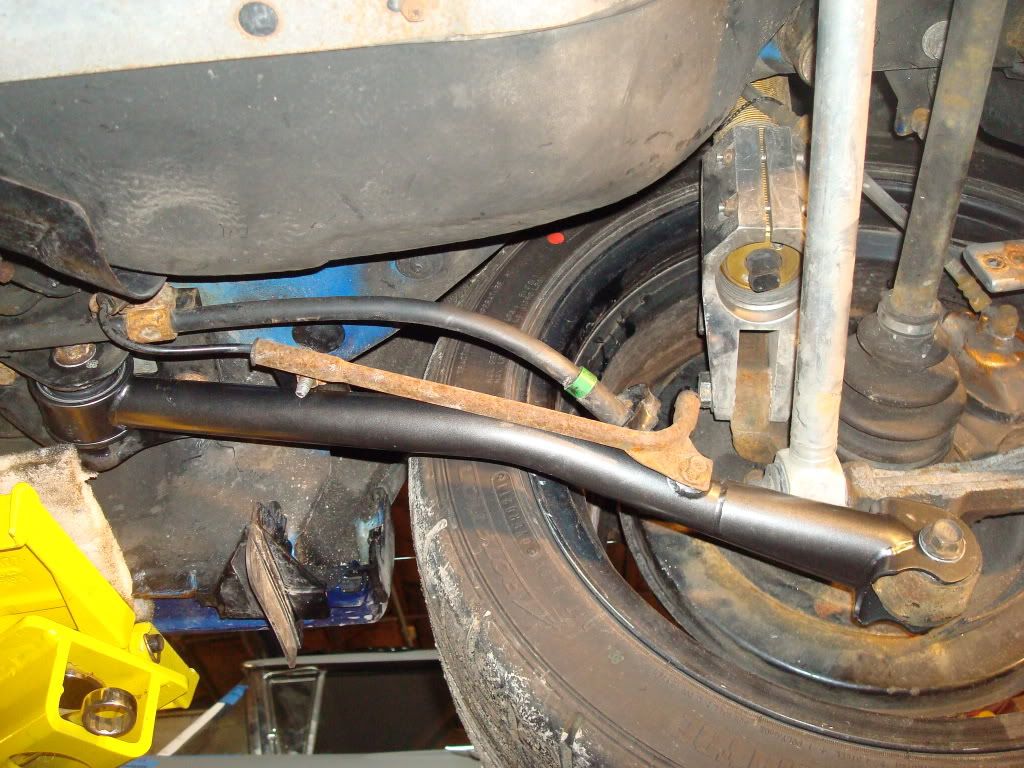
Installing the trailing arms required six point sockets and wrenches as well as a rubber mallet to beat on the wrench. The hang up was getting the nut loose where the trailing arm connects to the chassis mount. The Shop bailed me out with the air tools. It was also helpful that he had a bench vise, which held the chassis bracket steady and the trailing arm at the proper angle while the nut was torqued. When done correctly, the trailing arms mount to the knuckle and chassis without any hysteresis in the rubber bushing at ride height. I had to use a tap to clean the threads for the ABS lines on the MSI trailing arms ? rather odd on a brand new part.
The review
I could feel the better transient response from the Group N bushing. There was less slop in the fore/aft movement when on/off the throttle and brakes. There was also improved tracking over the road surface, but the bushing in the rear of the trailing arm had a bigger effect, IMHO. I didn?t notice any significant NVH increase.
The best part about the trailing arms: MSI/TiC gave away the magic number, 5.8 mm. If you have adjustable trailing arms, shorten them 5.8 mm to correct for a 1? drop in ride height.
The trailing arms are 5.8 mm shorter, but they felt like they were 6? shorter. I know that might sound like I?m off my rocker, but turn in felt sooooo much better. I went for a drive on the twistiest road I could find for where I was living at the time; I did a before and after drive. The rear wheels felt so alive at turn in. It was as if I could feel the outside rear coilover compress and the wheel rotate about the forward trailing arm bushing. So magical, and yet, I was used to the feeling after a week.
fresh off the GB
Stock trailing arm ID with a little taper
Group N bushings
Stuck! I needed air tools.
passenger's side
driver's side
driver's side
Group N front trailing arm bushings
The install
I fancy rubber bushings for suspension links, so I removed the TiC bushings and had BigSky press in the Group N bushings. It requires a 20 ton press, which I did/do not have. They went in without a problem since the MSI trailing arms use the stock inner diameter so you can use whatever bushing you want.
Installing the trailing arms required six point sockets and wrenches as well as a rubber mallet to beat on the wrench. The hang up was getting the nut loose where the trailing arm connects to the chassis mount. The Shop bailed me out with the air tools. It was also helpful that he had a bench vise, which held the chassis bracket steady and the trailing arm at the proper angle while the nut was torqued. When done correctly, the trailing arms mount to the knuckle and chassis without any hysteresis in the rubber bushing at ride height. I had to use a tap to clean the threads for the ABS lines on the MSI trailing arms ? rather odd on a brand new part.
The review
I could feel the better transient response from the Group N bushing. There was less slop in the fore/aft movement when on/off the throttle and brakes. There was also improved tracking over the road surface, but the bushing in the rear of the trailing arm had a bigger effect, IMHO. I didn?t notice any significant NVH increase.
The best part about the trailing arms: MSI/TiC gave away the magic number, 5.8 mm. If you have adjustable trailing arms, shorten them 5.8 mm to correct for a 1? drop in ride height.
The trailing arms are 5.8 mm shorter, but they felt like they were 6? shorter. I know that might sound like I?m off my rocker, but turn in felt sooooo much better. I went for a drive on the twistiest road I could find for where I was living at the time; I did a before and after drive. The rear wheels felt so alive at turn in. It was as if I could feel the outside rear coilover compress and the wheel rotate about the forward trailing arm bushing. So magical, and yet, I was used to the feeling after a week.
fresh off the GB
Stock trailing arm ID with a little taper
Group N bushings
Stuck! I needed air tools.
passenger's side
driver's side
driver's side
bugeye_fever
New member
Cool man, good write up. Did you try the TIC bushings? I'm curious why you went with Group N.
Similar threads
- Replies
- 155
- Views
- 70K