Project: Spray alloy wheels for winter.

salsa-king

Member
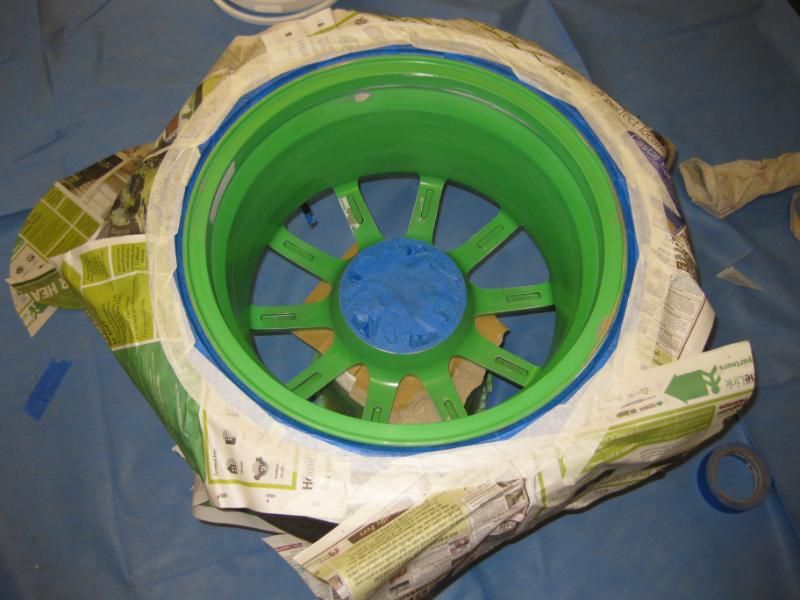
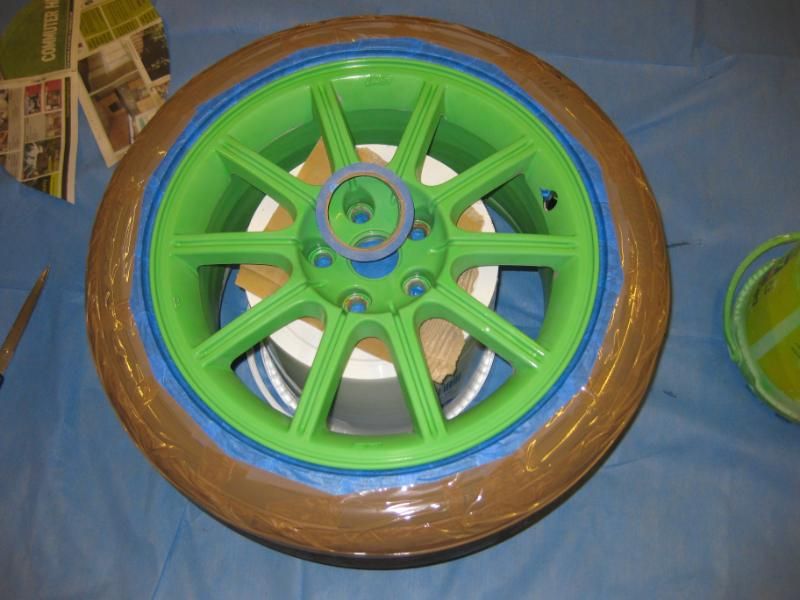
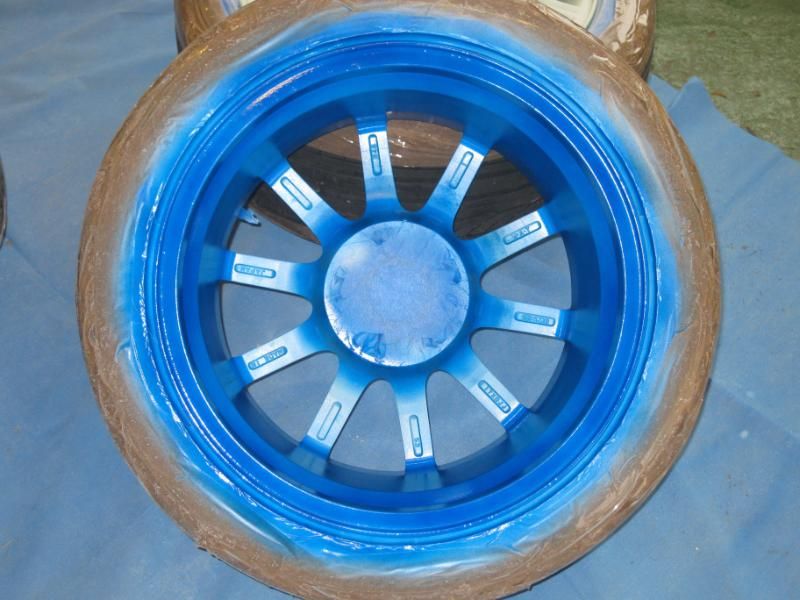
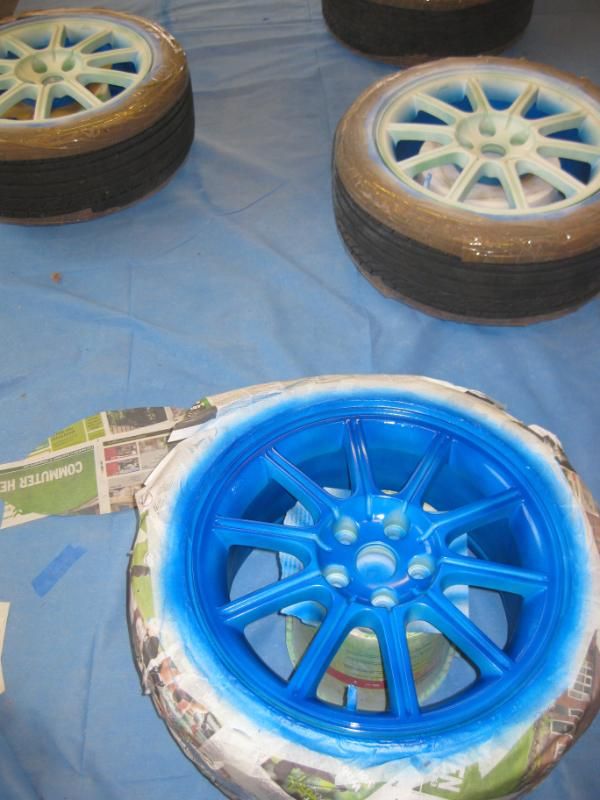
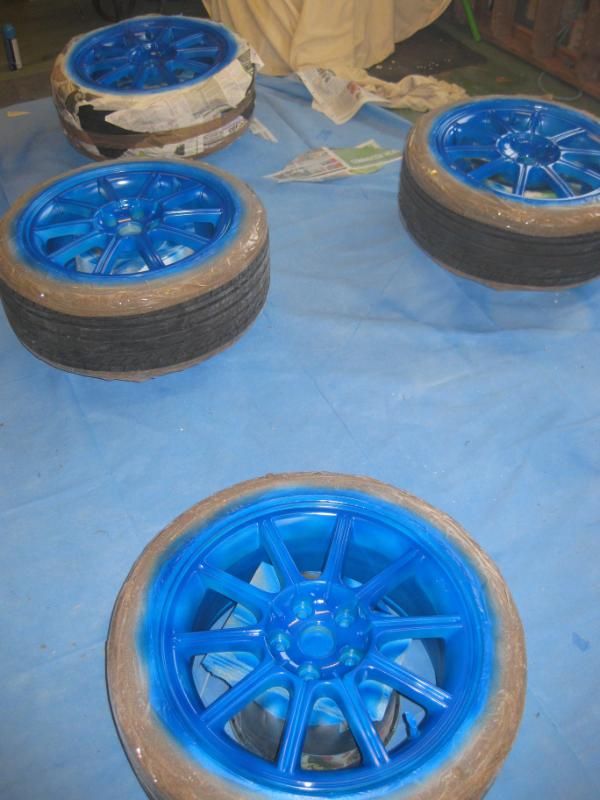
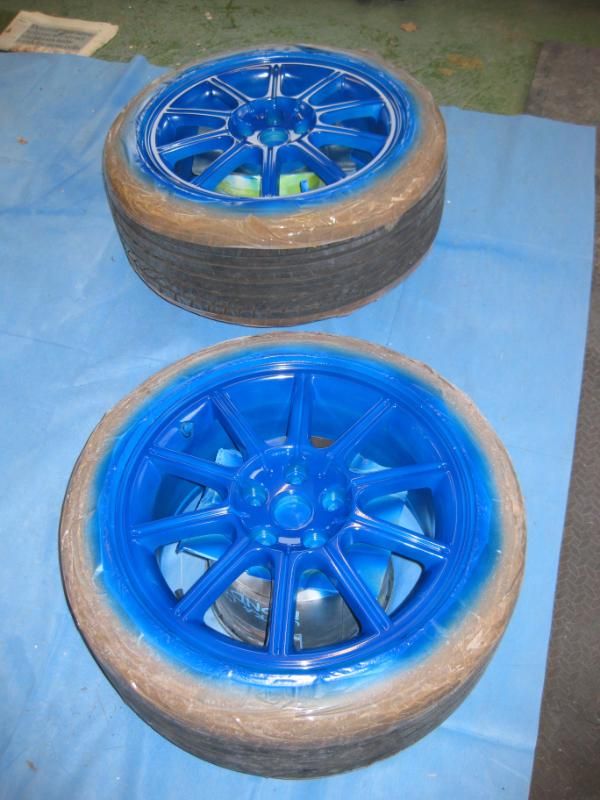
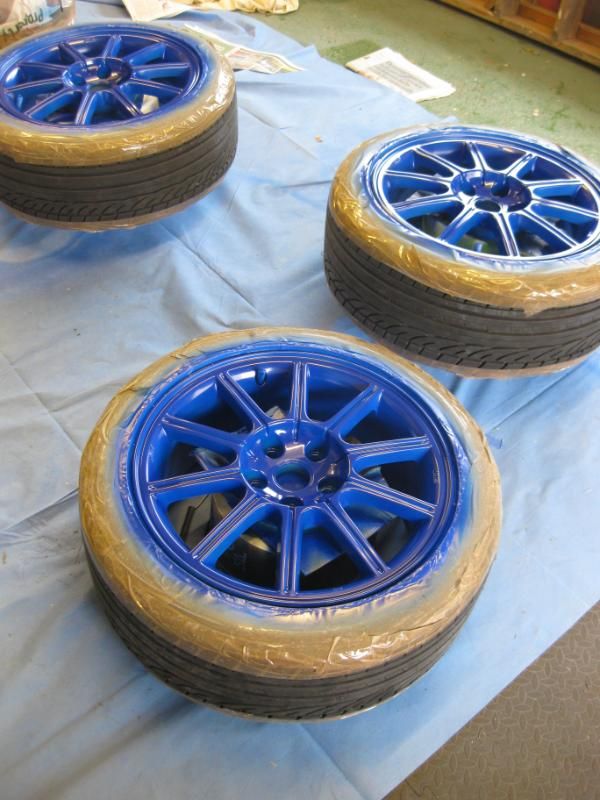
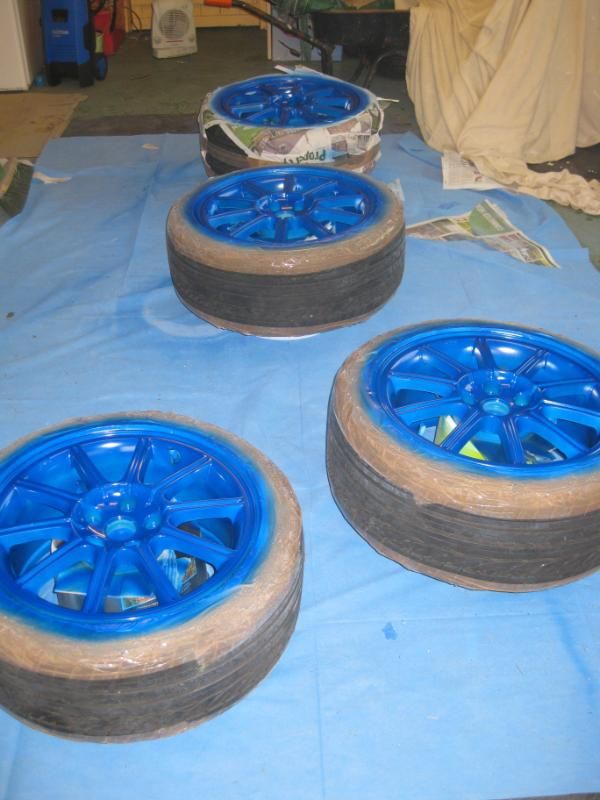
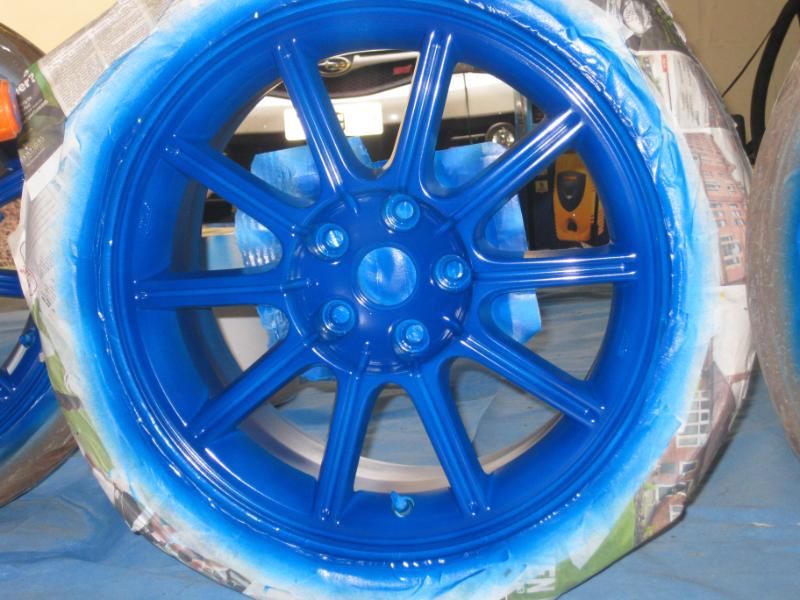
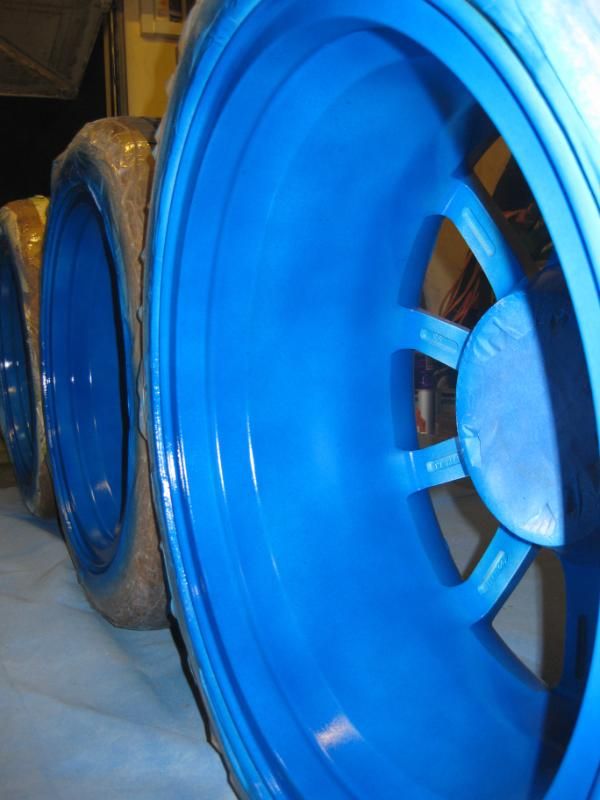
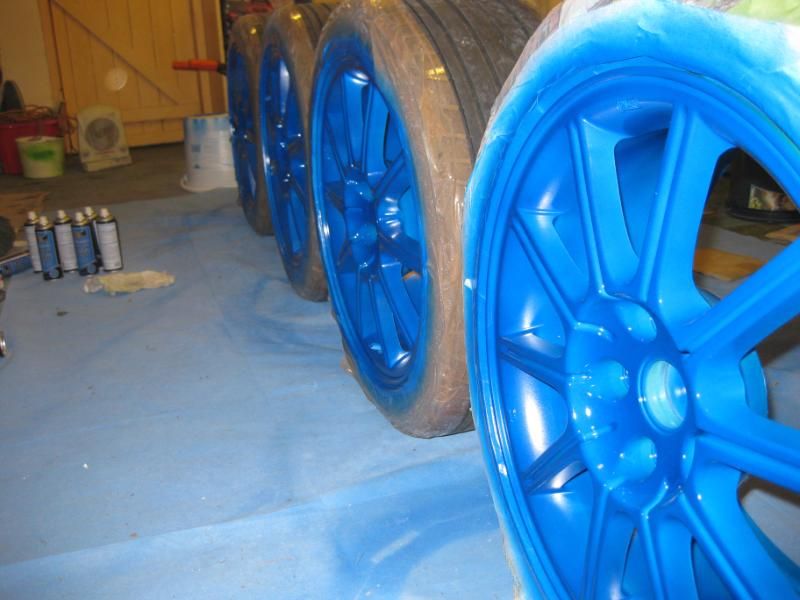
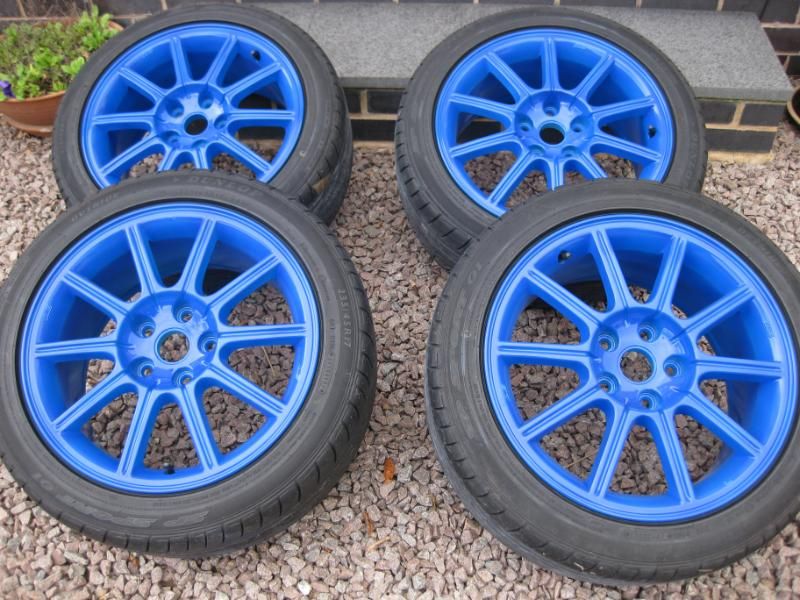
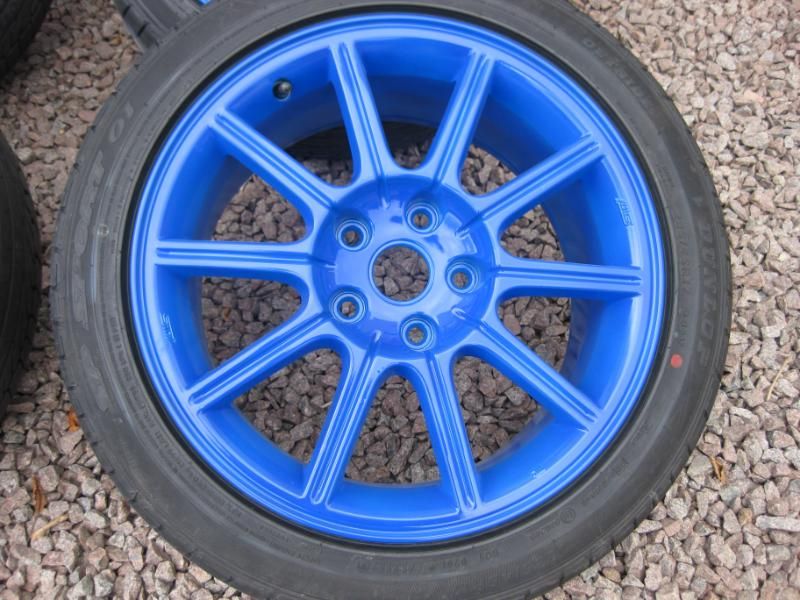
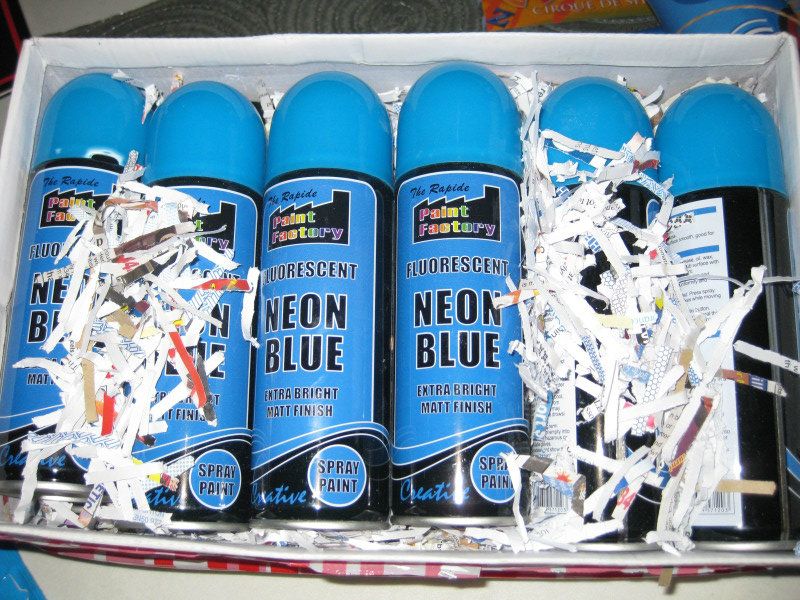
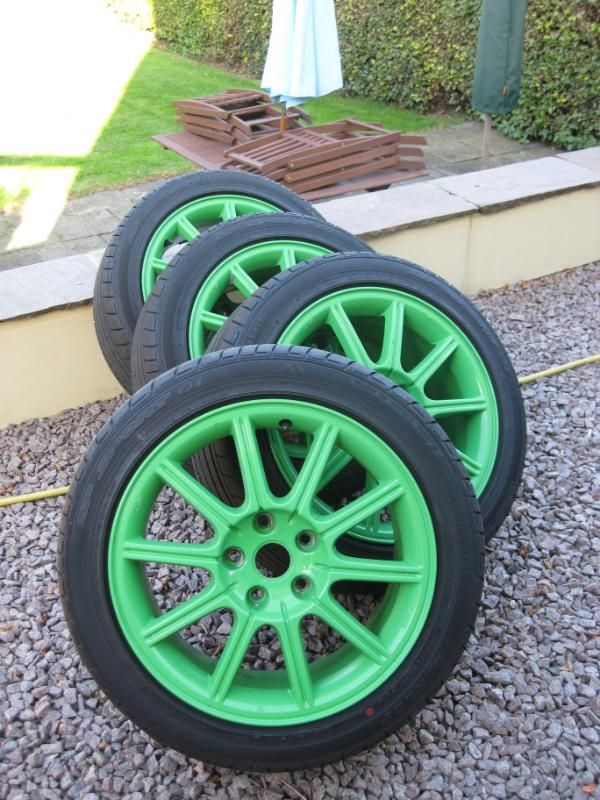
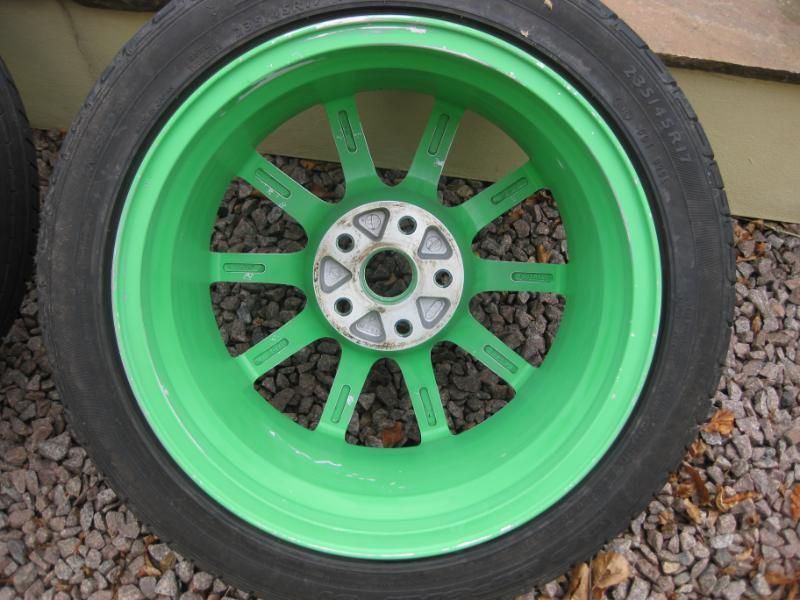
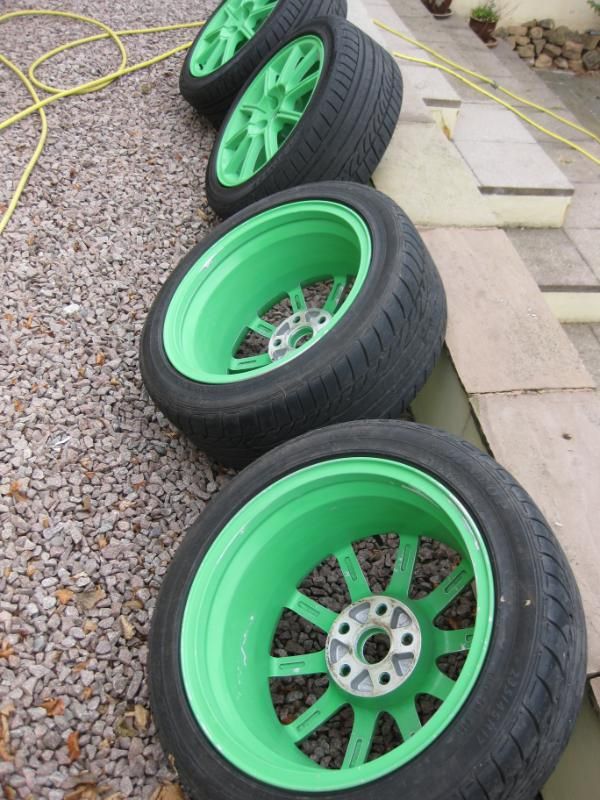
After I sprayed my 17" STi alloys (winter alloys) green.. the year has come round for me to have a change of colour... so this year I'm going blue..


12NeonBlueCans_zps1db86829.jpg
.
12 cans off Ebay under ?18 delivered!!
:)


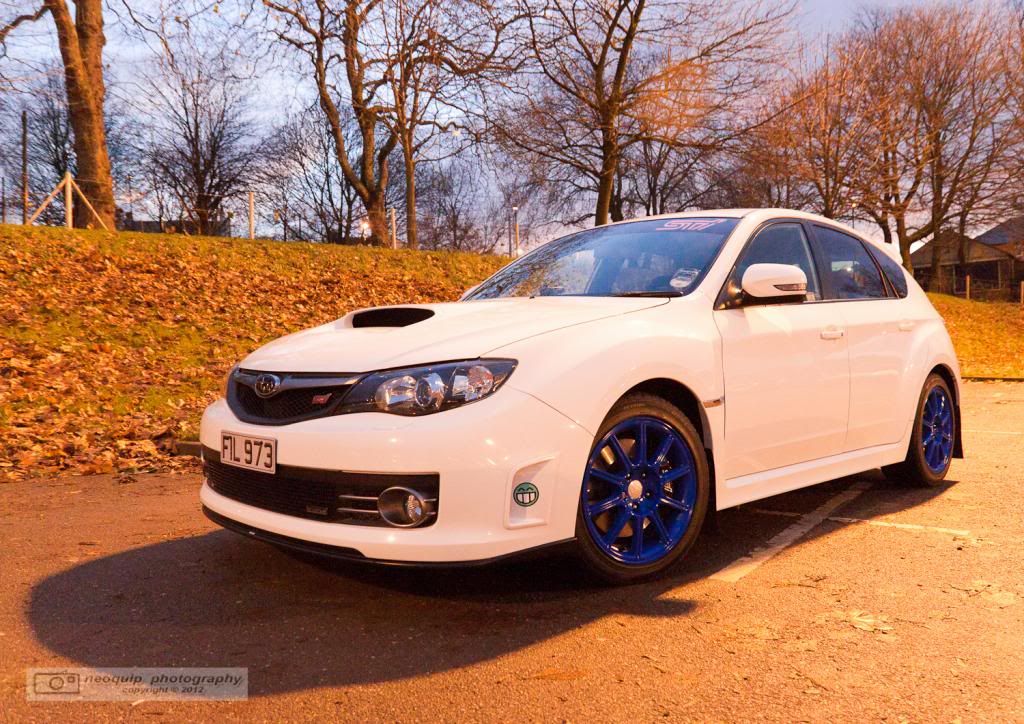
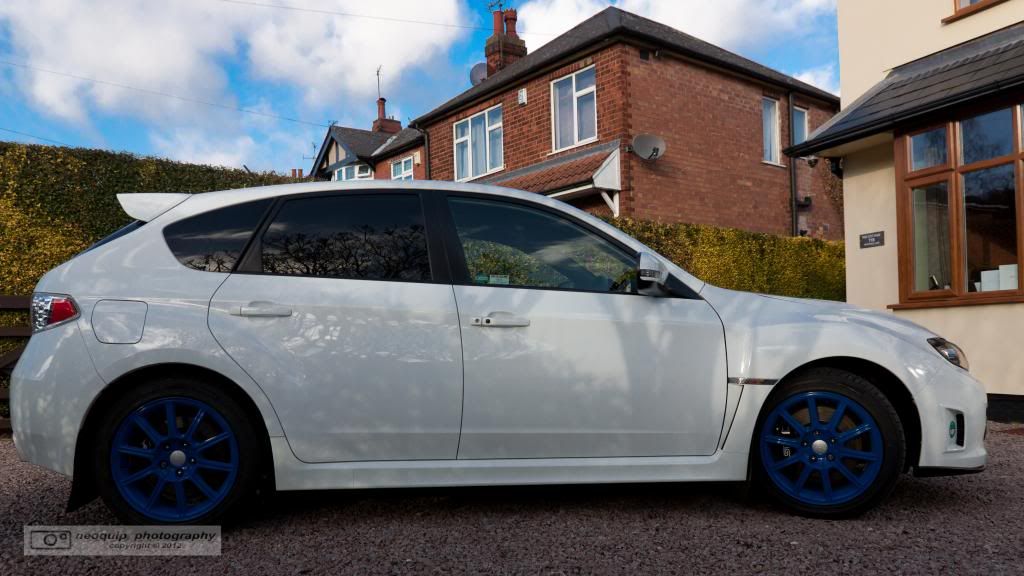
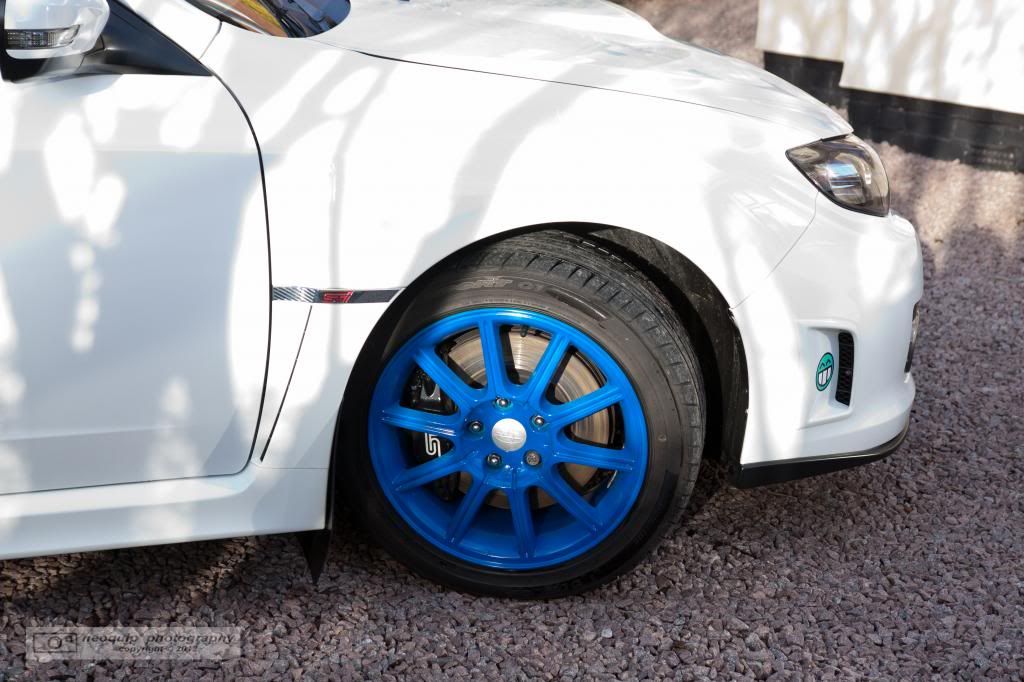
These will be fitted on my car in November once it's been serviced.


IMG_6120_zpsf3f4f008.jpg


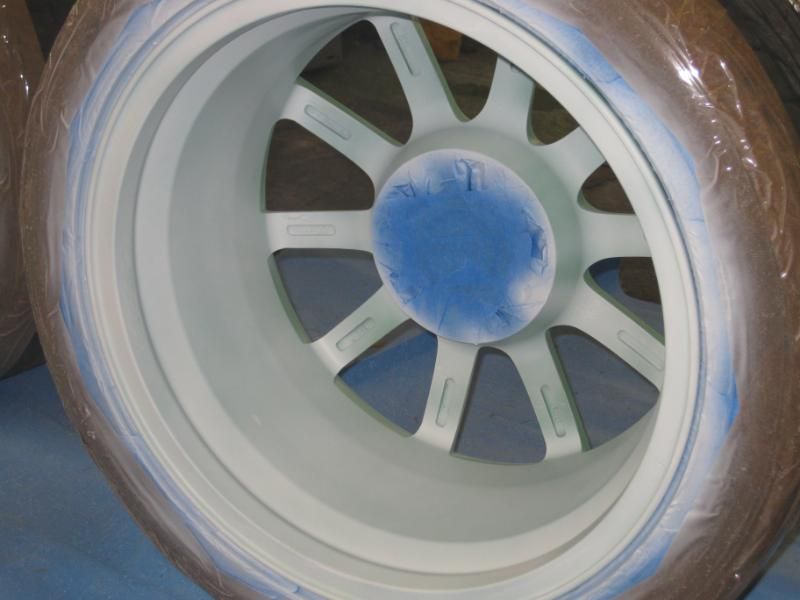
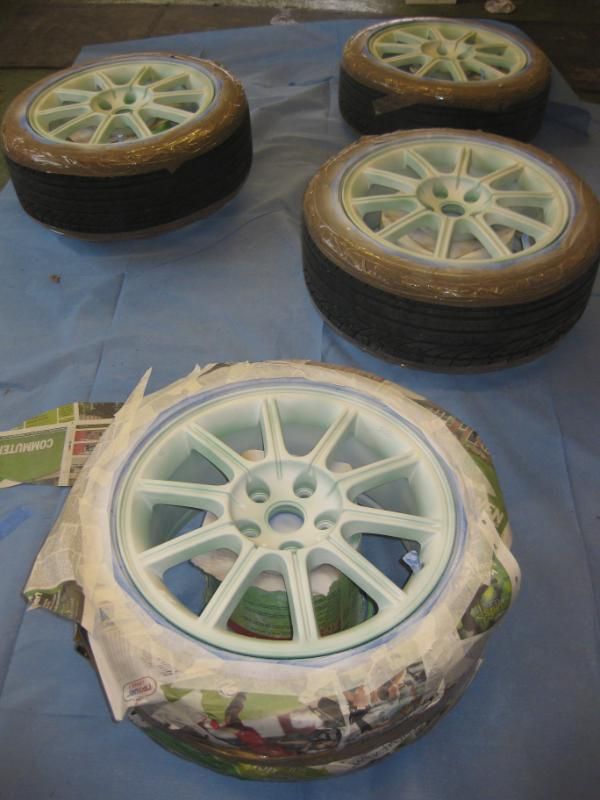
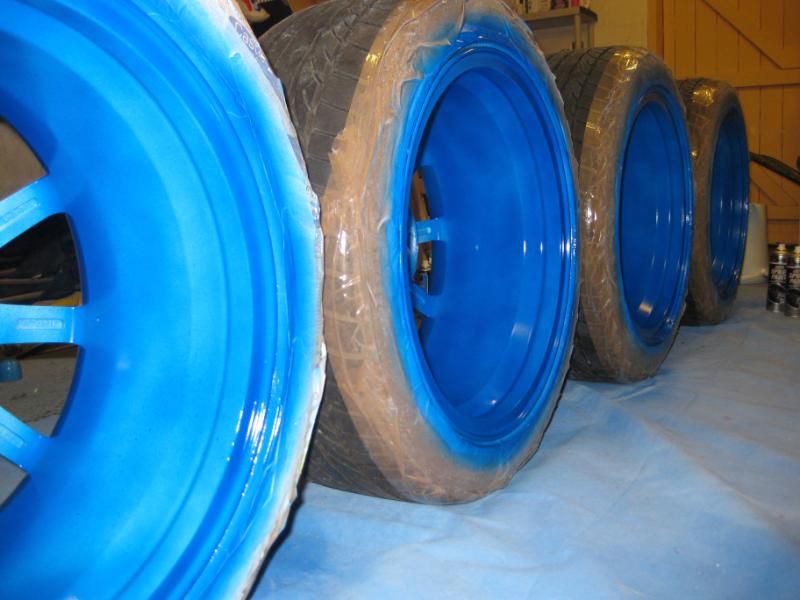
I've started with prepping them, wet & dry sanding down, I removed the weights as these were coming a bit loose (I'll get them re balanced once painted)


IMG_6124_zps4856c47b.jpg


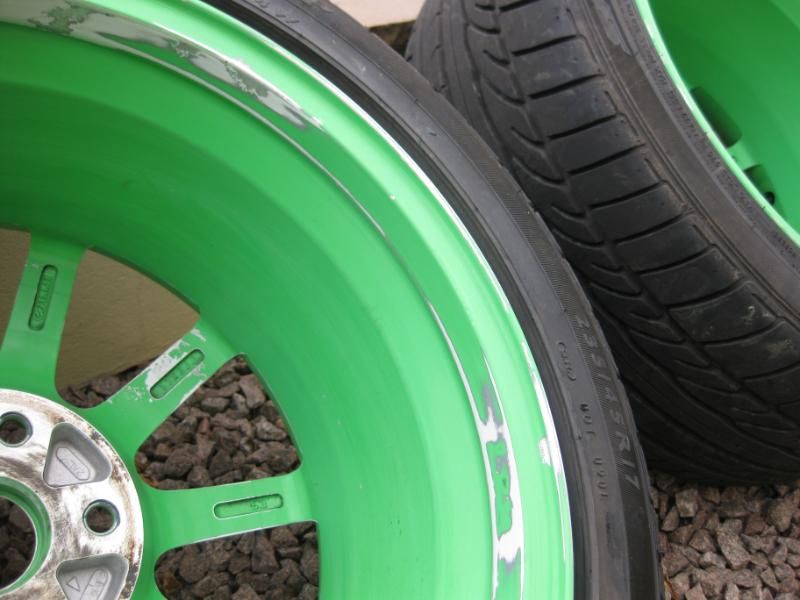
Where I noticed a bit of blistering, I've scrapped down and sanded to try and improve it.


IMG_6123_zps9cf94c05.jpg

IMG_6122_zps39c0d6e9.jpg

IMG_6121_zps15a1ff83.jpg


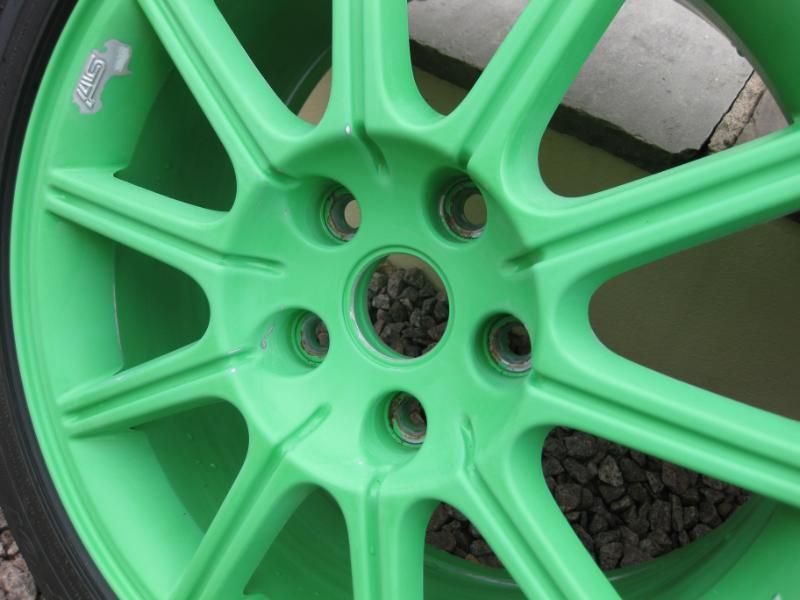
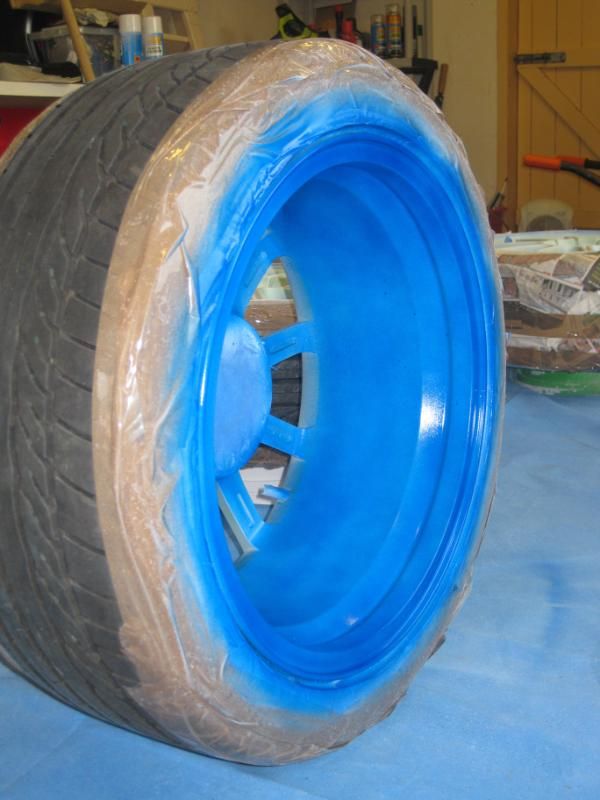
This evening I had a go at taping up.. the inner hubs..
IMG_6125_zpsfb602e1c.jpg


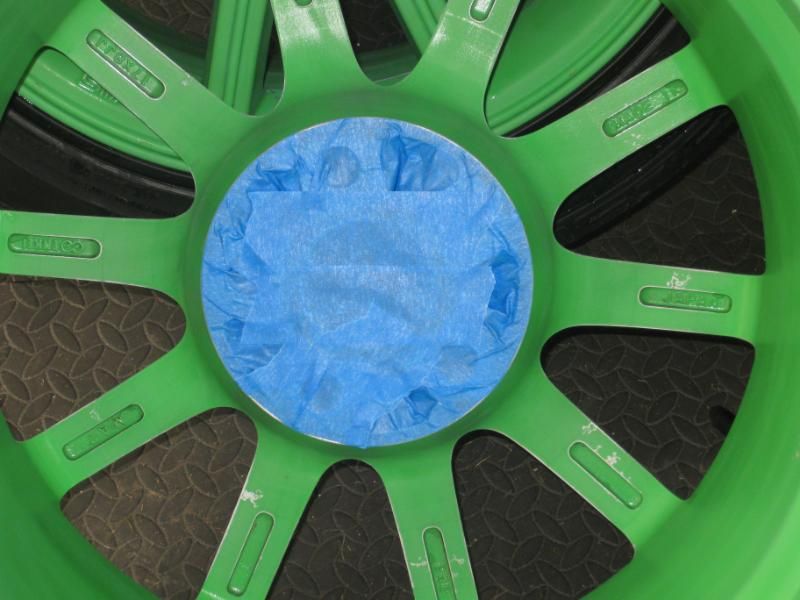
Tomorrow I'll finish off taping the tyres up.


watch this space ;)
 

salsa-king

Member
after taping up a two wheels last night and getting fed up using newspaper, the tape gun came out ;)
IMG_6126_zps2960efe7.jpg


this was easier lol
IMG_6127_zpscdd0fb0a.jpg


Two cans of WHITE primer later, I'd wafted over both sides a couple of times.
IMG_6128_zpscd83ca95.jpg

IMG_6129_zps9e80dca2.jpg


I've noticed some slight 'sissing'. Even though they were cleaned down with fairy liquid and wet/dry sand paper, you can see there must be a bit of wax or something on the alloys. I'll see what they look like tomorrow before I spray blue.
If they need another 'nib' down and a re prime, I'll do that.
 

Spamby

Meat Product Toy
Tape is awesome!

Our paint shop uses aluminum foil for masking non paintable parts on gas compressors. They seem to like how easily it conforms to irregular shape. They just tape the edges and spray.

Lookin good thus far!
 

salsa-king

Member
while I'm waiting between coats I thought I'd post up where I am now.


I've 12 cans of spray (225ml per can), so that's 4 cans per alloy.


I'm using ONE can for the inners... and TWO cans on the outter face ofthe alloys.
Not too worried about being a bit mottled on the insides as you don't really see them when fitted. Just making sure the rims/edges are coated well.


One can does the inside fine.
IMG_6130.jpg

IMG_6132.jpg

IMG_6133.jpg


For the outside 1st coat one can is more than enough, so the second can will just body the alloy up.
IMG_6134.jpg

IMG_6135.jpg


I must say I'm impressed with the quality of the spray can, normally with 'cheaper' cans they spray is pants.. but these spray really well.


Heading back to the garage now to give a 2nd/final coat to the outside of the alloys.


Not sure if I want a Gloss or Satin lacquer to protect them now. :?:
 

salsa-king

Member
2nd coat has gone on now...
IMG_6136.jpg


pic taken without 'flash'
IMG_6137.jpg


all done
IMG_6138.jpg


Really pleased...
IMG_6140.jpg


They have bodied up nicely, the second can of spray was ample for the final second coat, with what was left I wafted the back of the alloy again, mainly the inner part of the rim where it meets the front part of the alloy.


I know you could give teh alloys another coat if you wanted an even better coverage on the alloys, but seeing these are just for winter I'll let them go as they are.


All I need to do now is a couple of coats of lacquer.. that'll be done later this week to give the blue chance to harden off :)
 

IGOTASTi

System Operator
Staff member
Love it.
 

HolyCrapItsFast

Drinks beer!
Wow these look real nice. I bet they are even better in real life to. When I did my engine with anodized paint the picturse didn't do it justice... I wanna see them on the car.
 

salsa-king

Member
Just been out to see how they are drying this morning and they are starting to harden up. They look so much better in the flesh than the pictures. A real deep sold blue colour.
 

salsa-king

Member
finished them off last night,
a couple of waft coats of lacquer on the inside and about 3 good waft coats on the outside.


IMG_6141.jpg

IMG_6142.jpg

IMG_6143.jpg


I used HOLTS Car Paint Lacquer
It's a lovely gloss finish.
Just had to be careful not to get get runs or over do it with the lacquer as it started to soften the BLUE up. It was best to waft it over the surfaces.. leave for 25mins, then go back and give them another coat.


With the tapes removed they look great IMO


IMG_6147.jpg

IMG_6148.jpg


I've now put them out side to harden off, it says on the back of the lacquer cans to leave them for about 5-7days before you do anything with them.
Seeing that I'm not fitting them till November, I can wait. Then I'll get them re balanced and weighted.


Well Chuffed :)
 

IGOTASTi

System Operator
Staff member
Dang! They look awesome. Great job. :tup:
 

Vermont

New member
Those look awesome, but... why not just plasti dip them? Easier to do, easier to change, non permanent and it protects the wheels from rock chips, curbage and everything else. Check out my garage for pics of what the black plasti dip looks like on the wheels. The place I got it from has kits for all kinds a of colors for painting wheels. Also took me about 2 hours total to do. Just use some indext cards around the edge of the wheel and then spray away, no prepping needed, only a good cleaning.
 

salsa-king

Member
that stuff look good, but a lot more expensive than the spray paint I've bought.
 

salsa-king

Member
here you go, had them fitted on last Friday...
BlueSTialloys-1.jpg


only issue I have is a three stone chip due to stupid gritter lorry on the motorway last weekend.. sitting in the middle lane chucking grit all over the place.. including the front of my car.
 

IGOTASTi

System Operator
Staff member
Love the color. Looks really close to mine. :tup:
 

Bang876

New member
Looks awesome!
 

salsa-king

Member
washed-1_zps36dcdfc3.jpg

washed-4_zpsfe50045d.jpg
 

Grinder34

Track Monkey
I cant tell if those are dark blue or light blue. It seems to change with each picture!
 
Top